

Ever thought about turning a cherished photo into a beautiful, hand-stitched tapestry? It's a lot easier than you might imagine. The secret lies in transforming that favorite picture—a family portrait, a stunning vacation landscape, you name it—into a custom cross-stitch pattern.
This isn't about traditional weaving or complex looms. We're talking about a modern, accessible way to create textile art that’s deeply personal. It turns your memories into something you can literally touch and feel.
From Digital Photo to Timeless Textile Art
The idea of making a tapestry can feel a bit daunting, right? But what if I told you that you don't need any artistic skill? If you have a meaningful photo and the patience to follow a guide, you can create a genuine heirloom.
The whole process is powered by simple online tools that generate a stitch-by-stitch chart from your image. They take all the guesswork out of it. These pattern generators convert your picture into a printable grid, complete with a perfect palette of thread colors. It’s like painting by numbers, but with thread.
What Makes This Method So Great?
This approach opens up the world of textile crafting to everyone, making it a surprisingly calm and rewarding project. Here’s why I think it’s fantastic:
- It’s Uniquely Yours: Your final piece is one-of-a-kind, built from a memory that actually means something to you.
- Zero Experience Needed: Seriously. You don't need expensive gear or years of practice. If you can hold a needle, you're good to go.
- Creativity with a Safety Net: The custom pattern is your roadmap. It removes the stress of designing from scratch but still leaves room for your own creative touch.
By the time we're done, you'll see that creating a gorgeous, hand-stitched tapestry isn't just for seasoned pros. It’s a way to slow down, connect with your memories, and make a piece of art that truly tells a story.
This is more than just a craft. You're translating emotion into a physical object. The texture of the thread and the quiet, meditative process add a depth that a simple printed photo can't touch. Each stitch becomes part of the memory.
I'll walk you through everything, from picking the right photo (a super important first step!) to adding those final touches that make your tapestry ready to hang on the wall. Let's get started.
Choosing the Right Photo for Your Tapestry
The secret to a breathtaking tapestry really boils down to one thing: the photograph you start with. I can't stress this enough. Not every snapshot is destined to become a masterpiece in thread, so picking a strong source image is the most critical first step you'll take.
Think of the photo as the blueprint for your entire project. If you start with a fuzzy, poorly-lit image, you're setting yourself up for a muddled, disappointing result. On the other hand, a sharp, vibrant photo gives you the perfect foundation to create something you'll be proud to display.
And you're in good company. This isn't just a niche hobby anymore; it's part of a huge movement toward unique, handcrafted decor. In fact, the global hand-woven tapestry market has seen its sales value jump by 18%, reaching $218 million. That tells you people are craving the kind of traditional craftsmanship you're about to dive into. You can read more about the growth of the hand-woven tapestry market from IndexBox if you're curious.
What Makes a Photo Great for a Tapestry
When a piece of software converts your photo into a cross-stitch pattern, it's essentially "pixelating" it. Each tiny square on your fabric grid gets assigned a single thread color. This process naturally simplifies the image, which is why some photos work beautifully and others… not so much.
Here’s what I’ve learned to look for over the years:
-
High Contrast is Your Best Friend: You need a clear, obvious difference between the light and dark areas. A classic example is a black cat against a white wall—perfect. Low-contrast images, like a white dog playing in the snow, tend to blur into a blob of similar colors once stitched.
-
A Clear, Undeniable Focal Point: The most successful tapestries have one main subject that immediately grabs your attention. A portrait of a single person, a beloved pet, or a striking landmark will always translate better than a busy group shot where faces are small and details get completely lost.
-
Simple Backgrounds Let Your Subject Shine: An uncluttered background is a gift. It keeps the focus squarely on your subject. Think of a portrait taken against a plain wall or a soft, out-of-focus backdrop of trees. Busy, detailed backgrounds just create visual noise and compete for attention, making the final piece look chaotic.
Let's Talk Real-World Examples
Okay, let's put this into practice. Imagine you want to create a tapestry of your Golden Retriever, Max.
A Great Choice: You have a photo of Max sitting in a bright patch of sun on the green lawn. The contrast between his golden fur and the vibrant grass is fantastic. The lighting is crisp, highlighting the texture of his coat and the expression on his face. The focus is 100% on him. That’s a winner.
A Poor Choice: Now consider a photo of Max playing with two other dogs inside a cluttered living room. The lighting is dim, the background is a jumble of furniture and toys, and it's tough to see where one dog ends and another begins. That image would translate into a confusing, messy pattern.
Here’s a little trick I use: Squint your eyes when you look at the photo. If you can still clearly make out the main subject and its key features, you're on the right track. If it all blends together, find another picture.
Quick Edits for a Better Pattern
You don't need to be a Photoshop wizard to dramatically improve your source image. A few simple tweaks on your phone can make all the difference before you even upload it to a pattern generator.
Most smartphones have these editing tools built right in.
-
Crop for Focus: Is the background too busy? Don't be afraid to crop in tight around your subject. This is the fastest way to eliminate distractions and make your focal point larger and more detailed in the final pattern.
-
Boost the Contrast: Find that contrast slider and bump it up. Making the darks a little darker and the lights a little lighter helps the software clearly distinguish between color areas. It's a game-changer.
-
Increase Brightness/Exposure: If your photo is on the dark side, brightening it can bring out details hidden in the shadows. This ensures those subtle features don't get lost when the image is converted to a limited palette of thread colors.
Taking just a few minutes to choose and edit your photo is the single best thing you can do for your project. It truly sets the stage for a beautiful result before you even pick up a needle.
Turning Your Photo Into a Stitchable Pattern
You've picked the perfect photo and polished it up. Now for the really fun part: turning those digital pixels into a pattern you can actually stitch. This is where online pattern generators come in, and they are an absolute game-changer for anyone wanting to create a personalized tapestry.
Plenty of great tools are out there, like Stitch Fiddle or Pic2Pat, but I often find myself coming back to Pixel-Stitch. It’s incredibly straightforward, giving you all the control you need without a confusing interface.
If you want to get really deep into the nitty-gritty of this step, we have a complete guide on how to turn a picture into a cross stitch pattern that walks through even more details. It's a fantastic resource to keep handy.
The Three Key Settings You Need to Know
Once you upload your photo to a generator, you’ll see a few options that will define your entire project. Getting these right is crucial for creating a pattern that matches both your vision and your patience level.
Here’s what you’ll be working with:
- Final Tapestry Dimensions: This is simply the finished size of your piece, usually set in inches or centimeters. The bigger you go, the more detail you'll capture, but it also means a much bigger time commitment.
- Aida Fabric Count: This number tells you how many stitches fit into one inch of fabric. A lower count, like 14-count Aida, gives you bigger, chunkier stitches for a slightly more "pixelated" feel. A higher count, like 18-count or even 22-count, creates tiny, tight stitches for a beautifully detailed, almost photo-like finish.
- Number of Thread Colors: This is where the magic really happens. You can dial it down to 15 colors for a more stylized, graphic look or crank it up to 50 or more for stunning realism. Just remember, more colors mean more thread-wrangling and complexity.
This is what the simple interface looks like in Pixel-Stitch. You can see just how easy it is to tweak these core settings.

The sliders for stitch count (Aida count), size, and the number of colors give you a live preview of how your choices affect the final pattern.
Comparing Popular Pattern Generator Features
With several tools available, it can be tricky to know which one to start with. They all do the core job well but have slight differences in their features and user experience. This table breaks down what you can expect from some of the most popular options.
| Feature | Tool A (e.g., Pixel-Stitch) | Tool B (e.g., Stitch Fiddle) | Tool C (e.g., Pic2Pat) |
|---|---|---|---|
| Ease of Use | Very intuitive, slider-based | Moderately easy, more options | Simple, step-by-step wizard |
| Customization | Excellent control over size, count, colors | Extensive; includes other crafts | Basic but effective controls |
| Pattern Output | PDF with symbols, color key | PDF, interactive online chart | PDF with symbols and color blocks |
| Cost | Free | Free with premium features | Free |
| Advanced Options | Brightness/contrast adjustment | Manual color editing, backstitching | Limited advanced options |
Ultimately, the best tool is the one that feels most comfortable to you. I recommend uploading your photo to a couple of them to see which output you like best before committing.
Striking the Perfect Balance for Your Project
Think of these settings as a triangle: detail, size, and effort. You can’t change one without affecting the others. It's all about finding that sweet spot for your specific project.
If you're just starting, I'd suggest a smaller piece on 14-count Aida using around 20-25 colors. This will give you a beautiful result without becoming an overwhelming marathon.
For the seasoned stitcher aiming to create a jaw-dropping heirloom, a large canvas on 18-count fabric with 40+ colors will produce that incredible, photorealistic detail. It’s a serious undertaking, but the final tapestry is absolutely worth it.
My best piece of advice? Don't be afraid to experiment. Generate a few different versions of your pattern. Make a simple one with fewer colors and a more complex one with a higher thread count. Seeing them side-by-side on your screen makes it so much easier to decide which path to take.
After you've dialed in your settings and hit "generate," the tool will give you a downloadable PDF. This is your roadmap. It will have a multi-page chart with symbols, a color key with the exact DMC thread numbers you need, and usually an estimate of how much of each color to buy. Your vision is now officially a plan
Assembling Your Tapestry Toolkit
With your custom pattern printed and ready, you’re about to dive into the best part: the actual stitching. But before you thread that first needle, let’s get your toolkit in order. Having everything you need on hand from the get-go makes the entire process smoother and a whole lot more fun.
Think of it like setting up your artist's studio. We'll go beyond a simple shopping list and get into the why behind each tool, so you can build a kit that’s perfect for your project. From the canvas to the needles, every piece plays a part in bringing your vision to life.
Your desire for a unique, personalized tapestry is part of a much bigger trend. The global textile market is on track to hit an estimated $2.12 trillion by 2025, driven by a huge consumer appetite for personalized home decor. It's fascinating to see how a personal craft project fits into a massive global industry. You can dig into more stats about the booming global textile market on BestColorfulSocks.com if you're curious.
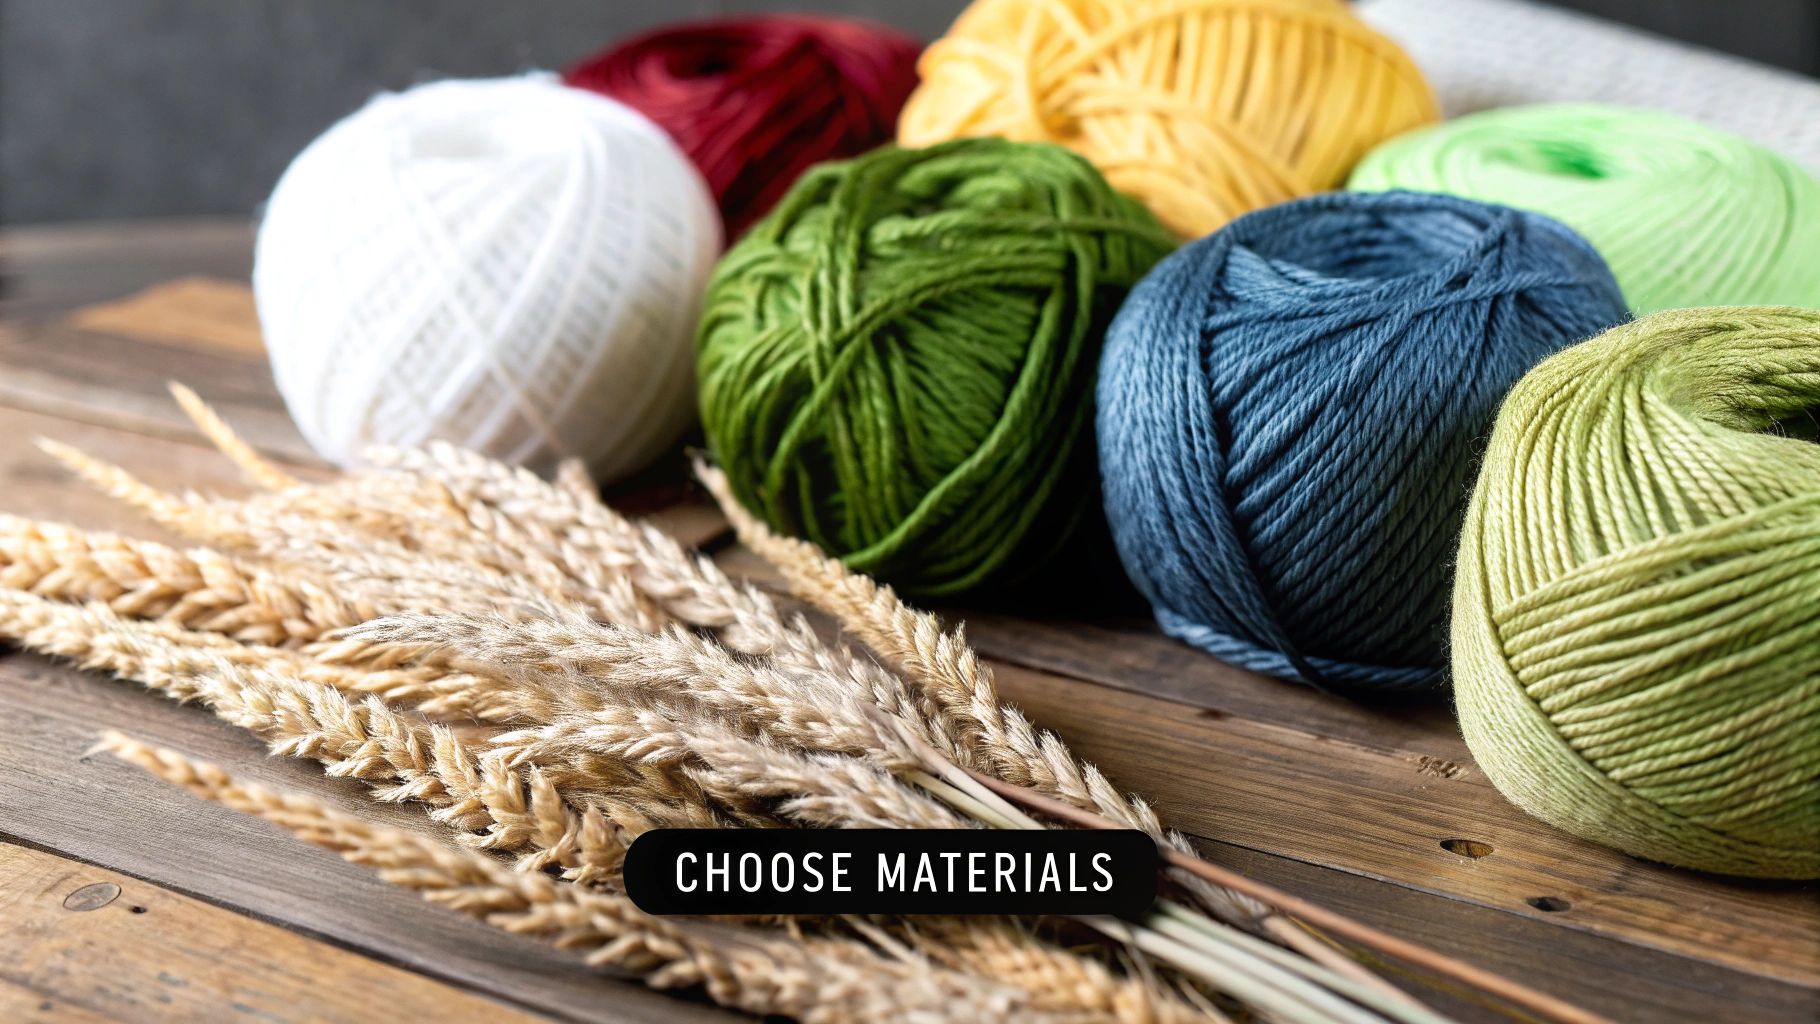
The Foundation: Your Aida Fabric
The first and most important choice is your fabric. For this kind of project, that almost always means Aida cloth. This brilliant cotton fabric is woven with a natural grid, making it incredibly easy to create perfectly uniform cross-stitches. The most important thing you need to know about Aida is its "count."
-
14-Count Aida: This is the go-to for most stitchers, especially beginners. It has 14 squares per inch, which means the stitches are a little larger and easier to see. It’s perfect for projects where you want that classic, handcrafted feel.
-
18-Count Aida: Ready for more detail? With 18 squares per inch, this fabric creates much finer stitches that blend together beautifully. From a distance, your work will look less like individual stitches and more like a printed photograph. It takes a bit more precision, but the payoff is huge.
Your pattern generator probably suggested a specific count, but don't be afraid to change it. Just keep in mind that a pattern stitched on 18-count Aida will turn out smaller than the same pattern on 14-count.
From my experience, your choice of Aida count is all about balancing ease with detail. If it’s your first photo project, I always suggest starting with 14-count to build confidence. For a true heirloom piece where every tiny detail matters, 18-count is the only way to go.
Painting with Thread: Embroidery Floss
Next up is your palette: the embroidery floss. Your pattern will come with a legend listing specific color codes, and they'll almost certainly be for DMC cotton floss. DMC is the gold standard in the stitching world, known for its high quality, consistent dyes, and a staggering range of over 500 colors.
When it comes to getting your floss, you have a couple of options:
-
Buy a Complete Kit: This is the easiest route. Services like our own at Cross Stitched can package your custom pattern with all the pre-sorted floss you'll need. You get the exact amount of every color, ready to go.
-
Source It Yourself: If you enjoy the process of gathering supplies or already have a stash, you can buy individual skeins of DMC floss at any craft store using the codes on your pattern. It gives you more control but means you'll have to do the organizing yourself.
Essential Stitching Accessories
Beyond the fabric and floss, a few key accessories will make your stitching experience so much better. These aren't just "nice-to-haves"—they're what separate a relaxing hobby from a frustrating chore.
-
Tapestry Needles: These are a must. They have a blunt tip and a large eye, designed to glide through the holes in Aida cloth without splitting the threads. A size 24 needle is perfect for 14-count Aida, while a slightly smaller size 26 works best for 18-count.
-
Embroidery Hoop or Frame: This is non-negotiable. A hoop holds your fabric tight, which is the secret to even, consistent stitches. Without one, your fabric can pucker and your tension will be all over the place. For big tapestries, a scroll frame is a game-changer.
-
Good Scissors: A small, sharp pair of embroidery scissors will be your best friend for snipping threads cleanly and close to the fabric.
-
Floss Organizer: Juggling dozens of colors can get chaotic fast. A simple plastic organizer box with cardboard bobbins is a lifesaver. Take the time to wind each color onto a labeled bobbin—you'll thank yourself every time you switch colors.
Bringing Your Tapestry to Life, Stitch by Stitch
You’ve got your pattern printed and your tools laid out. This is the part I love the most—where the real magic happens. It's time to turn that grid of symbols and a pile of colorful thread into a real piece of art, one quiet, meditative stitch at a time.
The process itself is simple, but a few key techniques are what separate a homemade-looking piece from something that looks truly professional. We'll walk through prepping your fabric, mastering the basic cross-stitch, and I'll share a few insider tips that make the whole experience smoother and more enjoyable.
Preparing Your Canvas for Stitching
Before you even thread your needle, a little bit of prep work will save you a world of headaches later on. Your first move should always be to find the exact center of your Aida fabric. Why? Because most patterns are designed to be stitched from the center out. This ensures your design is perfectly aligned and won't accidentally run off the edge of the cloth.
Finding the center is easy. Just fold the fabric in half lengthwise, then fold it in half again widthwise. The corner where the two folds meet is your center point. I like to mark this spot with a pin or a tiny, light pencil dot. This point corresponds directly to the center arrows on your printed pattern.
Once you’ve found the middle, get your fabric into its embroidery hoop or frame. You want the cloth pulled taut, almost like a drum. Getting this tension right is crucial for creating neat, even stitches and stopping the fabric from puckering up as you work.
Mastering the Fundamental Cross Stitch
At its heart, the cross-stitch is beautifully simple: just two small diagonal stitches crossing over each other to form a little "X." If you're totally new to this, our guide on learning cross-stitch basics is a fantastic place to start.
There are two main ways to make your stitches, and you'll probably find you prefer one over the other.
- The English Method: This is where you complete each "X" one at a time before moving on to the next square. It’s perfect for areas with lots of scattered, confetti-like color changes.
- The Danish Method: Here, you stitch a whole row of half-stitches (like this: ////) first, then work your way back along the row to complete the crosses (like this: \\). This method is so much faster for stitching large blocks of a single color.
For a photo tapestry, which often has big areas of similar colors, the Danish method is usually your best bet. It helps keep your tension even and gives the back of your work a much cleaner, more uniform look.
I almost exclusively use the Danish method myself. It helps me get into a relaxing rhythm, and honestly, the back of my projects always looks much tidier—a secret point of pride for any serious stitcher.
Pro Tips for a Flawless Finish
Knowing the basic stitch is one thing, but a few extra techniques can solve common frustrations and give your work that polished, professional look. These are the little habits that make a huge difference in the final quality.
One of the best tricks you can learn is the loop start. Instead of tying a knot on the back of your fabric (which creates annoying lumps), this method gives you a perfectly clean, flat start.
- Cut a piece of floss twice as long as you normally would.
- Separate out a single strand.
- Fold that strand perfectly in half. Thread the two cut ends through your needle, which will leave a loop at the other end.
- Bring your needle up from the back of the fabric, but don't pull the thread all the way through.
- On the back, pass your needle through the loop and pull it snug. Just like that, your thread is anchored securely with no knot.
Another key is managing your floss. A classic beginner mistake is cutting a piece of thread that’s way too long just to avoid re-threading the needle. Trust me, this only leads to a tangled, knotty mess. A good rule of thumb is to work with a length of floss no longer than the distance from your fingertips to your elbow.
It's clear that people are really leaning into high-quality, handcrafted goods, a trend influencing everything from what we wear to how we decorate our homes. Just look at Tapestry, Inc., a major fashion house that reported a record $7.0 billion in annual revenue—a 5% increase fueled by strong consumer spending. This shows a real appreciation for craftsmanship, the very principle you're pouring into your tapestry. You can read more about this financial success driven by consumer demand at Business Wire.
Choosing Your Stitching Strategy
So, how should you actually tackle stitching the pattern? There’s no single right way, but a couple of popular strategies tend to work best.
Color Blocking
- What it is: You stitch all the squares of a single color within one section (or even the whole project) before you switch to the next color.
- Best for: Projects with big, distinct fields of color, like a patch of blue sky or a grassy lawn. It's incredibly satisfying to watch a whole color area fill in.
Row by Row (or the "Parking" Method)
- What it is: You work across your pattern one row at a time, completing every stitch in that row, no matter the color. When you finish with one color, you "park" that needle in the next spot that color appears and pick up the next thread you need for the row.
- Best for: Really complex patterns with tons of "confetti" stitches. It helps minimize counting mistakes and keeps you from getting lost.
For your first photo tapestry, I'd suggest starting with color blocking in a smaller area. It feels less overwhelming and gives you a wonderful sense of accomplishment as you see parts of your image pop into existence.
Finishing and Framing Your Textile Artwork
Putting in that very last stitch is such a triumphant moment, but your work isn't quite done. The finishing touches are what elevate your project from a piece of stitched fabric into a true work of art. These final steps—cleaning, pressing, and framing—are crucial for protecting your hard work and getting it ready for a prime spot on your wall.
This part of the process is the secret to making tapestries that look truly professional and will last a lifetime. A proper finish gets rid of any oils from your hands, dust, or those stubborn hoop marks, leaving your textile art looking flawless. It’s a step many beginners skip, but trust me, it makes all the difference in the final result.
Gently Washing Your Tapestry
I know, after spending all that time on your project, the idea of getting it wet can be a little scary. But a gentle hand-wash is the absolute best way to freshen it up before framing.
First, get a clean sink or basin and fill it with lukewarm water. Add just a tiny drop of a mild, clear soap or a special textile wash. Lay your tapestry in the water and let it soak for about 15 minutes. You can give it a gentle swish, but whatever you do, don't scrub it. That's a surefire way to mess up your stitches.
Once it's soaked, drain the soapy water and rinse the tapestry under cool, clean running water until it's completely free of suds. To get the excess water out, lay your piece on a thick, clean towel, roll the towel up, and press down gently. Never, ever wring it out! Wringing will stretch the fabric and can completely ruin the look of your stitches.
Pressing for a Perfect Finish
When your tapestry is just barely damp, it's time to iron it. This is how you get it perfectly flat and completely wrinkle-free for framing.
Place your tapestry face-down on a clean, fluffy towel. The towel is key—it protects the stitches and keeps them from getting flattened.
Turn your iron to a medium-hot setting with the steam on. Working from the back of the fabric, keep the iron moving. The steam will help release any creases, and the towel will preserve all the beautiful texture you created with your floss.
The most common mistake I see is people ironing directly on the front of their tapestry. Always press from the back, and always have a towel underneath. This simple technique is the difference between flat, lifeless stitches and a piece that looks rich and dimensional.
Choosing the Right Display
Now that your tapestry is clean and flat, you're ready for the fun part: deciding how to display it! Framing not only makes it look great but also protects it from dust and fading over time.
A couple of popular options come to mind:
- Traditional Framing: A classic frame with glass is a great choice. It offers the most protection from dust, UV light, and anything else that could harm your work.
- Mounting on Board: For a more modern, gallery-style feel, you can mount your tapestry onto an acid-free foam board. This leaves the textile exposed, which is fantastic if you want the texture of the stitches to be a part of the viewing experience.
If you want to dive deeper, there are some wonderful https://cross-stitched.com/blogs/what-is-cross-stitch/cross-stitch-finishing-techniques that can help you find the perfect method for your specific piece. Taking the time to finish your tapestry properly ensures it becomes a beautiful heirloom you can be proud of for years to come.
Answering Your Photo Tapestry Questions
When you're starting a custom tapestry, a few questions are bound to pop up. It happens to everyone! I've been doing this for years, and I still ask myself some of these things. Let's walk through the most common queries so you can feel confident as you get started.
Think of this as advice from a fellow stitcher. We'll cover everything from project timelines to fixing those little "oops" moments that are just part of the process.
How Long Does It Really Take to Make a Photo Tapestry?
This is the big one, isn't it? And the honest-to-goodness answer is: it depends. There’s no magic number. The time you’ll spend is a mix of three things: the final size of the piece, the fabric count you're using, and just how detailed your photo is.
For a smaller project, say a 5x7 inch portrait on 14-count Aida, a focused stitcher might spend anywhere from 40 to 60 hours. It’s a fantastic weekend or evening project that gives you that great feeling of a quick win.
But if you’re tackling a huge 16x20 inch landscape on a fine 18-count fabric, filled with dozens of subtle color shifts, you’re looking at a commitment of hundreds of hours. The trick is to reframe it in your mind. This isn't a race; it's a marathon. It’s a relaxing hobby meant to be enjoyed over time.
My best advice? Stop watching the clock. The real joy comes from watching your picture slowly come to life, one tiny stitch at a time. It’s incredibly rewarding.
What’s the Best Way to Handle Big Blocks of Color?
You've hit a section of your pattern that's all one color—a wide-open sky or a simple background. Stitching each individual "X" before moving to the next feels like it takes forever, right? There’s a much better way.
Here are a couple of techniques I swear by for these sections:
- The Danish Method: This is my go-to. You stitch a whole row of half-stitches in one direction (////), and then you come back over the same row to complete them (\\). It's so much faster and makes it easier to keep your tension even.
- The "Parking" Technique: If the area is a little more confetti-like, you can stitch with one color until you hit its boundary. Then, instead of cutting the thread, you "park" the needle in the next spot that color appears and just switch to a new thread for the next section.
Using these methods will not only save you time but also helps prevent the fabric from puckering. The end result is a much smoother, more professional-looking finish.
Help! What Do I Do if I Make a Mistake?
First things first: take a deep breath. Mistakes happen. Every single person who stitches makes them, from first-timers to seasoned pros. They're just part of the craft. What you do next really depends on the mistake itself.
If you’ve put a wrong stitch right in the middle of a person's face or another key focal point, your best bet is to fix it. You can carefully use the eye of your needle or a seam ripper to gently unpick the stitches and do them over.
But what if the error is tiny and hidden away in a busy part of the design, like in the leaves of a tree or a patch of detailed hair? My personal advice is to just let it go. Seriously. From a few feet away, that little blip will blend right into the texture of the piece. No one but you will ever know it's there.
Ready to turn a cherished photo into a timeless piece of art? At Cross Stitched, we take the guesswork out of it with custom kits made just for you. Start your personalized tapestry project today!


