
Figuring out the right fabric size for a new cross-stitch project can feel a little intimidating, but a cross stitch size calculator is a game-changer. It takes all the complicated math out of the equation. You just plug in your pattern's stitch count and your fabric's thread count, and voilà—it tells you exactly how big your finished piece will be. Using a calculator means you'll always have the perfect amount of fabric, so you can say goodbye to wasted material or the panic of realizing you're running out of room.
Why Nailing the Fabric Size Is a Must
We've all been there. You get excited about a new pattern, grab your fabric, and start stitching, only to realize halfway through that you cut it too small. It's a heartbreaking moment that can ruin hours of dedicated work. On the flip side, cutting your fabric way too big just eats into your precious stash. This is why getting the hang of project sizing is one of the most practical skills you can learn.
Understanding the basics of what is cross-stitch really drives home why these initial calculations are so critical. When you get the size right from the very beginning, the whole stitching process becomes smoother and so much more enjoyable.
The Perks of Planning Ahead
Taking a few minutes to size your fabric before you make that first stitch pays off in more ways than one. It’s a small step that makes a huge difference.
- No More Sizing Stress: When you're confident your fabric is the right size, you can relax and get lost in the rhythm of stitching instead of worrying if you'll run out of space.
- A Polished, Professional Look: Proper sizing guarantees you have enough of a border for framing or turning your work into a pillow or wall hanging. It’s what gives your finished piece that clean, professional touch.
- Save Your Stash (and Money): Cutting fabric accurately means you don't waste it. This is not only good for your wallet but helps you build a more versatile stash for all your future projects.
Cross-stitching is more popular than ever, with the global market expected to hit USD 0.22 billion by 2033. This boom shows just how many people are rediscovering the pure satisfaction of creating something beautiful with their own two hands.
If you're stitching a piece as a personalized present, you might be interested in other handmade gift ideas. This custom engraving gifts guide has some wonderful inspiration for creating other kinds of unique keepsakes.
Before you can figure out the final size of your cross-stitch project, you need to get a handle on two key pieces of information: the stitch count of your pattern and the fabric count of your material. Understanding how these two things work together is the secret to planning your projects perfectly every time.
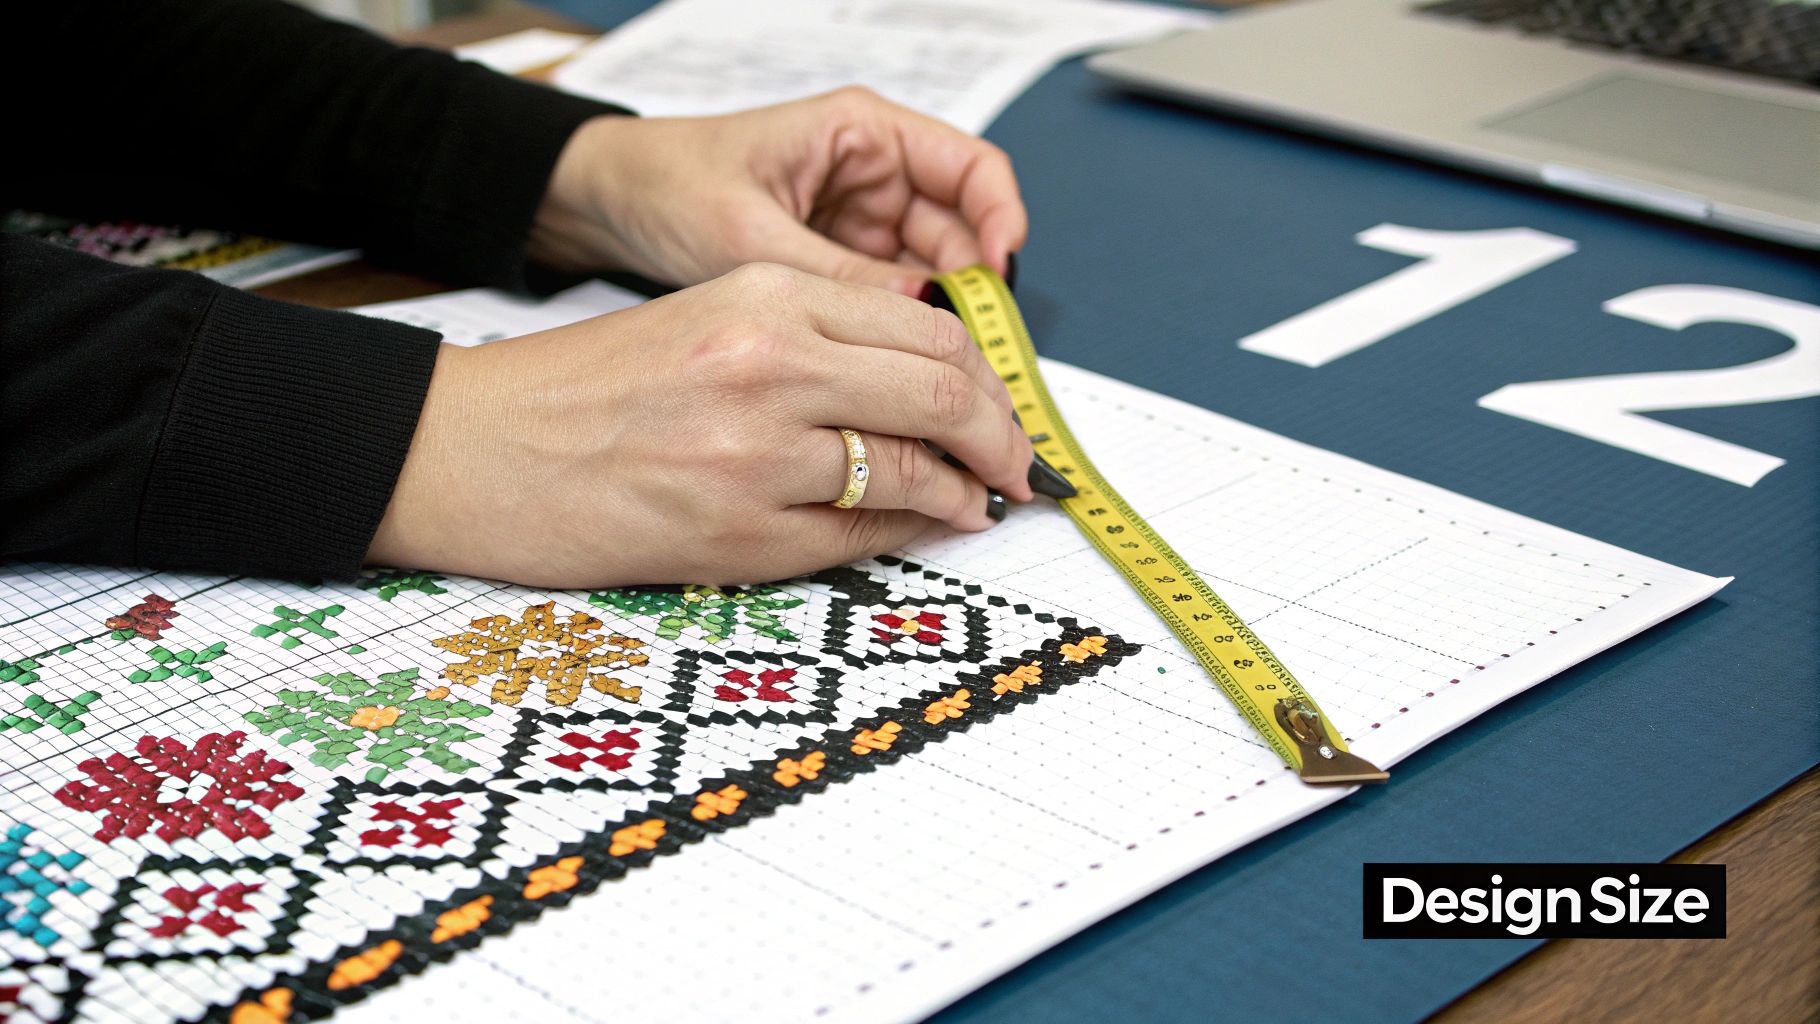
First, let's talk about stitch count. This is just the size of your design, measured in the number of stitches. You'll find this listed right on your pattern, usually as a width and height—something like 140w x 140h. This number is fixed; it’s the blueprint for your design and won't change regardless of the fabric you choose.
Now, where things get interesting is with the fabric count. This number tells you how many stitches you can fit into one inch of that specific fabric. This is the variable that can completely change the final size of your piece.
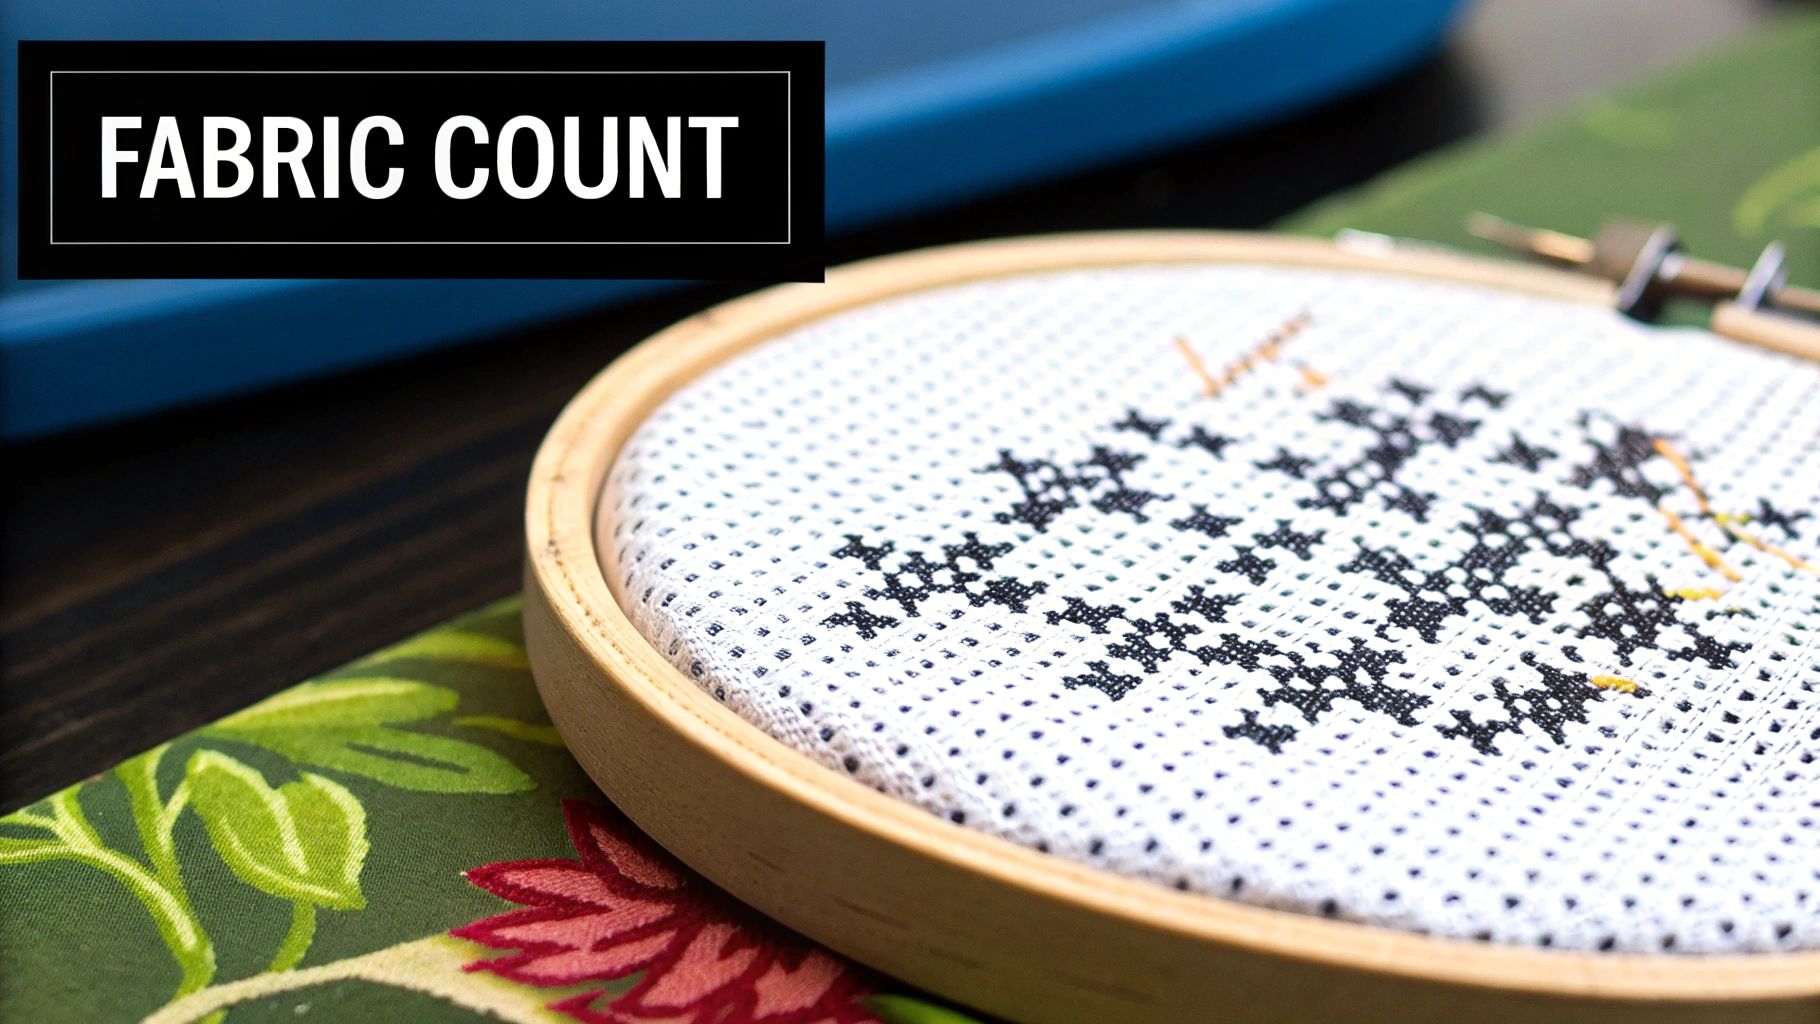
So, What Is Fabric Count?
You’ll see fabric count listed as a number, like "14-count" or "18-count." It's a simple measurement, but it has a huge impact.
Here are a few common examples you’ll run into:
- 14-count Aida: A classic for a reason! This means you can make 14 stitches per inch. It’s a great starting point for beginners because the holes are easy to see.
- 18-count Aida: The stitches are a bit smaller here, with 18 stitches fitting into each inch. This gives your finished piece a more refined and detailed look.
- 28-count Linen: Don't let the high number fool you. With linen or evenweave, you typically stitch "over two" threads, meaning one cross stitch spans two fabric threads. So, 28-count linen stitched this way works out to be the same size as 14-count Aida (28 ÷ 2 = 14).
If you're just getting started with the most popular cross-stitch material out there, our guide on what is Aida fabric is a fantastic resource for learning about its different types.
The rule of thumb is pretty straightforward: the higher the fabric count, the smaller your finished design will be. A lower fabric count gives you a larger project because each stitch takes up more space.
To give you a real-world sense of this, let's look at how the same pattern would turn out on different fabrics. Imagine your pattern has a stitch count of 140 by 140.
Finished Size Comparison by Fabric Count (For a 140x140 Stitch Pattern)
This table shows just how much fabric choice matters. Notice how the same design can be as small as 7 inches or as large as 12.7 inches.
| Fabric Count (Stitches per Inch) | Finished Design Size (Inches) | Recommended Border (Inches) | Total Fabric Size (Inches) |
|---|---|---|---|
| 11-count | 12.7" x 12.7" | 3" | 18.7" x 18.7" |
| 14-count | 10" x 10" | 3" | 16" x 16" |
| 16-count | 8.8" x 8.8" | 3" | 14.8" x 14.8" |
| 18-count | 7.8" x 7.8" | 2" | 11.8" x 11.8" |
| 20-count | 7" x 7" | 2" | 11" x 11" |
Seeing the numbers laid out like this really drives home why planning is so important. A miscalculation could leave you without enough room for a border, making framing a real headache.
This is exactly where a good cross stitch calculator comes in. Instead of doing the math yourself, you just plug in your pattern's stitch count and your fabric count, and it instantly tells you the final dimensions. It's a lifesaver for quickly comparing how different fabrics will affect your project before you commit and cut your cloth.
Doing the Cross-Stitch Math by Hand
While our cross stitch size calculator is a fantastic shortcut, knowing how to do the math yourself is a game-changer. It's a fundamental skill that frees you from relying on a tool and gives you the confidence to plan projects on the fly. Honestly, the calculation is much simpler than you might think.

It all boils down to one simple division problem: take your pattern's stitch count and divide it by your fabric's count (that's the number of stitches per inch). That's it. This gives you the final size of your stitched area.
For example, if a pattern is 140 stitches wide and you’re using 14-count Aida, your design will be exactly 10 inches wide (140 / 14 = 10). Simple, right? You can find more details on this process over at Sewing Inspo.
From Stitched Area to Total Fabric Cut
Figuring out the design size is just the first part of the puzzle. You absolutely must leave extra fabric around the edges. This border isn't just for aesthetics; it's critical for stretching the project for framing or sewing it into something functional like a pillow.
I can't tell you how many times I've seen beginners cut their fabric to the exact size of the design. It's a heartbreaking mistake because it leaves no room to properly finish the piece after pouring hours into stitching it.
As a rule of thumb, always add a minimum of three inches of extra fabric on all four sides. This means you’ll be adding a total of six inches to both your final width and height measurements.
Let's Walk Through an Example
Okay, let's put this into practice. Say you have a pattern that’s 140 stitches wide by 100 stitches high, and you’ve chosen a nice 14-count Aida for it.
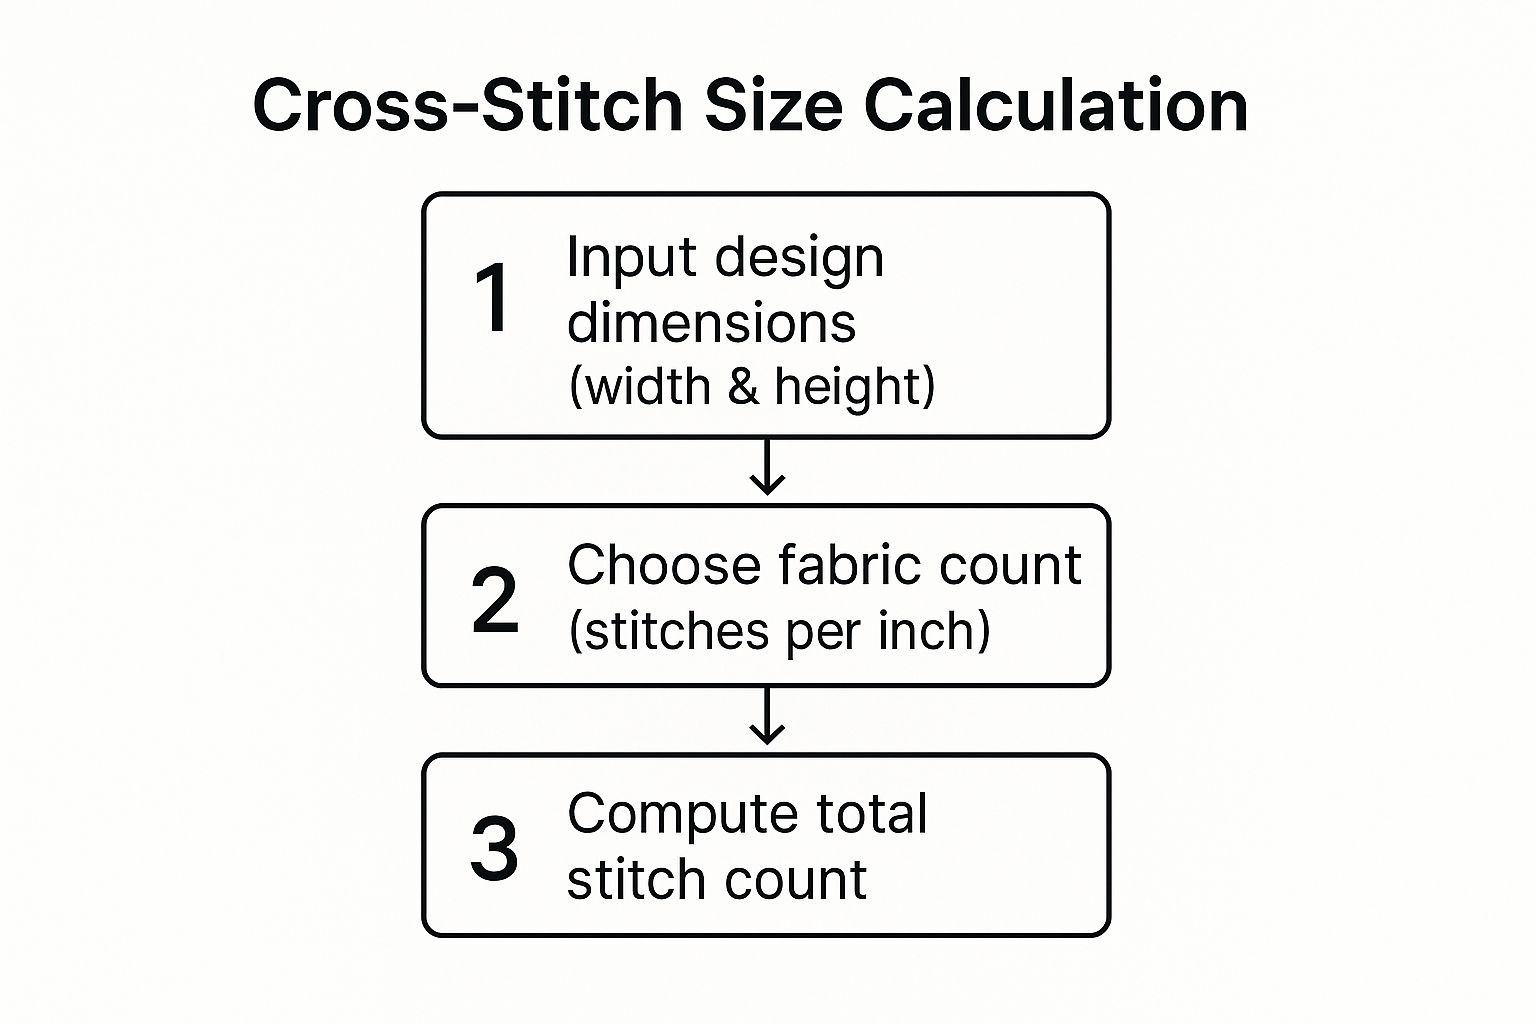
First, find your design dimensions:
- Design Width: 140 stitches ÷ 14 count = 10 inches
- Design Height: 100 stitches ÷ 14 count = 7.14 inches (let’s just call it 7.14 for now)
Next, add that crucial border for finishing:
- Total Fabric Width: 10 inches + 6 inches (for a 3" border on each side) = 16 inches
- Total Fabric Height: 7.14 inches + 6 inches = 13.14 inches
So, for this project, you’d head to the craft store and get a piece of fabric that's at least 16 by 13.14 inches. It’s always smart to round up slightly, just to be safe.
Using an Online Cross Stitch Size Calculator
Let's be honest, math isn't everyone's favorite part of cross-stitching. For those of us who'd rather be stitching than crunching numbers, an online calculator is a lifesaver. These tools do all the heavy lifting for you, giving you accurate measurements in seconds and taking the guesswork out of project planning.
Most calculators are incredibly user-friendly. You just need a couple of key details from your pattern and fabric.
- Stitch Count (Width & Height): This is the size of your design, measured in stitches. You'll find this on the front page or near the key of your pattern chart.
- Fabric Count: This is the "count" of your fabric, like 14-count Aida or 28-count linen. It just means how many stitches fit into one inch.
- Border Size: This is the extra fabric you want to leave around your design for framing or finishing. A 3-inch border is a safe bet for most framing projects.
Plugging In Your Numbers
Once you have your info, you just pop it into the calculator. You'll input your stitch count, select your fabric count, and let the tool work its magic.
The calculator instantly tells you two things: the final dimensions of your stitched design and the total piece of fabric you'll need, border included. It’s that simple.
What I love about these tools is how easy they make it to play around with different options. Ever wonder how much smaller your project would be on 18-count Aida instead of 14-count? Instead of re-doing all the math, you can just change one number in the calculator and get an instant answer.
The real game-changer is the ability to quickly see if a project will work for a specific frame you already own. Just plug in the numbers, toggle between fabric counts, and see which one gives you the perfect dimensions. It turns a potential headache into part of the creative process.
Estimating How Much Floss You Need
https://www.youtube.com/embed/G-43xPhEYUU
You've got your fabric perfectly cut and ready to go. Now for the next big question: do you actually have enough floss to see this project through? There's nothing worse than running out of a specific color mid-stitch, especially if it's from a unique dye lot that's hard to match. It's a classic stitcher's nightmare, but thankfully, one you can avoid with a little bit of planning.
How much floss you burn through depends on a few different things. The most obvious factor is how many strands you're using. If you're stitching with two strands, you'll get about half the mileage out of a skein compared to using just one. The fabric count also makes a real difference. Tighter weaves like 18-count Aida have smaller squares, meaning each stitch uses slightly less thread than on a more open weave like 14-count.
What Affects Your Floss Usage?
Believe it or not, your personal stitching habits play a huge part. If you tend to pull your stitches tight or you carry your thread across long gaps on the back of your work, you're going to use more floss. Someone with looser tension who keeps the back of their work tidy will find their thread goes a bit further.
So, how do you get a solid estimate? It all comes down to the number of stitches for each color, tweaked for your fabric and technique. As a general rule of thumb, one standard six-strand skein of floss will give you around 200-250 full cross stitches on 14-count Aida if you're using two strands.
My best advice? To completely avoid running out, just buy all the floss your pattern calls for before you start. If you're designing your own piece or changing colors, it's always smarter to buy more than you think you'll need. A few extra skeins are a much smaller problem than a project you can't finish.
Most quality patterns will give you a floss estimate right in the color key. If yours doesn't, or if you're working on your own design, online thread calculators are a lifesaver. You just plug in how many stitches you have for a particular color, and it will tell you roughly how many skeins to buy.
For a deeper dive into the different kinds of thread and what they're best for, our complete guide to cotton embroidery thread is a great resource. It can help you pick the perfect thread to get the look and feel you want for your project.
Your Top Cross-Stitch Sizing Questions, Answered
Even the most seasoned stitchers run into questions about fabric size. It’s totally normal! Getting these little details right from the start can save you a world of frustration later on. Let's walk through some of the most common puzzles stitchers face.
What If I Use a Different Fabric Count?
This is probably the number one question I hear. You've found the perfect pattern, but you want to use a different fabric than the one recommended. The short answer? It will absolutely change the final size of your project.
If you switch from a 14-count Aida to an 18-count, for instance, your design will come out smaller. The stitches are tinier and closer together, giving the finished piece a more refined look. On the flip side, moving to a lower count like 11-count will make your project larger and give the stitches a chunkier, more defined appearance.
This is exactly where a cross stitch size calculator becomes your best friend. Before you make a single cut, you can plug in the numbers and see precisely how big your piece will be on different fabrics. It takes all the guesswork out of the equation.
How Much Extra Fabric Do I Really Need for a Border?
Don't skimp on this! I've seen too many beautiful projects ruined by not leaving enough of a border. It’s a finishing nightmare waiting to happen.
The gold standard is to add at least 3 inches of extra fabric to each side of your design's dimensions.
That means you'll add a total of 6 inches to both the final height and width you calculated. This buffer gives you plenty of room to work with a hoop or q-snap without cramming your stitches. More importantly, it provides the necessary fabric for a professional framer to properly stretch and mount your work. Trust me, it's worth it.
Does the Calculator Work for Linen or Evenweave?
Yes, it does! You just have to remember one key detail about these fabrics. We typically stitch "over two threads" on linen and evenweave, which effectively cuts the thread count in half.
For example, if you're working with 28-count linen, stitching over two threads makes it behave just like 14-count Aida. The math is simple: 28 ÷ 2 = 14.
So, when you use a calculator for that 28-count linen, just enter 14 as the fabric count. This little trick ensures your size calculations will be spot on.
Ready to turn your favorite photos into timeless stitched art? At Cross Stitched, our custom kits provide everything you need to create a personalized masterpiece. Upload your photo today and start stitching your memories.


