
Ready to start your first cross-stitch project? It's easier than you might think. You only really need five key things to get going: a piece of fabric, some thread, a needle, a hoop to keep it all steady, and of course, a pattern to follow.
Think of these as the absolute must-haves for your first stitched masterpiece.
Your Essential Cross Stitch Starter Kit
Jumping into a new hobby should be exciting, not a chore. The great thing about cross-stitch is that the barrier to entry is super low, and the list of what you need is refreshingly simple. Getting your first kit together is a breeze and sets you up for hours of creative fun.
It’s a bit like getting the ingredients for a new recipe. You have your core components that are non-negotiable for success. Just as a good a photography starter kit for beginners sets a new photographer on the right path, having these five cross-stitch essentials will ensure your first project is a joy to create.
The 5 Core Cross Stitch Essentials
Over the years, the materials available for cross-stitch have expanded, which is great for stitchers of all levels. For fabric, the most common choices are aida cloth and linen, which come in different "counts." The count just tells you how many stitches you can fit into one inch of fabric.
For example, aida cloth usually comes in counts from 11 to 18, making it a fantastic, easy-to-see canvas for beginners.
To make things crystal clear, here’s a quick rundown of the five essential items you'll want to grab.
The 5 Core Cross Stitch Essentials
Here's a quick summary of the absolute basics you'll need to get started on your cross-stitch journey.
| Essential Item | Primary Purpose | Beginner Recommendation |
|---|---|---|
| Fabric | This is the gridded canvas where you'll make your stitches. | 14-count Aida cloth in a light color. |
| Thread | Called embroidery floss, this is what brings color to your design. | A few skeins of DMC six-strand cotton floss. |
| Needle | A tapestry needle with a blunt tip and large eye is perfect for this. | A size 24 tapestry needle. |
| Hoop | This gadget holds your fabric tight, which helps you make neat, even stitches. | A 5-inch or 6-inch wooden or plastic embroidery hoop. |
| Pattern | This is your roadmap, showing you which colors go where. | A simple, small pattern with just a few colors. |
With these five items in hand, you have everything you need to dive in and start stitching
Choosing the Right Cross Stitch Fabric
Think of your fabric as the canvas for your masterpiece. Getting this one choice right can make the difference between a frustrating first attempt and a relaxing, enjoyable project. It’s like building a house—you need a solid, reliable foundation to make sure the final result is something you can be proud of. This is exactly why most stitchers get their start with Aida cloth.
Aida is a wonder-fabric for beginners. It's woven from cotton into a very clear grid of squares with easy-to-see holes, which takes all the guesswork out of where to put your needle. This simple structure lets you focus on the fun part: bringing your pattern to life with color.
At its core, every cross stitch project boils down to three absolute essentials: the fabric, the thread, and a needle.
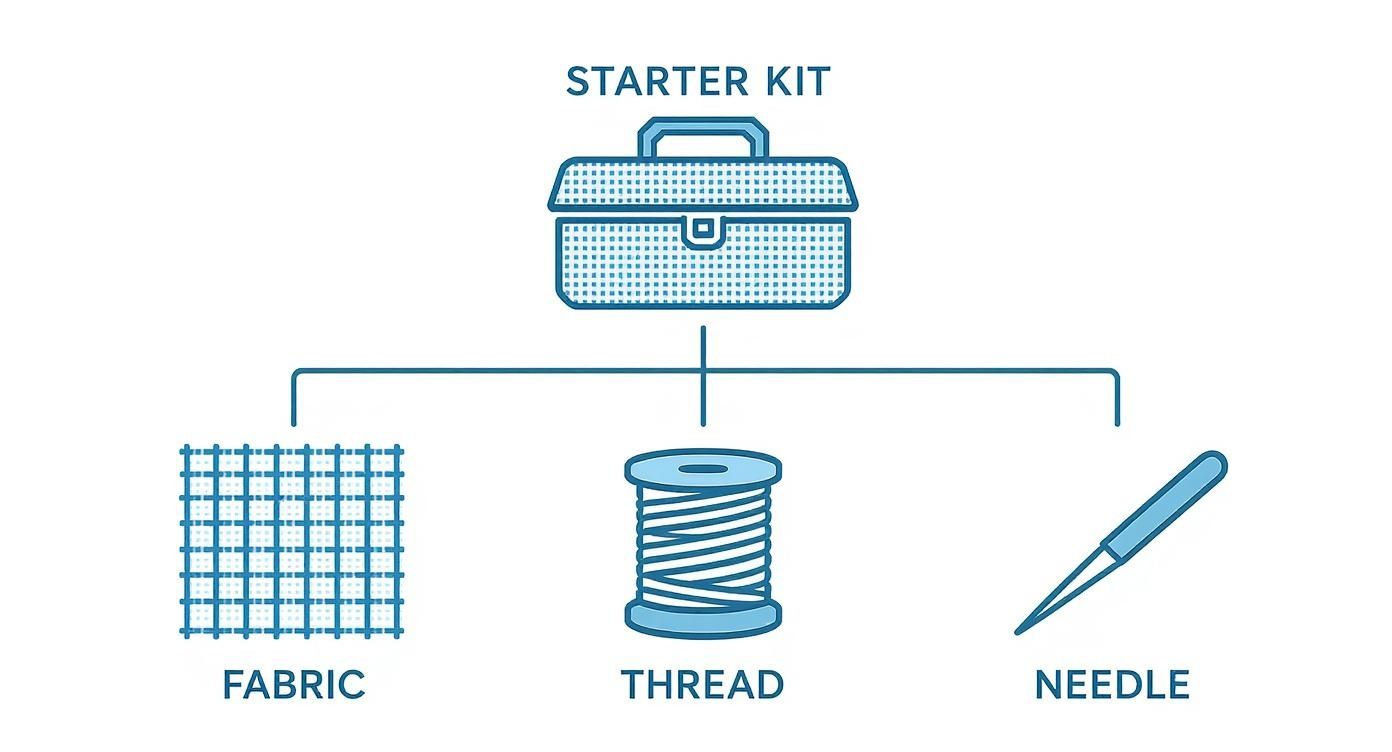
Without these three key players, you simply can't get started. Everything else is just a helpful extra.
Understanding Fabric Count
When you start looking at Aida fabric, you'll immediately notice numbers like 11-count, 14-count, or 18-count. Don't let the jargon intimidate you! This number is just a simple way of saying how many little squares (and therefore, stitches) you can fit into one inch of that fabric.
Think of it like the resolution on a TV screen. A lower fabric count is like a lower resolution—the pixels, or in our case stitches, are bigger and easier to see. This makes it perfect for newcomers.
For anyone just starting out, 14-count Aida is the undisputed champion. Its squares are big enough that you won't be squinting, but they're still small enough to create a nice, detailed image when you're finished. Once you get a few projects under your belt, you might feel ready to tackle higher counts like 18-count for more intricate and detailed patterns.
To make it easier to visualize, here’s a quick breakdown of the most common Aida counts:
Aida Fabric Count Comparison
| Fabric Count | Stitches Per Inch | Best For | Difficulty Level |
|---|---|---|---|
| 11-Count | 11 | Children, absolute beginners, or projects needing a chunky, quick-to-finish look. | Easiest |
| 14-Count | 14 | The go-to for beginners. Great visibility and good detail. The most common count. | Beginner-Friendly |
| 16-Count | 16 | A great next step after 14-count. Stitches are slightly smaller, offering more detail. | Intermediate |
| 18-Count | 18 | For experienced stitchers looking for a highly detailed, almost pixel-perfect finish. | Advanced |
As you can see, the higher the count, the smaller and more detailed your work will be—but the more challenging it is to work with. Stick with 14-count for now, and you can’t go wrong.
Other Fabric Types
While Aida is the king for beginners, it’s not the only fabric out there. You'll also hear about linen and evenweave. These fabrics don't have the same obvious grid of holes, so stitchers have to count threads (usually stitching "over two" threads at a time). They give projects a more traditional, delicate feel but are definitely best saved until you're more comfortable with the basics.
If you’re curious about all the options, you can explore them in our guide on choosing the best fabric for cross stitch.
How Much Fabric Do You Need?
There’s nothing worse than getting halfway through a project only to realize you’re about to run out of fabric. A little bit of simple math up front can save you a huge headache later. First, find the dimensions of your design in your pattern, which will be listed in stitches (for example, 70 stitches wide by 98 stitches high).
Here's how to figure out the final size of your stitched piece:
- Divide the stitch count for each dimension by your fabric count. So, for a 70-stitch-wide design on 14-count Aida, you'd do the math: 70 / 14 = 5 inches.
- Always add a border! You need extra fabric around your design for handling and framing. A good rule of thumb is to add at least 3 inches on all four sides. This means adding a total of 6 inches to both the final width and height.
Using our example, a design that will be 5 inches wide needs a piece of fabric that is at least 11 inches wide (5 + 6). This extra fabric is your safety net—it gives you plenty of room to stretch your project in a hoop while you work and ensures a framer can mount your masterpiece perfectly later on.
Getting to Know Your Threads and Needles
If your fabric is the canvas, then your thread and needles are the paint and brushes. They're the dynamic duo that brings colour, texture, and life to your design. Getting a good handle on these two simple tools is one of the most important first steps, and it’s what will make your stitching feel smooth and fun right from the get-go.
The thread you'll see most often is called six-strand embroidery floss. Picture a tiny little rope made from six individual threads all twisted together. The secret is that you rarely use the whole "rope" at once. For most projects, you'll gently separate out just one or two of those strands to do your stitching.
This is where a lot of beginners get tripped up! Using too many strands at once can make your stitches look bulky and crowded, while using too few might leave frustrating gaps where the fabric shows through.
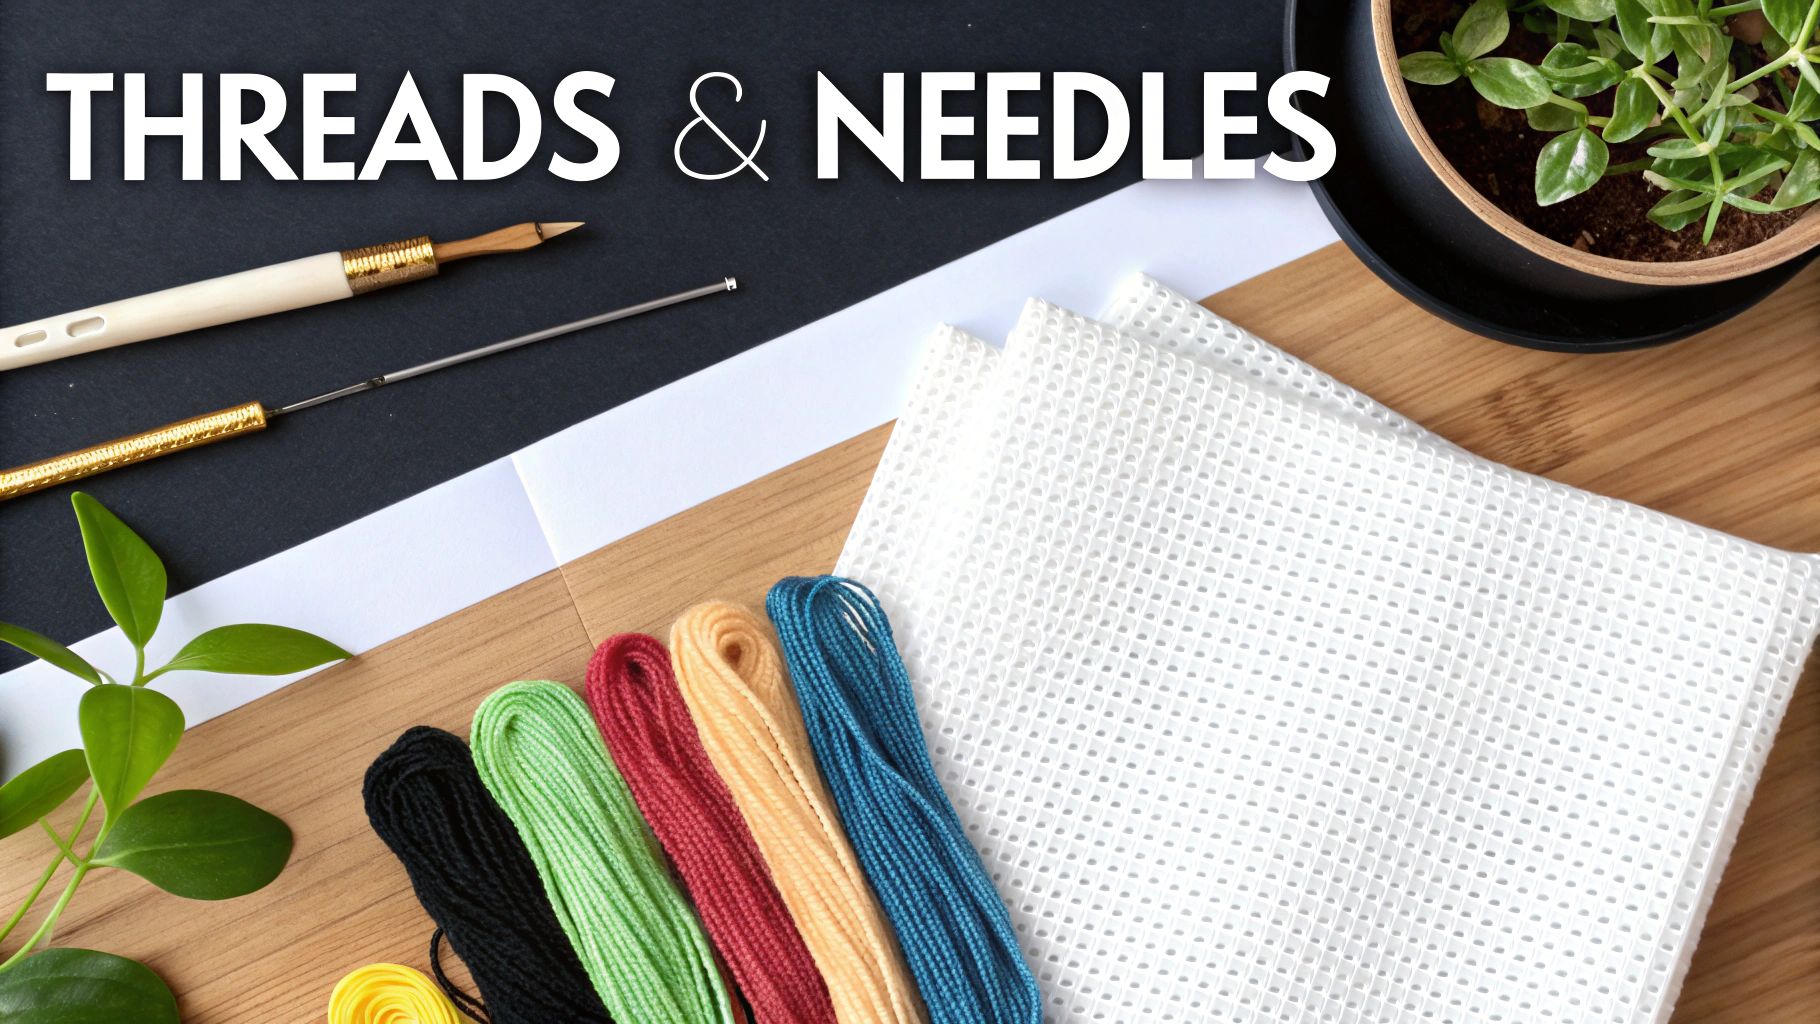 Cross stitch supplies including colorful embroidery threads, needles, and white aida fabric on wooden board">
A Little More About Embroidery Floss
Standard cotton floss is the bread and butter for stitchers everywhere. You'll quickly become familiar with powerhouse brands like DMC and Anchor. These guys are the industry standard for a reason—they offer a mind-boggling spectrum of colours. DMC alone has a library of over 450 shades, so you’ll never be short of the perfect hue. For a deeper look at all the different types, we have a complete guide to embroidery floss for cross stitch.
To separate the strands, just pinch the end of the floss and gently pull one single thread straight up and out from the bunch. The key is to go slowly and steadily to keep it from tangling into a knot.
As a rule of thumb, using two strands of floss on 14-count Aida fabric is the magic recipe. It gives you stitches that look full, neat, and have great coverage.
Picking the Perfect Needle
Thankfully, choosing a needle is much more straightforward. For cross stitch, what you're looking for is a tapestry needle. Unlike the sharp, pointy needles used for regular sewing, a tapestry needle has a blunt, rounded tip and a much larger eye.
The blunt tip is the key here. It’s designed to slip easily through the existing holes in your Aida fabric instead of piercing right through the woven threads. This is what protects the fabric's grid structure and ensures all your stitches look wonderfully uniform.
Needles come in different sizes, and just like with fabric, the numbering system can feel a bit backwards at first: the larger the number, the smaller the needle. You want a needle that’s just big enough to open the fabric's hole so your thread can pass through smoothly, but not so big that it stretches the hole out.
For the most common beginner fabric, 14-count Aida, a size 24 tapestry needle is your ideal partner.
Here’s a quick cheat sheet for matching your needle to your fabric:
- 11-Count Aida: Go for a size 22 tapestry needle.
- 14-Count Aida: A size 24 tapestry needle is perfect.
- 18-Count Aida: You'll want a size 26 tapestry needle.
Matching these two correctly makes every stitch a breeze instead of a battle. It’s one of those small details that has a huge impact on how much you enjoy the process and love the final result.
Choosing Your Hoops and Essential Tools
Once you have your fabric and thread, you'll need a few other key items. Think of these as the trusty sidekicks that make the whole cross-stitching adventure smoother and far more fun.
The most important of these is an embroidery hoop. A hoop is like an extra set of hands, keeping your fabric pulled tight and even while you work. Without one, your fabric can go slack, causing your stitches to look uneven and your finished piece to pucker. It’s a simple tool that makes a huge difference in the quality of your work.
For your first project, you really can't go wrong with a classic wooden or bamboo hoop. They're cheap, you can find them anywhere, and they're incredibly straightforward to use. They come in two pieces—an inner ring and an outer ring with a little screw on top. You just sandwich your fabric between them and tighten the screw to get a nice, taut surface.
You’ll also need a good pair of small, sharp scissors. Sure, you could use the ones from your kitchen drawer, but a dedicated pair of embroidery scissors with a fine, sharp point will let you snip your threads cleanly, right up close to the fabric. No more fuzzy ends or struggling to thread a frayed needle!
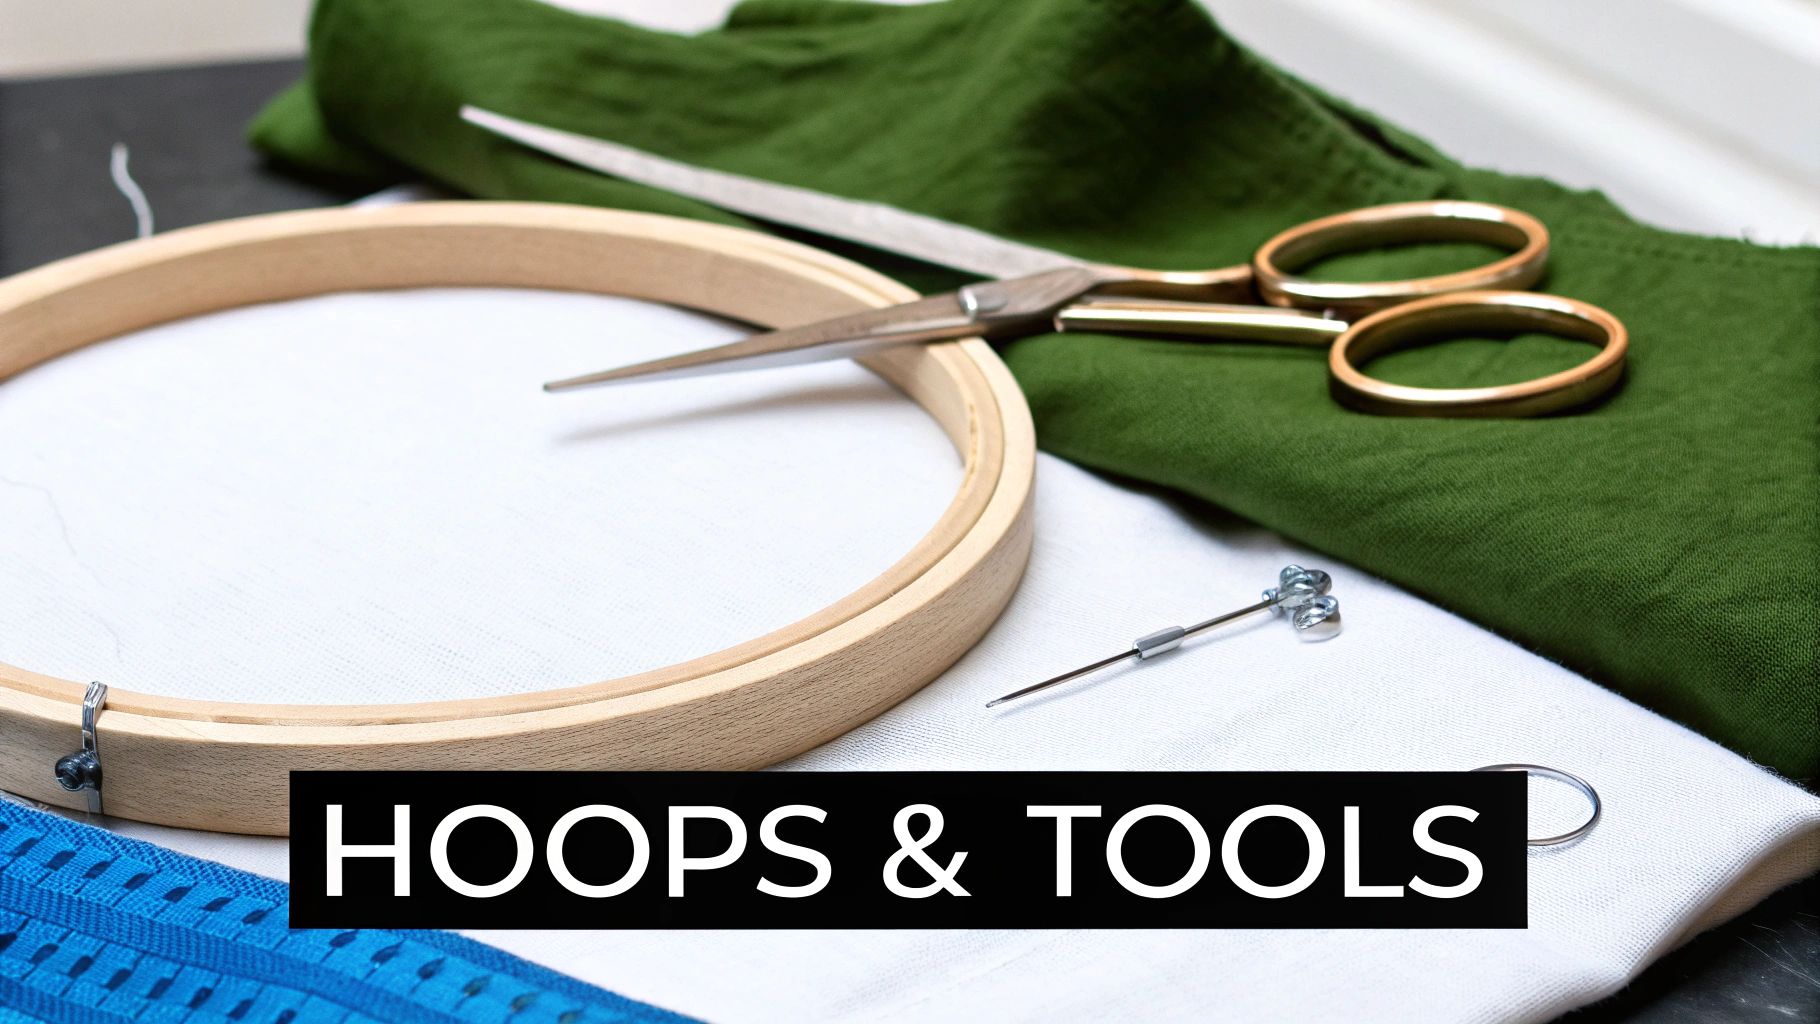 Embroidery hoop with white fabric, scissors, needle, and green cloth showing essential cross stitch supplies">
Different Types of Hoops and Frames
While that simple wooden hoop is the perfect place to start, as you get more into the craft, you'll see there's a whole world of options out there. Each one has its own perks, depending on the project and what feels best in your hands.
- Wooden or Bamboo Hoops: The tried-and-true classic. They’re lightweight, budget-friendly, and ideal for most small to medium projects. A 5 or 6-inch hoop is a fantastic size to begin with.
- Plastic Hoops: These often have a special "super grip" lip that holds your fabric even more securely than a standard wooden hoop. This is great for preventing your fabric from slipping during longer stitching sessions.
- Q-Snap Frames: Instead of being round, these are square or rectangular frames made from PVC tubes. You clip your fabric onto the frame, which keeps it perfectly taut. They're a favorite for larger projects because they don't leave those stubborn "hoop marks" on your fabric.
Honestly, the "best" choice really comes down to what you find most comfortable. Don't be afraid to try a few different types over time to see what fits your stitching style.
Cross stitch is supposed to be relaxing, not a source of frustration. Getting the right tools from the start just smooths out the learning curve so you can focus on the fun part. In fact, one study even showed that crafting hobbies like stitching can lower your resting heart rate—proof that it’s genuinely good for you!
Helpful Extras for Your Toolkit
Once you’ve got a project or two under your belt and you know you’re hooked, you can start exploring some of the fun "quality-of-life" gadgets. These aren't must-haves for day one, but they can make a world of difference.
A needle minder is one of the most popular accessories for a reason. It's a tiny, decorative magnet that sits on top of your fabric, held in place by a second magnet on the back. It gives you a safe spot to park your needle when you take a break or switch thread colors. No more lost needles in the sofa cushions!
Another game-changer is a floss organizer. This could be a simple plastic box filled with bobbins for you to wind your thread onto, or a more complex system with rings and tags. Keeping your floss neatly organized by color number not only prevents a tangled nightmare but also saves a ton of time hunting for the right shade. These little upgrades can really make your stitching time feel more like a treat.
How to Read a Cross Stitch Pattern
https://www.youtube.com/embed/aBVRqv2LBZo
Think of your cross stitch pattern as a treasure map. It’s the guide that leads you stitch by stitch to your finished masterpiece. At first, it might just look like a grid full of confusing symbols, but once you crack the code, it’s surprisingly straightforward.
The whole pattern is laid out on a grid, and each little square on that grid corresponds directly to one square of your Aida fabric. The symbol sitting inside that square tells you exactly what color thread to use. It's a perfect one-to-one match: one symbol on the chart means one "X" stitch on your fabric.
Decoding the Pattern Key
Every pattern worth its salt comes with a symbol key, or legend. This key is your personal translator, turning the abstract symbols on the chart into the vibrant colors of your project. Next to each symbol, you'll see a specific floss number, like DMC 310 for a classic black.
This little key takes all the guesswork out of color matching. You're not trying to eyeball shades on a screen or a printed page. Instead, you just find a symbol on the grid, look it up in the key, and grab the thread with the matching number. Easy.
It's amazing how many patterns are out there now, especially with so many available for instant download. This digital shift has opened up the craft to everyone, letting you find a design you love and get stitching right away. If you're curious, you can read more about this trend in needlecraft.
Finding Your Starting Point
The secret to a perfectly framed piece? Centering. You need to find the middle of your fabric and the middle of your pattern before you make a single stitch. Most designers make this easy by marking the center of the pattern with arrows or bold lines along the edges of the grid. Just follow them to where they cross, and that's your starting point.
To find the center of your fabric, just fold it in half lengthwise and give it a little crease. Then, fold it in half the other way (widthwise). The point where the two creases cross is your exact center. A light pinch is all you need to mark the spot.
Starting in the middle is a pro move that guarantees your design won't end up lopsided or, even worse, run right off the edge of the fabric. It’s the best way to set yourself up for a beautiful finish. By working from the center outward, you ensure everything lines up just right.
Should You Buy a Kit or Supplies Separately?
So, you're ready to gather your cross-stitch supplies. Right away, you'll run into a classic beginner's dilemma: do you buy a pre-made kit, or do you hunt down all the supplies individually?
Think of it like learning to bake. A cake mix gives you all the measured ingredients and simple instructions, making a delicious result practically foolproof. Baking from scratch, on the other hand, lets you choose premium chocolate and fresh-from-the-farm eggs, but you have to know what you’re doing.
Both paths are valid, but for your very first project, there's a clear winner.
The Case for Starting with a Kit
If you’re just dipping your toes into cross-stitching, I almost always recommend starting with a kit. It’s the single best way to sidestep the initial overwhelm.
- Zero Guesswork: A kit bundles everything you need—the right fabric, all the floss colors, a needle, and the pattern—into one tidy package. You can literally open it up and start stitching within minutes.
- Budget-Friendly: Buying a complete kit is almost always cheaper than purchasing each item on its own, especially when you're starting from scratch with no supply stash.
- Built for Success: The pattern designer has already figured everything out for you. The fabric count, needle size, and floss amounts are all perfectly matched to ensure the project works.
A good kit is like a self-contained workshop. It’s your personal stitching tutor, guiding you through the process so you can focus on learning the craft without the headache of sourcing materials.
When to Buy Supplies Individually
After you finish that first kit and realize you're officially hooked on cross-stitch, that's when the real fun begins. Buying your supplies individually is the logical next step, and it opens up a whole world of creative freedom.
This is your chance to pick any pattern you love from the thousands of amazing designers online. You can also start upgrading your tools, maybe swapping your basic hoop for a higher-quality one or trying out a luxurious new fabric. It's all about building a personal toolkit that you love to use.
Ultimately, kits are the perfect launchpad. For a deep dive into what makes a great one, check out our guide on choosing the best cross-stitch kit for beginners. They offer a fantastic, controlled introduction to the hobby. Once you have that first successful project under your belt, you’ll be ready to confidently pick and choose your own supplies for everything you want to create next.
Your First Stitch: Bringing It All Together
You've made it through the prep work! You’ve picked out your Aida, made sense of the floss, and gathered all the right tools. Now for the best part—making that very first stitch. This is where the magic really begins.
Think of cross stitch as a journey, not a race. It's all about finding a relaxing rhythm. So, grab a comfy chair, maybe put on some music or a podcast, and just enjoy the simple, satisfying act of pulling thread through fabric. Every little "X" is a step forward, slowly but surely building a piece of art that’s all yours.
Set Yourself Up for Success
A little bit of setup can make a world of difference to your stitching experience. Carve out a little nook for yourself where you can be comfortable and see what you're doing.
- Let There Be Light: Good lighting is non-negotiable. Try to have a lamp shining over your shoulder to get rid of shadows. Your eyes will thank you later!
- Keep Things Handy: Have your scissors, floss, and pattern right there next to you. You'll get into a much better flow if you're not constantly searching for your supplies.
- Get Comfortable: Whether you're in your favorite armchair or at the kitchen table, make sure you're not hunched over. Good posture makes for longer, happier stitching sessions.
The most important rule? There are no rules. The whole point is to relax and make something you're proud of. As you finish your first piece, you might even find it opens the door to explore other creative arts.
You're also joining a huge, welcoming community. The global cross-stitch market has been booming and is expected to keep growing through 2035, mostly because of all the amazing online groups where people share their work and cheer each other on. You can read more about the craft's growing popularity at ReportOcean.com if you're curious!
You officially know everything you need to get started. All that’s left is to dive in. So go on, thread that needle, make your first "X," and watch your design come to life. Welcome to your new favorite hobby.
Ready to turn a cherished memory into a timeless work of art? At Cross Stitched, we make it easy to create a personalized cross-stitch kit from your favorite photo. Start designing your custom kit today!


