
A beautiful cross-stitch piece isn't just about the stitching; it's born from thoughtful preparation and the right materials. Getting these foundational steps right from the start is the best way to sidestep common frustrations and make sure your final project is something you're proud of.
Setting Up Your Project for Success
Your journey to a flawless finish begins with your supplies. While it might be tempting to pick out individual threads and fabrics, I can't recommend a high-quality kit enough, especially if you're just starting out. A kit with pre-sorted threads is a true game-changer. It saves you hours of tedious matching and sorting and, more importantly, helps you avoid using the wrong shade—a mistake that's notoriously hard to spot until you're way too far in.
It's fascinating to see how many people are picking up this craft. The global cross-stitch market is booming, valued at USD 0.15 billion and expected to climb to USD 0.22 billion by 2033. This renewed interest, partly sparked by people looking for mindful hobbies during the pandemic, just shows how many are discovering the simple joy of creating with a needle and thread.
Choosing Your Aida Fabric
The fabric you choose, particularly the Aida count, has a massive impact on how your finished project looks. The "count" simply means the number of squares (and stitches) you can fit into one inch of fabric.
A lower count, like 14-count Aida, has bigger squares, which makes it perfect for beginners. The holes are easy to see, and the stitches look bold and clear. But if you're tackling something with a lot of intricate detail, like a custom photo pattern, you'll want a higher count. The smaller stitches on an 18-count fabric create a much smoother, more "pixel-perfect" image. For a portrait, that difference can be what makes a face look like a face, instead of just a colorful blur.
For a deeper dive into materials, check out our guide on essential embroidery supplies for beginners.
To make it easier, here's a quick guide to help you pick the right Aida for your project.
Aida Fabric Count Selection Guide
| Aida Count | Stitches Per Inch | Best For | Recommended Thread Strands |
|---|---|---|---|
| 11-count | 11 | Kids' projects, beginners, rustic designs | 3-4 strands |
| 14-count | 14 | Beginners, most standard kits, clear stitches | 2-3 strands |
| 16-count | 16 | Intermediate projects, good detail, easy on the eyes | 2 strands |
| 18-count | 18 | Advanced patterns, photo realism, full coverage | 2 strands |
| 22-count+ | 22+ | Expert-level detail, miniature work, petit point | 1 strand |
Ultimately, your choice depends on the level of detail you want and what your eyes are comfortable with. Don't be afraid to experiment!
Preparing Your Canvas
Once you've got your fabric, a little prep work goes a long way in preventing puckering and distortion down the road. The first thing you should always do is find the center of your fabric and your pattern. Most charts will have arrows pointing to the center lines. To find the center of your fabric, just fold it in half lengthwise, then in half again widthwise. The corner where the folds meet is your starting point.
Pro Tip: Always, always secure your fabric in an embroidery hoop or a frame. This is the secret to getting beautiful, uniform stitches. It keeps the tension even across the whole piece. Just be careful with stretchier fabrics—don't pull them drum-tight, or you'll get puckering the second you take it out of the hoop.
Mastering the Art of the Perfect Stitch
This is where your project really starts to take shape. The difference between a simple craft and a genuine piece of art often comes down to the tiny details in your stitching technique. The secret isn't complicated; it's all about a few key practices that make sure every "X" is uniform, plump, and perfectly placed.
The first habit to get into? Ditch the knots. It feels natural to tie a knot to start or end a thread, but this creates little bumps on the back of your fabric. Those bumps can easily show through on the front, creating a lumpy finish. The goal is always a clean, flat reverse side.
Clean Starts and Secure Finishes
For starting your thread, one of the neatest and most secure methods is the loop start. It works beautifully anytime you're using an even number of strands, like the standard two.
- Take a single strand of floss, but cut it to twice the length you normally would.
- Fold it perfectly in half.
- Thread the two cut ends through the eye of your needle, which will leave a small loop at the other end.
- Bring your needle up from the back of the fabric to make your first half-stitch, but don't pull the thread all the way through just yet.
- Flip your work over, and you'll see that loop. Just pass your needle through it and gently pull it snug. Your thread is now securely anchored without a knot in sight.
Ending a thread is just as simple. Once you're done with a color, weave the tail end under three or four completed stitches on the back. Then, snip it close to the fabric. This buries the tail and keeps everything secure.
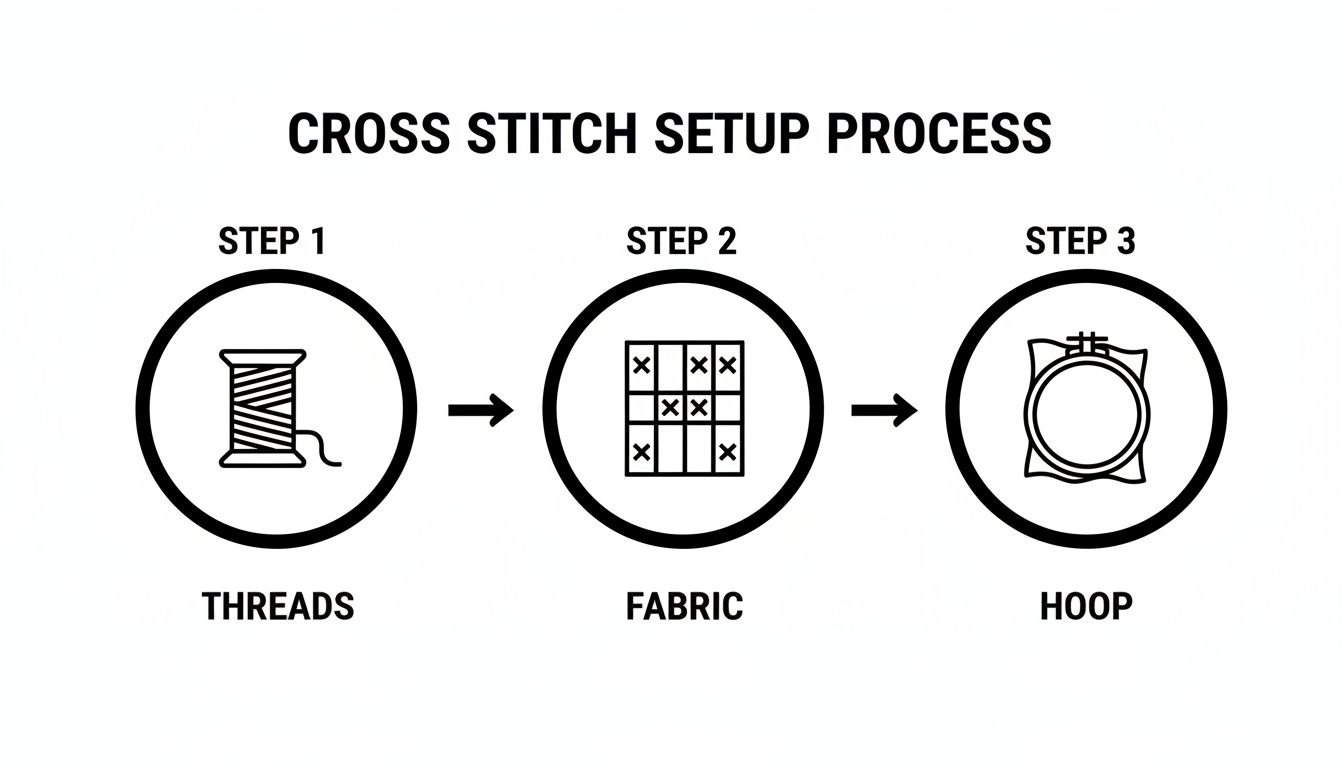
This simple workflow—from thread to fabric to hoop—is the foundation for every project. Getting this setup right from the beginning paves the way for high-quality stitching.
The Feel of Perfect Tension
Consistent tension is the unsung hero of beautiful cross-stitch. If you pull your threads too tight, the fabric will pucker and distort. If your stitches are too loose, they’ll look floppy and uneven. You're aiming for that sweet spot where the thread lies flat against the fabric but still has a bit of "loft."
A good way to check is to see if your stitch just kisses the fabric. It shouldn't pull on the Aida cloth or warp the square shape of the grid. Each stitch should look full and neat, nicely covering the fabric holes.
This skill is crucial as you move on to more intricate patterns. The needlecraft patterns market is booming, expected to grow from USD 34,026.8 million to USD 63,872.9 million by 2035, according to a report from Future Market Insights. Custom photo patterns are a huge part of this trend, and for those, you’ll want a 16 or 18-count fabric for the best detail—which requires excellent tension control. Kits from Cross Stitched often include premium threads that resist fading by 90%, so you know that detailed work you put in will last for decades.
Adding Finesse with Specialty Stitches
Once you’re feeling confident with the basic cross stitch, you can add incredible depth and detail with a few specialty stitches. More advanced patterns often call for these to create smooth curves and crisp, clean lines where a full 'X' just won't do.
- Fractional Stitches: These are your quarter (¼) and three-quarter (¾) stitches. A quarter stitch is just one diagonal line going from a corner to the center of a fabric square. A three-quarter stitch combines that with a half stitch, which is perfect for rounding out edges on things like lettering or faces.
- Backstitching: This is what makes a design truly pop. Usually done after all the cross stitching is finished, backstitching acts as an outline for shapes, text, and other fine details. It’s typically stitched with just a single strand of floss to create a sharp, defined line.
Getting comfortable with these techniques is a huge step forward in your stitching journey. For a closer look at how to master them, check out our guide to different types of cross stitch stitches.
How to Read Cross Stitch Charts with Confidence
Think of your cross-stitch chart as the blueprint for your masterpiece. When you first unfold it, that grid of symbols can look a little intimidating—like a secret code. But once you learn to decipher it, that confusing page transforms into a clear, row-by-row guide to your project. It's probably the single most important skill you'll learn.
Every chart, no matter how simple or complex, boils down to two core parts: the grid and the legend (or key). The grid is a direct map of your fabric; each tiny square represents one full cross stitch. The symbols packed into those squares are the real magic—they tell you exactly which color of thread to use.
Decoding the Symbols and Color Key
The legend is your translator. It's a list that matches every symbol on the grid to a specific thread color, usually identified by its official number from a brand like DMC. For instance, you might see that a solid black circle (●) corresponds to DMC 310 (a classic black), while an asterisk (*) is assigned to DMC 742 (a bright tangerine).
If you're working with a kit, that color key is your lifeline. The threads have been pre-sorted to match the symbols perfectly, so there's no guesswork involved. One of my top tips for anyone starting out is to just trust the key.
Here’s a great example from a tool called Pic2Pat, which can turn your own photos into stitchable patterns. You can see how the image is broken down into a grid of symbols, each with a corresponding color.
This really shows that crucial connection between the symbols on the chart and the colors you'll be threading onto your needle.
Navigating More Complex Chart Features
As you move on to more detailed patterns, you'll start seeing more than just the basic symbols for full stitches. Getting a handle on these extra elements is what really takes your finished piece to the next level.
- Backstitch Lines: See those bold, solid lines that run along the grid or cut diagonally through the squares? That's backstitch. It's used for outlining shapes, adding text, and creating all those fine details that make a design pop. The legend will tell you which color to use.
- Fractional Stitches: Some symbols might look smaller or appear to be split across a square. These are calling for fractional stitches (like quarter or three-quarter stitches). They're essential for creating smooth curves and avoiding a "blocky" look on diagonal lines.
- Blended Threads: Ever see a square with two different symbols squeezed inside? That’s your cue to use a blended needle. You'll take one strand of each of the two corresponding colors and stitch with them together. It’s a beautiful technique for creating subtle shading and depth.
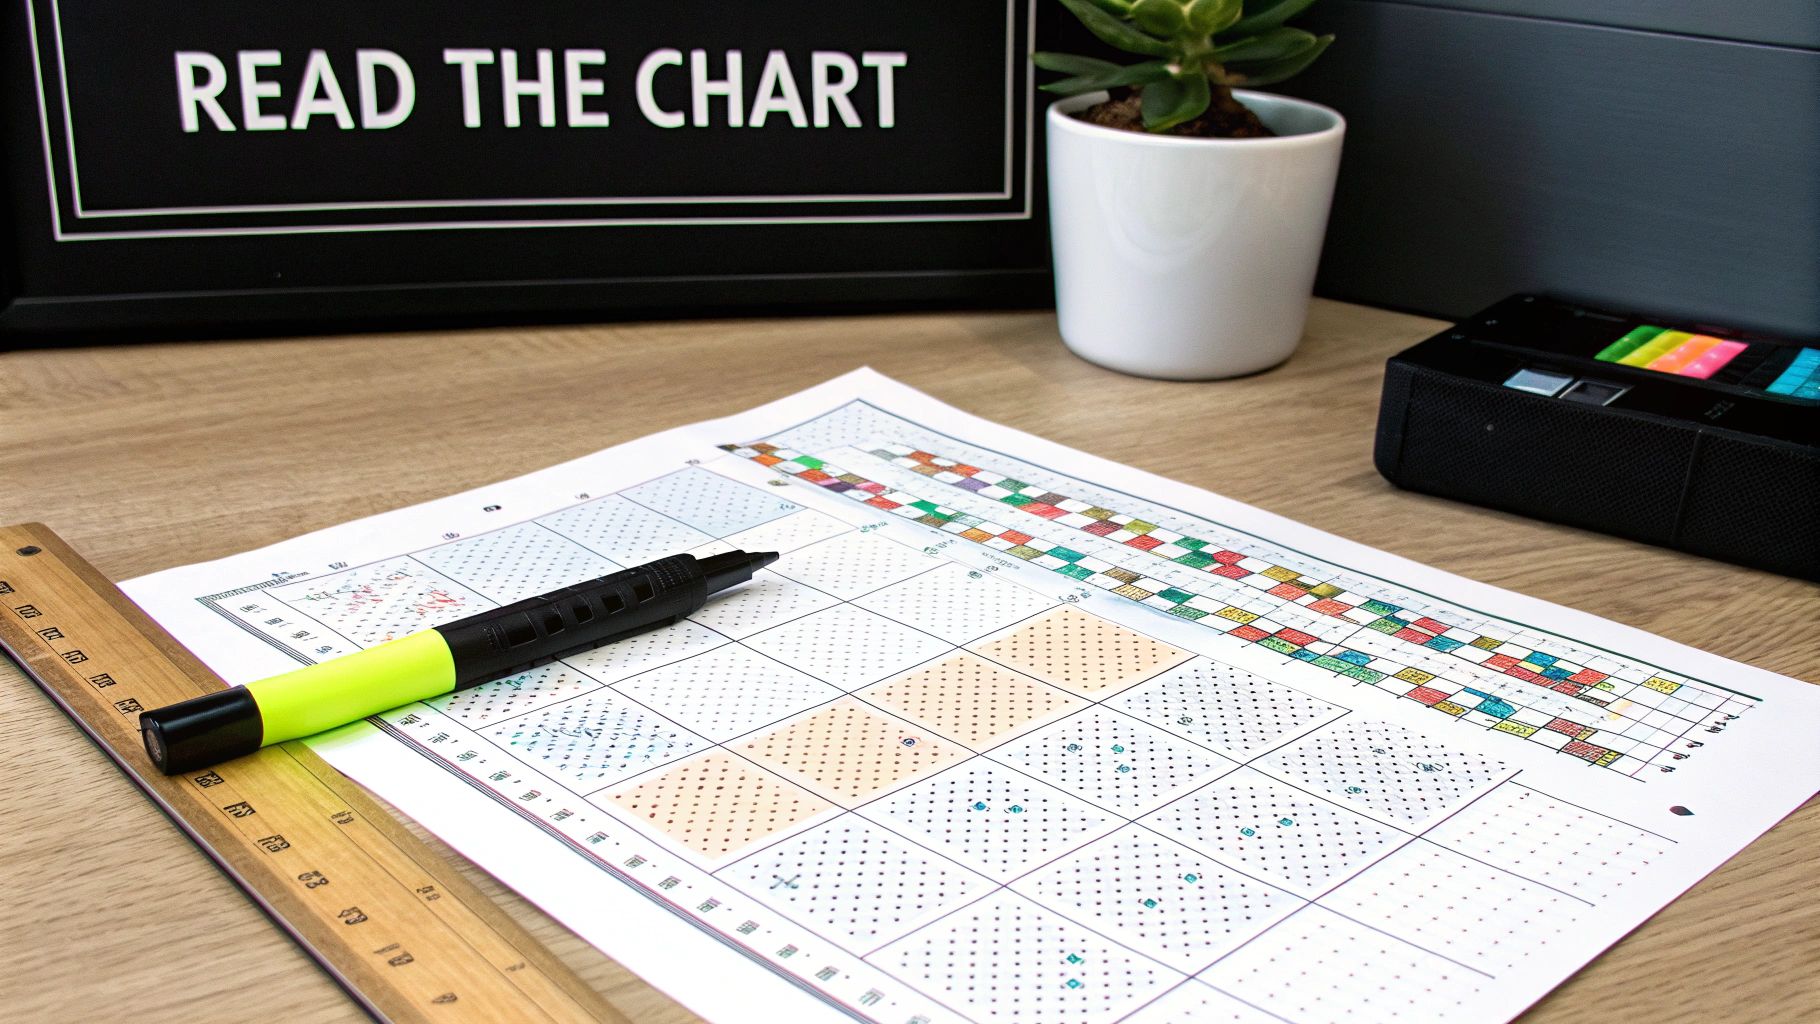
Here's a pro tip I swear by: physically mark off your progress. Get a paper copy of your chart and use a highlighter to color in the sections you've finished. It's incredibly satisfying and dramatically cuts down on the chances of skipping a stitch or losing your place.
Practical Tips for Tracking Your Progress
It happens to everyone—you look up from your stitching and completely lose your spot on a large chart, especially in a big patch of the same color. It’s a classic frustration, but experienced stitchers have found some pretty clever ways to stay on track.
If you’re working with a digital pattern on a tablet, most PDF reader apps will let you highlight or draw directly on the chart. For those of us who still love paper patterns, a magnetic board with a ruler is a game-changer. You can slide the ruler down the chart line by line, so you only ever see the row you're working on.
Once you combine an understanding of the chart's language with a solid system for tracking where you are, you can tackle any pattern with total confidence.
Troubleshooting Common Cross Stitch Problems
No matter how carefully you prep, every stitcher runs into a few snags now and then. It’s all part of the process! The good news is that most of these little frustrations are surprisingly easy to fix once you know the tricks of the trade.
One of the biggest culprits is tangled thread, which inevitably leads to those infuriating knots. The absolute best way to prevent this is to work with shorter lengths of floss. I find an 18-inch piece—roughly the length from your fingertips to your elbow—is the sweet spot. It's long enough that you're not constantly re-threading your needle but short enough that it won't twist into a mess.
Another simple habit to get into is letting your needle and thread dangle freely every few stitches. This lets the floss naturally untwist itself, which dramatically cuts down on tangles and knots before they even start.
Preventing Puckering and Uneven Tension
Fabric puckering is another classic headache for stitchers, and it's almost always a sign that your tension is a little off. This happens when stitches are pulled too tight, causing the Aida fabric to warp and bunch up. What you're aiming for are stitches that lie flat against the fabric, not ones that tug on it.
I like to tell people to think of each stitch as gently "kissing" the fabric. It should be snug enough to look neat, but loose enough that it doesn't distort the fabric's grid.
- Check Your Hoop: Make sure your fabric is taut, but not stretched like a drum. The goal is to hold it firm, not to pull it out of shape. You want the tension in the hoop to mimic how the fabric would naturally lie.
- Relax Your Grip: It’s easy to start pulling threads tighter when you're really concentrating. Every so often, take a breath, relax your hands, and just focus on making smooth, consistent stitches.
This small adjustment can make a world of difference, giving your final piece that professional, perfectly flat finish.
Fixing Mistakes and Managing Thread
Seeing a mistake can feel so discouraging, but you almost never have to rip out hours of work. If you notice a stitch in the wrong spot or the wrong color, don't panic. Just use the tip of your needle to carefully lift and unpick the individual stitches. For a larger section, you can use a seam ripper, but be very gentle.
And then there's the dreaded game of "thread chicken"—that heart-sinking moment you realize you might not have enough floss to finish a section. If you see you're running low on a color, try to complete all the stitches of that color in one small, contained area before moving on. That way, if you do run out, the missing stitches are all together and much easier to fill in once you have more thread.
A Tidy Back for a Tidy Front: While nobody's really going to see the back of your work, keeping it neat does more than just look nice. It actually prevents problems. Trim your thread tails after weaving them in, and try not to carry threads across large empty spaces—they can sometimes show through to the front. A clean reverse side is a true sign of a careful stitcher.
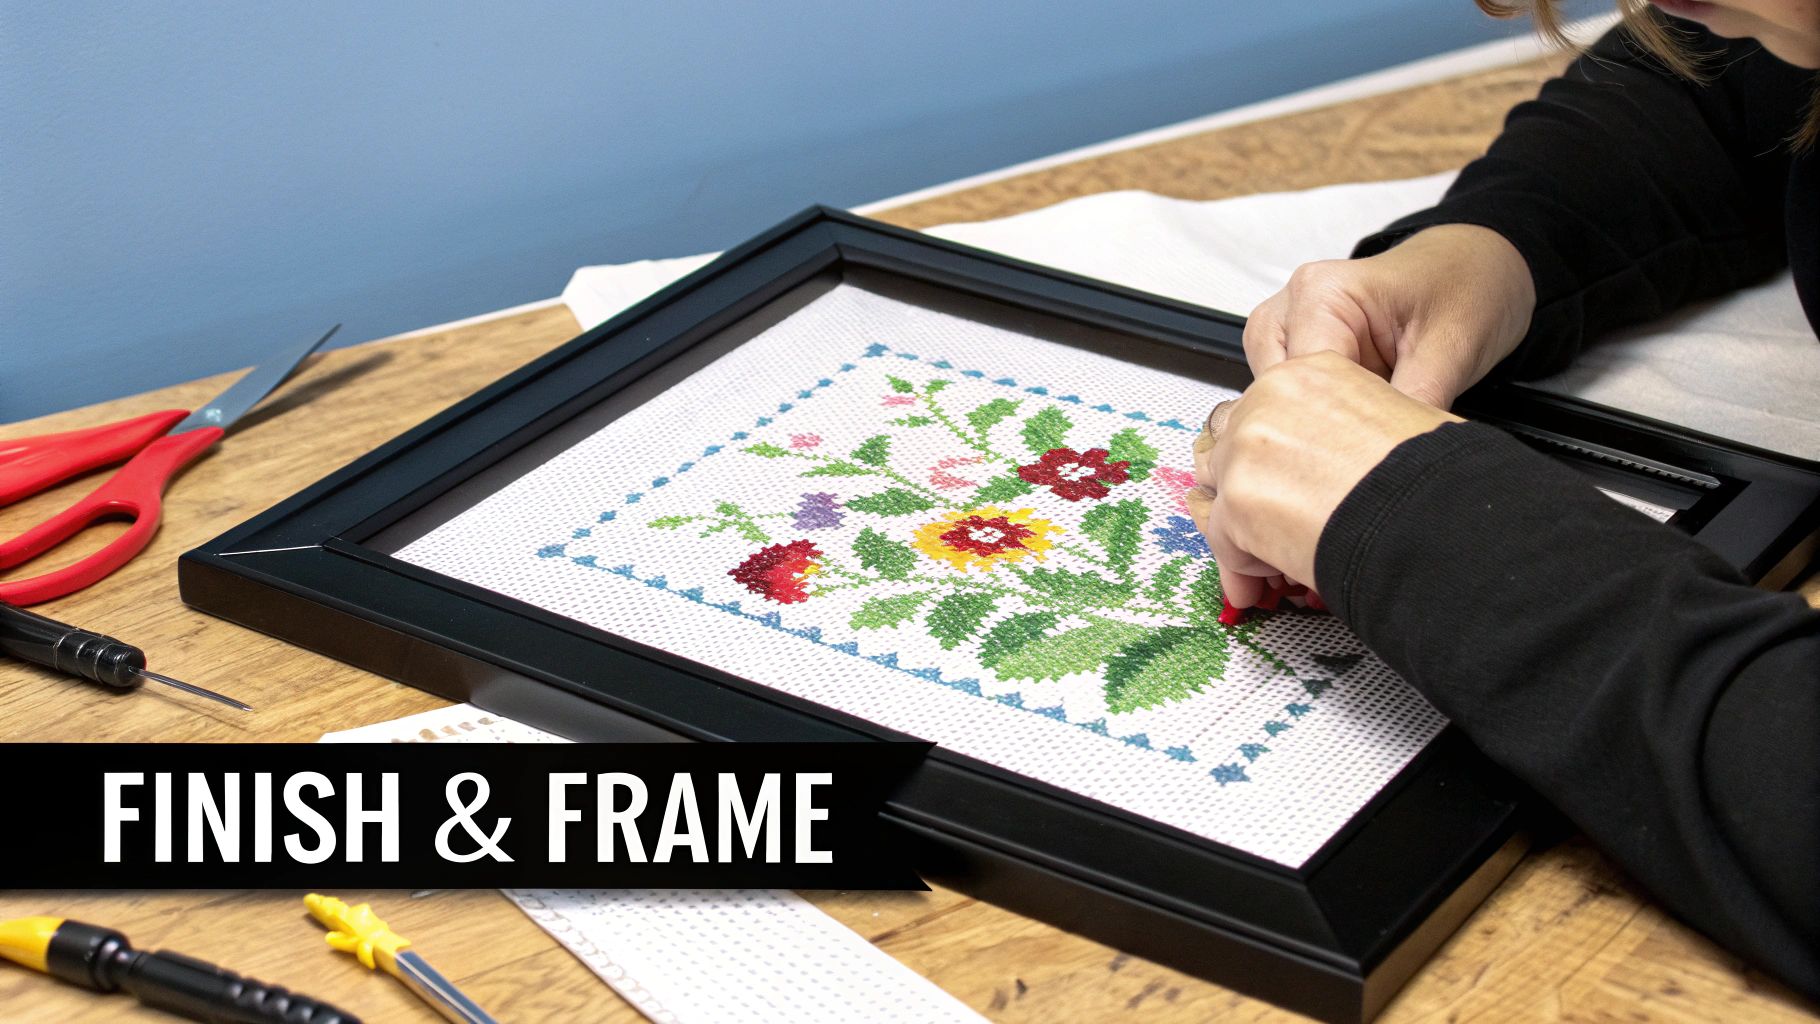
Finishing and Framing Your Masterpiece
You’ve placed that final, satisfying stitch. Congratulations! Now it's time for my favorite part: turning that beautifully stitched fabric into a true work of art ready for display. This is where a little extra care makes all the difference, giving your project a polished, professional look that will last a lifetime.
First things first, let's give it a gentle bath. Even if you're the most careful stitcher, weeks or months of handling can leave behind natural oils, dust, and those stubborn hoop marks. A quick wash is the key to a pristine finish.
Preparing Your Piece For Display
Before you even think about popping it in a frame, a proper cleaning and pressing will set you up for success. This crucial step removes any wrinkles and makes your stitches look perfectly plump and even.
-
Washing: Grab a clean basin, fill it with lukewarm water, and add just a tiny drop of a gentle, clear soap. A mild dish soap or a specialty quilt wash works great. Let your piece soak for about 15 minutes. I usually swish it around gently a few times, but never, ever rub or wring it out—that’s a surefire way to damage your hard work. Rinse it under cool water until the water runs completely clear.
-
Drying and Pressing: Lay your damp project flat on a thick, clean towel. Roll the towel up like a jelly roll with the fabric inside and press gently to soak up the excess water. Unroll it, place the project face down on a fresh, dry towel, and press it with a warm iron. Always press from the back! This protects the stitches from getting flattened and really makes them pop.
Once your masterpiece is clean and pressed, it’s ready to be prepared for its final home. For a deeper dive into this process, check out our full guide to finishing your cross stitch project like a pro.
Mounting and Framing Your Work
Properly mounting your project is the secret to a sag-free, professional-looking display. My go-to is always an acid-free foam core or mounting board. This is non-negotiable for me, as it prevents the dreaded yellowing over time and provides a sturdy backing.
Gently but firmly, stretch your fabric over the board. Pay close attention to keeping the weave of the fabric straight and square. I like to secure it on the back by either lacing the excess fabric with a strong thread or using stainless steel pins pushed into the side edges of the board.
The goal here is a smooth, taut surface that doesn't distort a single stitch. Don't rush this part. A well-mounted piece is the foundation of a fantastic framing job.
Finally, the fun part—choosing a frame! This is all about your personal style. Think about the colors in your piece and the room where it will hang. For example, if you're framing a vibrant piece for a kid's room, you might want some tips on choosing picture frame colors to find that perfect, playful match.
Adding a mat can also really elevate the final look, creating some breathing room between your stitching and the frame. These final touches are what protect your art and transform all those hours of stitching into a treasured heirloom.
Cross Stitch Finishing Options Compared
Framing is a classic choice, but it's far from your only option! Depending on the project, you might want to turn it into something else entirely. Here’s a quick comparison of some popular methods.
| Finishing Method | Best For | Difficulty Level | Required Materials |
|---|---|---|---|
| Traditional Framing | Wall art, heirloom pieces, gifts | Medium | Frame, mat board, acid-free foam core, pins or lacing thread |
| Hoop Frame | Modern, rustic, or casual decor | Easy | Decorative embroidery hoop, felt or cardstock for backing |
| Pillow or Cushion | Functional home decor, personalized gifts | Medium to Hard | Pillow form, backing fabric, sewing machine or needle/thread |
| Bookmark | Small projects, quick gifts | Easy | Felt or stiff cardstock, fabric glue, ribbon or tassel |
| Ornament | Holiday decor, small patterns, gifts | Easy to Medium | Small hoop, felt, backing card, ribbon, stuffing (optional) |
| Banner/Wall Hanging | Larger or non-standard shapes | Easy to Medium | Dowel rod, string or twine for hanging, felt for backing |
No matter which path you choose, the right finish will make your project shine. From a simple hoop to a custom frame, displaying your work is the final, rewarding step of the cross-stitch journey.
Your Cross Stitching Questions Answered
Once you get into the swing of cross stitching, a few questions always seem to come up. It doesn't matter if you're just starting out or have been stitching for years; getting the right answers can make all the difference.
Let's tackle some of the most common questions I hear from fellow stitchers. Most of them circle back to the floss itself—how many strands to use and how on earth to keep it all organized.
How Many Strands of Floss Should I Use?
The number of strands you pull from your skein really changes the final look of your piece. It's a balance between the fabric count and how much coverage you want.
Most kits come with 14-count Aida fabric, and for this, two strands is the sweet spot for full cross stitches. It gives you that nice, full coverage without making the stitches look bulky or hard to pull through the holes.
If you venture into higher count fabrics like 16 or 18-count Aida, two strands still works great. But some people prefer dropping down to just one strand on these finer fabrics for a more delicate, almost lacy effect.
For backstitching, however, you'll almost always want to use a single strand. This is what creates those sharp, defined outlines that make your design really pop. My best advice? Always check your pattern’s key first—the designer will tell you exactly what they intended.
What Is the Best Way to Store My Threads?
An organized stash is a happy stash. Trust me on this. The most popular way to keep floss under control is by winding each skein onto little plastic or cardboard bobbins. You just write the color number on the bobbin, and you can file them away in a special box. It makes finding the right color a breeze.
Another great method is using floss drops or rings. With this system, you just loop the skeins through a hole on a tag or ring. It’s perfect for gathering all the colors you need for one specific project, and it avoids the little kinks that bobbins can sometimes leave in the thread.
Whichever system you land on, the trick is to stick with it. Staying organized saves you from the headache of untangling a giant knot of floss and gets you back to the fun part—the actual stitching.
Can I Use a Sewing Machine for Backstitching?
I love the creativity behind this question, but the short answer is no, it's really not a good idea. Hand backstitching is a very deliberate process where you follow the grid of the fabric. That control is what gives you those clean, crisp lines that perfectly outline your work.
A sewing machine just can't follow the weave of the fabric in the same way. The stitches would look misplaced and disrupt that classic, pixelated look that is the heart of cross stitch. The handmade charm is what it's all about, and that includes the backstitching.
To dive deeper into other stitching topics or get more of your questions answered, check out the Lunabloomai blog for more insights.
Ready to turn your favorite memories into a work of art? Visit Cross Stitched to create a custom photo-to-pattern kit and start your next treasured project today at https://cross-stitched.com.


