
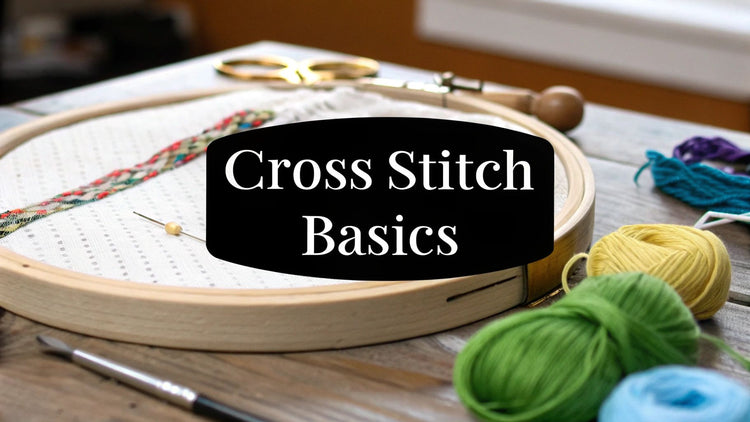
Learning to cross-stitch is wonderfully straightforward. At its core, you’re just making little 'X' shapes with a needle and thread to create a picture on fabric. It’s one of the most relaxing and approachable ways to get into needlecraft, turning simple materials into a piece of art.
It's a classic skill, for sure, but it’s found a whole new energy in the modern world.
Why Everyone Is Talking About Cross Stitch Again
It feels like everywhere you turn, someone's picking up a needle and thread. Cross-stitch isn't just that nostalgic thing your grandma did anymore; it has found a solid place in today's culture, pulling in a whole new generation of makers. This isn't just a fleeting trend—it’s a real movement, fueled by a collective desire for mindfulness and hands-on creativity in our screen-heavy lives.
The magic is in its simplicity. You get into a calming, rhythmic flow with the needle, and each tiny stitch builds up to something beautiful. This almost meditative process is a fantastic way to de-stress, sharpen your focus, and just quiet down a racing mind.
The Modern Stitching Community
What really makes today’s cross-stitch scene so special is the vibrant online community. Hop on Instagram, Pinterest, or Etsy, and you'll find an explosion of designers and stitchers showing off their latest projects. The variety is staggering—you'll see everything from elaborate, traditional samplers to hilarious, pop-culture patterns with memes and snarky quotes. This digital connection has turned what was once a solitary hobby into a shared experience.
"The beauty of modern cross-stitch is that there are no rules. One person might be recreating a classic painting, while someone else is stitching a sarcastic quote for their desk. That freedom is what makes it so appealing."
This boom is reflected in the numbers, too. The market for needlecraft patterns is growing steadily and is projected to expand at a compound annual growth rate (CAGR) of 5% between 2025 and 2033. A huge part of this growth comes from instantly downloadable patterns and video tutorials, which have made picking up the hobby easier than ever before. You can dive deeper into these growing needlecraft market trends to see just how much the craft is evolving.
More Than Just a Hobby
Ultimately, learning to cross-stitch gives you more than just a creative pastime. It's a chance to:
- Practice mindfulness. The repetitive motion of pulling the thread through the fabric is incredibly soothing and can really help with anxiety.
- Flex your creative muscles. You can follow a pre-made pattern to the letter or go completely rogue and design your own. The possibilities are endless.
- Make unforgettable gifts. Nothing says "I care" quite like a handmade cross-stitch. It’s a personal, heartfelt gift that people will hang onto for years.
When you start stitching, you're not just learning a new skill. You're joining a community and a tradition that feels both historic and excitingly new.
Setting Up Your First Cross Stitch Project
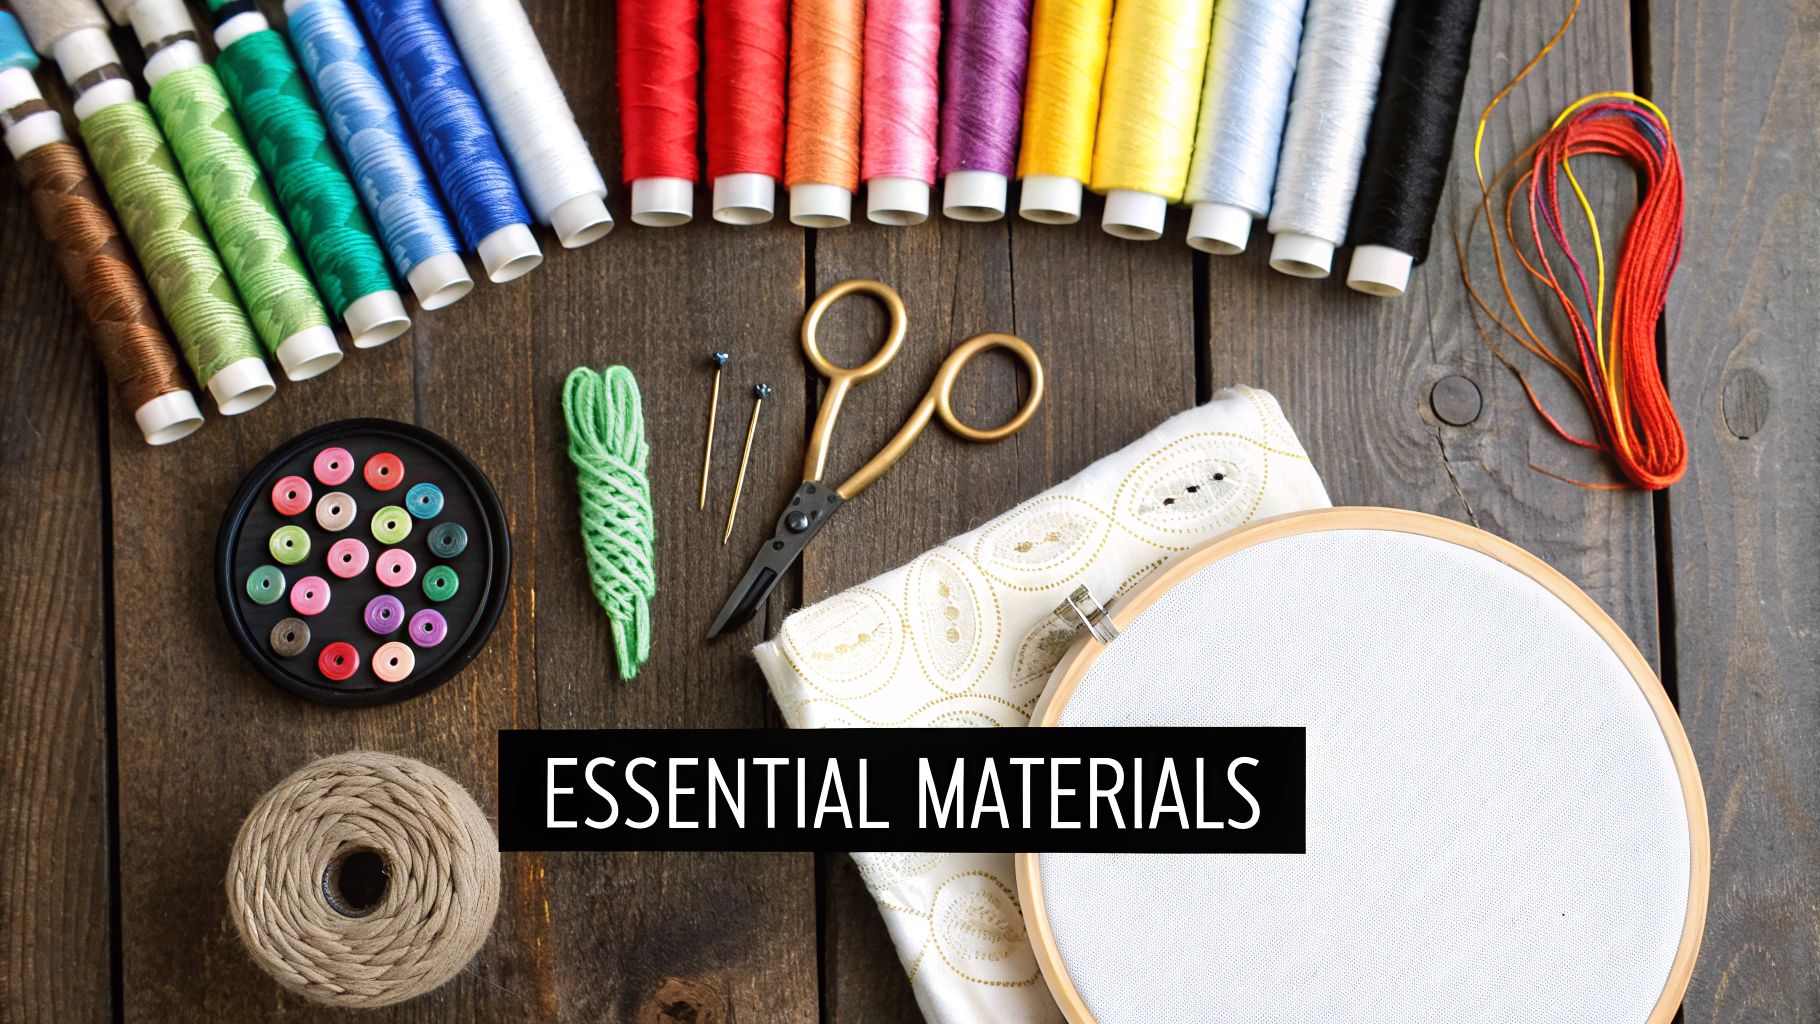
Before you can bring a beautiful design to life, you need the right tools. Walking into a craft store for the first time can feel a little overwhelming with aisles of options, but getting started with cross stitch only requires a handful of key items. Think of it like gathering your ingredients before you start cooking—having everything ready makes the entire process smoother and a whole lot more fun.
The core trio of cross stitch is simple: fabric, floss (that's the thread), and a needle. Everything else is just a helpful accessory, but these three are the absolute non-negotiables. Making smart choices here will set you up for success and help you sidestep some common frustrations that trip up new stitchers.
You’re actually picking up this hobby at a great time. The wider needlecraft market, which includes cross stitch, was valued at around $34 billion in 2025. While knitting holds the biggest share, there's a huge demand for cross-stitch supplies in places like the United States, Japan, and the UK, which means high-quality materials are easy to find. You can learn more about the booming needlecraft market on futuremarketinsights.com.
Choosing Your Fabric
The foundation of any project is your fabric. For beginners, the best choice, hands down, is Aida cloth. This fabric is specially woven with a grid of tiny holes that makes it incredibly easy to see exactly where to place your needle. It's designed to help you create uniform, neat-looking stitches right from the start.
Aida fabric comes in different "counts," which just means the number of squares (or potential stitches) per inch. A lower count means bigger squares, and a higher count means smaller, more detailed work.
- 14-count Aida: This is the gold standard for anyone just starting out. The squares are large enough to see clearly, making it easy on the eyes. It also provides great "coverage," meaning two strands of floss will fill the 'X' nicely without any fabric peeking through.
- 18-count Aida: This fabric has smaller squares, allowing for more intricate designs. It’s a great next step once you’ve finished a project or two and feel more confident in your stitching.
My honest advice? Start with 14-count Aida for your first project. It’s forgiving and will help you build confidence without the frustration of squinting at tiny squares.
Selecting Floss and Needles
Now for the fun part—the color! Embroidery floss is the vibrant thread you’ll use to create your design. It typically comes in a skein, which is a little bundle of six individual strands twisted together. You'll need to separate these strands before you stitch, usually using just two at a time for 14-count Aida.
The two most popular and high-quality brands out there are DMC and Anchor. Both offer hundreds of gorgeous, consistent colors and are sold in virtually every craft store. You really can’t go wrong with either, so just choose based on what your local shop carries or what a specific pattern calls for.
As for needles, you’ll want to look for tapestry needles. Unlike sharp sewing needles, these have a blunt tip and a larger eye. The blunt tip is designed to glide through the holes in the Aida fabric without splitting the threads, and the larger eye makes threading your floss so much easier.
A size 24 tapestry needle is the perfect partner for 14-count Aida fabric. It’s large enough to thread without a struggle but small enough to pass through the holes without stretching them out.
Your First Cross Stitch Shopping List
To make that first trip to the craft store a breeze, here’s a simple checklist. I've broken it down into the must-haves and the nice-to-haves.
| Item | What to Look For | Beginner's Tip |
|---|---|---|
| Fabric | 14-count Aida cloth in a light color (white or off-white) | Buy a piece a few inches larger than your design on all sides. |
| Floss | DMC or Anchor embroidery floss | A kit will have these pre-selected for you! |
| Needles | Size 24 Tapestry Needles | Buy a small pack; it’s easy to lose one. |
| Pattern | A simple, small design with few colors | Many free patterns are available online for beginners. |
| Embroidery Hoop (Optional) | A 5" or 6" wooden or plastic hoop | This keeps your fabric taut and is highly recommended. |
| Scissors (Optional) | Small, sharp scissors for trimming floss | Embroidery snips are ideal, but any small scissors will do at first. |
This list covers everything you need to confidently start and finish your first piece.
To Kit or Not to Kit
One of the first decisions you'll make is whether to buy a pre-made kit or gather your supplies individually.
A cross stitch kit is an all-in-one package that comes with the pattern, fabric, pre-sorted floss, and a needle. This is an excellent, stress-free way to dip your toes in. It removes all the guesswork and ensures you have exactly what you need to get started right away.
On the other hand, buying supplies separately gives you more creative freedom. You can pick any pattern you fall in love with and pair it with your favorite fabric and colors. This can be more economical in the long run if you plan to stitch often, but it does require a bit more planning upfront.
For your very first attempt, I almost always recommend starting with a small, simple kit. It's the best way to learn the ropes without feeling overwhelmed.
How to Read a Cross Stitch Pattern
When you first open a cross-stitch pattern, it can look a bit like a secret code. You're faced with a grid of symbols, letters, and numbers. But don't let it intimidate you! This "code" is your roadmap, and learning to read it is one of the most satisfying parts of getting started.
Think of the pattern as a direct, one-to-one replica of your fabric. Each square on that paper represents a single 'X' you'll stitch on your Aida cloth. The symbols inside are just telling you which color of floss to use. It’s a visual language that you'll pick up in no time.
Decoding the Pattern Key
The first thing you should look for is the color key (sometimes called a legend). This is your decoder ring. You'll usually find it along the side or bottom of the main chart, and it lists every symbol used in the design.
Next to each symbol, you’ll find a few key pieces of information:
- Floss Number: This is the specific shade code, most often a DMC or Anchor number (like DMC 310 for black). Using these numbers ensures your finished piece looks exactly like the designer intended.
- Color Name: Many designers also include the color name (e.g., "Christmas Red") as a helpful reference.
- Symbol: This is the actual character (like ★, ●, or ▲) that appears on the grid itself.
So, when you see a square on the chart with a ★, you just glance at your key, find the ★ symbol, and grab the matching floss. It’s really just a simple matching game that guides the entire project.
My Favorite Tip: Before you make a single stitch, take a few minutes to organize your floss. Wind the colors onto bobbins or a floss organizer and label each one with its symbol from the pattern. This saves a ton of time you’d otherwise spend hunting for the right thread.
Finding the Center of Your Design
Nothing beats the look of a perfectly centered design. Thankfully, most patterns make this super easy by marking the center lines with arrows or triangles along the grid's edges. Just find the arrows on the top, bottom, and sides, and imagine lines connecting them. The point where they cross is the middle of your chart!
Now, to find the center of your fabric:
- Fold your piece of Aida cloth in half lengthwise.
- Then, fold it in half again widthwise.
- The corner where the two folds meet is the exact center of your fabric.
I usually give it a good pinch to make a crease or pop a pin in to mark the spot. When you make your first stitch right there, you guarantee your design will have even margins all around—no lopsided surprises at the end.
Following the Grid and Counting Squares
With your center marked, it's time to translate the pattern to the fabric. The grid on your pattern usually has heavier lines every 10 squares. These 10x10 blocks are your best friends for keeping track of where you are. They make counting large sections much less painful and help you find your spot again if you have to step away.
When you're working on a block of a single color, it’s often easiest to stitch in rows. If you see a row of five identical symbols, just stitch five 'X's on your fabric before moving to the row above or below. Don't feel like you need to jump all over the pattern; focusing on completing small, manageable areas of color is a great way to build momentum.
Understanding Different Stitch Notations
While the cross stitch is the star of the show, many patterns use other stitches to add detail and texture. These will always be explained in your pattern’s key.
Here are a few common ones you'll run into:
- Backstitch: Usually shown as bold lines on the pattern. These are for outlining shapes, creating text, or adding fine details like whiskers or facial features.
- French Knots: These often look like small dots or circles on the chart. They create tiny, textured knots that are perfect for adding eyes, flower centers, or little decorative accents.
- Fractional Stitches: You might see symbols that split a square diagonally or into quarters. These are called quarter or three-quarter stitches, and they’re used to create smoother curves and more intricate shapes.
Your pattern key will always tell you what these different lines and dots mean. Take a moment to familiarize yourself with the key before you begin, and you'll be ready for any stitch the design throws at you, making the whole process of learning cross stitch feel smooth and fun.
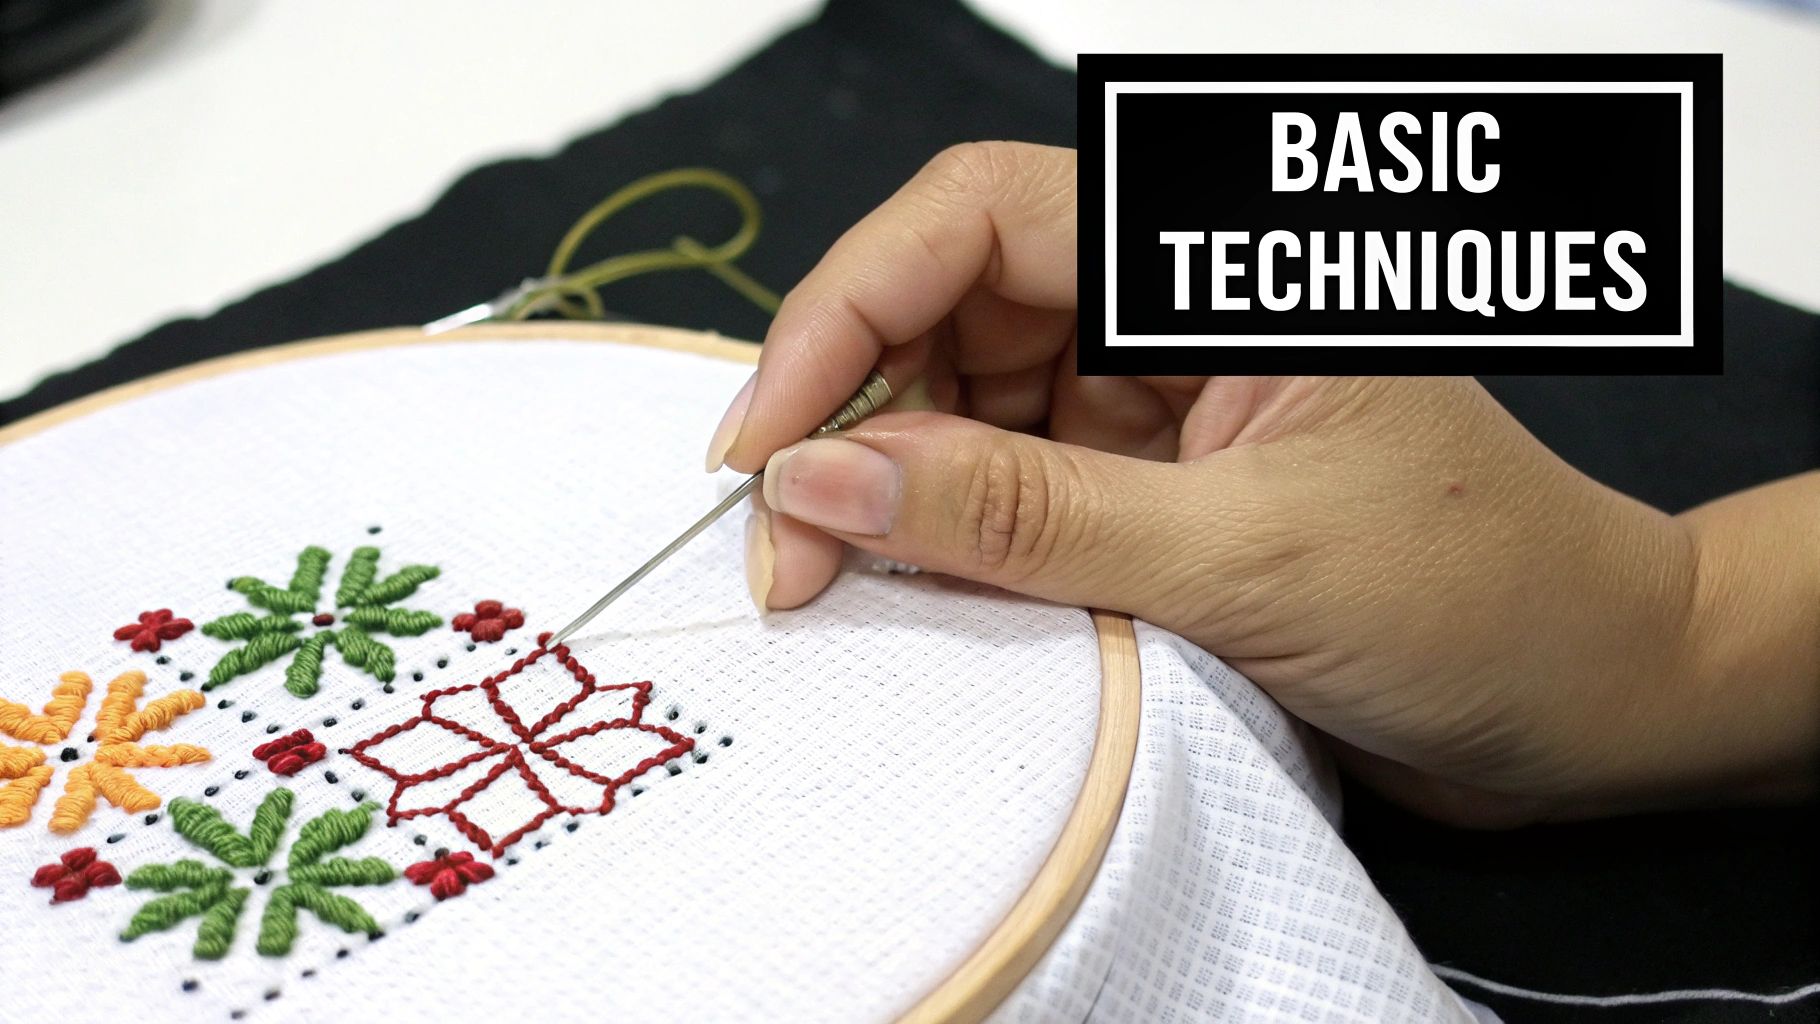
Creating Your First Perfect Stitches
Alright, you've got your pattern decoded. Now for the really satisfying part: actually making stitches. This is where the magic happens. At its core, cross-stitch is wonderfully simple—you're just creating a series of tiny, neat 'X's with your needle and thread.
The real secret to a beautiful finished piece isn't about speed or complicated techniques. It's all about consistency. Every single 'X' should look like the one next to it. This uniformity is what gives cross-stitch its classic, polished look, and it's what we're aiming for from the very first stitch.
The English Method vs. The Danish Method
When it comes to making rows of 'X's, stitchers generally fall into two camps. There’s no right or wrong way; it’s all about what feels most comfortable and efficient for you. I recommend giving both a try.
- The English Method: Think of this as "one and done." You complete one full 'X' before moving on to the next square. You'll bring your needle up, make one diagonal half stitch, and then immediately cross it with the second half stitch. It’s perfect for designs with scattered, individual stitches that look like confetti on the chart.
- The Danish Method: This is more of an assembly-line approach. You'll stitch an entire row of bottom half stitches (like this: /////) and then work your way back across the row, adding the top half stitches (\\\) to complete each 'X'. This method is a lifesaver for stitching large blocks of a single color—it's often much faster.
In practice, most of us end up using a mix of both. You might use the Danish method for a big patch of blue sky, then switch to the English method for a few isolated flower petals in a different color.
The image below gives you a great visual on how to decide which approach to take based on your pattern.
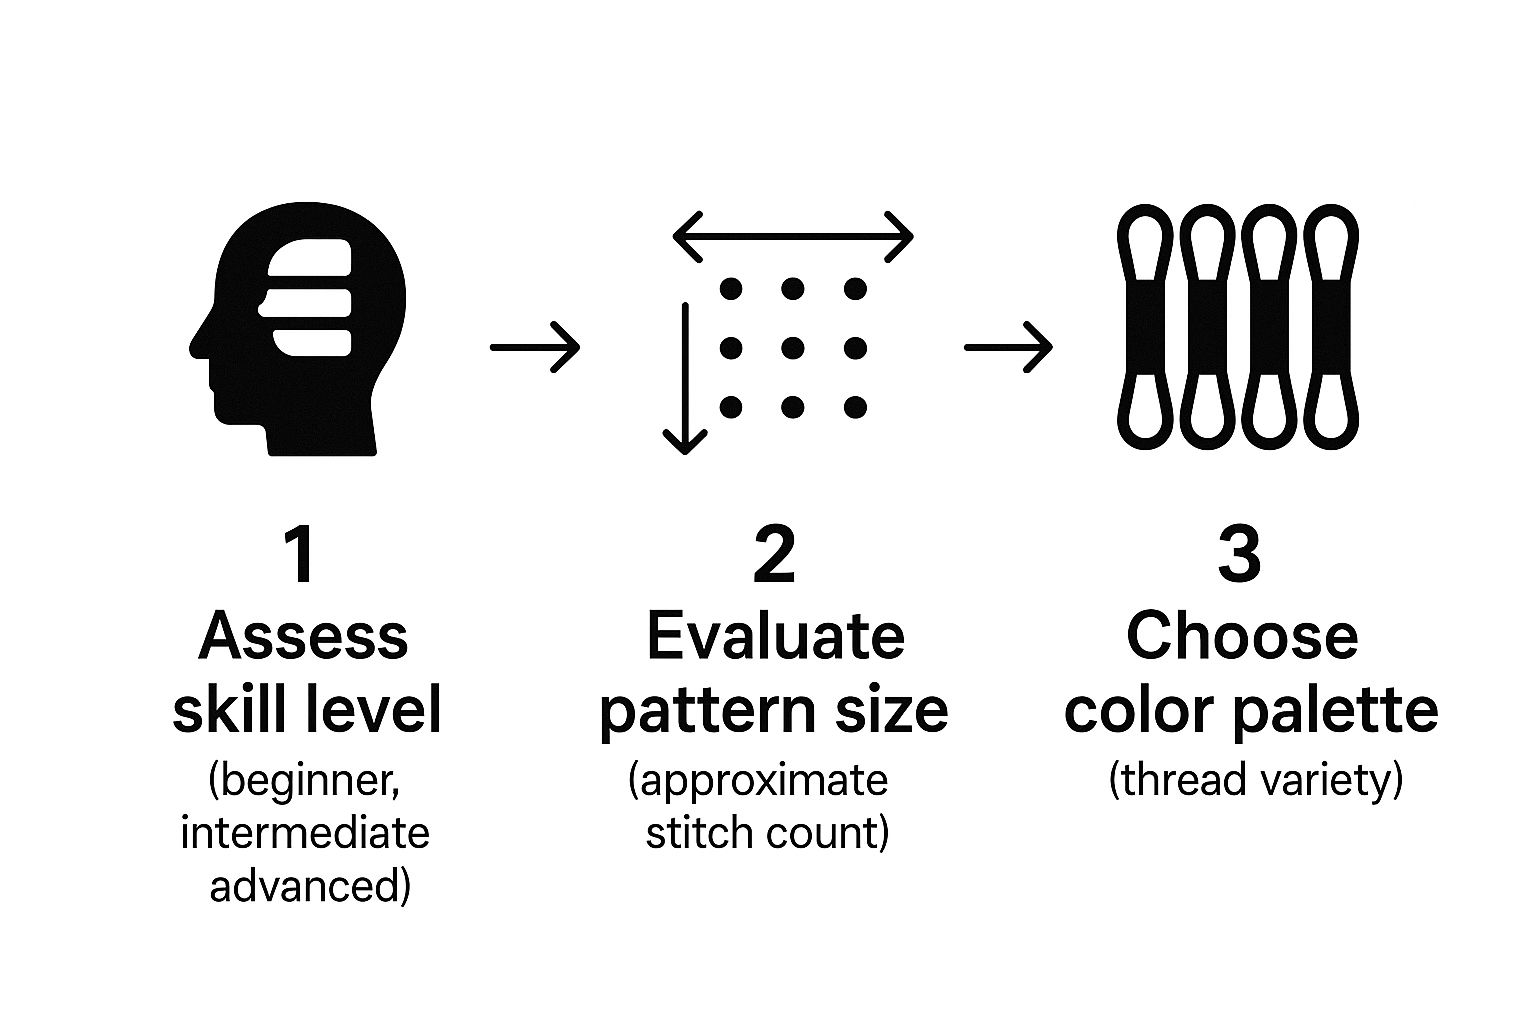
As you can see, the complexity of the pattern—from the number of colors to the density of the stitches—can really guide your choice.
My Biggest Piece of Advice: The most important rule for neat stitching is to make sure your top stitches all lie in the same direction. Whether you choose
\over/or/over\, be consistent for the entire project. This tiny detail creates a smooth, even texture that makes your work look instantly more professional.
Starting and Ending Without Knots
One of the first habits every new stitcher should learn is to avoid knots. Tying a knot on the back might seem like the obvious way to secure your thread, but it creates bulky bumps that can show through to the front of your work. The pros all aim for a clean back.
The Loop Start
This is a game-changing technique, especially when you're using an even number of strands (like the standard two). It's my go-to start.
- Cut a single strand of floss, but make it twice the length you’d normally use.
- Fold it perfectly in half.
- Thread the two cut ends through the eye of your needle, which leaves a neat loop at the other end.
- Bring your needle up from the back of the fabric to start your first stitch, but don't pull the thread all the way through.
- Flip your work over, pass your needle through the loop on the back, and pull it snug. Your thread is now anchored perfectly with zero bulk!
Burying Your Threads
To end a thread, just run your needle under three or four completed stitches on the back of your work before snipping the floss close to the fabric. This tucks the tail away securely and keeps the back looking tidy. You can use this same method to start a new thread if the loop start isn't an option.
Adding Definition with Backstitch
Once all your 'X's are done, your design might look a little soft—almost pixelated. This is where backstitch comes in to save the day. Think of it as outlining a drawing. It adds sharp lines, defines shapes, and makes all those little details really pop.
Your pattern chart will show you exactly where to add backstitch, usually with solid lines. It’s just a simple straight stitch, like you’d use in basic hand sewing. You bring the needle up at one end of a line and go back down at the other. It’s that easy.
Backstitch can truly transform a project from good to great. For a deeper dive into this and other finishing touches, check out our complete guide to basic cross stitch stitches. It's a fantastic resource for when you're ready to take your skills to the next level.
How to Finish and Display Your Artwork
Taking that final stitch is an amazing feeling, isn't it? You’ve turned a blank piece of fabric and a handful of colorful thread into a work of art. But hold on—before you rush to hang it on the wall, a few simple finishing steps can make all the difference, transforming your project from "nicely done" to a polished, professional-looking masterpiece.
This final stage is just as important as the first stitch you made. Proper care at this point ensures your work not only looks its best but also lasts for years. Think of it like a painter prepping a canvas for a gallery showing; a little cleaning and pressing makes everything look crisp and vibrant.
Giving Your Project a Gentle Wash
Our hands naturally have oils, and over the hours you’ve spent stitching, some of that can transfer to the fabric. Add in any dust or marks from the hoop, and it becomes clear that a quick bath is a great idea. This isn't a job for the washing machine, though. A gentle hand-wash is all it takes.
Fill a clean sink or basin with lukewarm water and a tiny drop of a mild, clear dish soap. You can also use a dedicated textile wash. Let your cross-stitch piece soak for about 15 minutes. Swish it around gently, but avoid scrubbing or wringing it out. That kind of rough handling can easily distort your beautiful stitches.
After its soak, rinse the piece thoroughly under cool, running water until you're sure all the soap is gone. To get the excess water out, lay it flat on a clean, thick towel, put another towel on top, and roll the whole thing up like a burrito. A gentle press is all you need to absorb most of the moisture.
Pressing for a Perfect Finish
Now it’s time to get it perfectly flat and smooth. The number one rule? Never iron your cross-stitch on the front! This will flatten your plump, beautiful stitches and completely ruin the texture you worked so hard to create.
Instead, lay your project face down on a fresh, thick towel. With your iron on a medium, steam-free setting, gently press the back of the fabric while it's still slightly damp. The towel acts as a cushion, protecting your stitches and allowing the fabric around them to become smooth without squashing those lovely 'X's. Keep the iron moving until the piece is dry and wrinkle-free.
This gentle pressing method is the single best trick for making your finished work look truly professional. It defines each stitch and removes any lingering hoop marks, creating a flawless canvas for display.
Creative Ways to Show Off Your Work
With your piece clean, pressed, and looking fantastic, the real fun begins: deciding how to show it off! This is where your creativity can shine just as much as it did during the stitching process. It's no surprise that the global embroidery market—which includes cross-stitch—is booming. It's expected to hit $3.71 billion by 2025, largely because people love creating unique, personalized decor. You can discover more insights about the growing embroidery market on cognitivemarketresearch.com.
Here are a few popular ways to display your handiwork:
- Classic Framing: A traditional frame, especially with a mat, is a timeless way to protect and showcase your work. It elevates your cross-stitch to fine art and keeps it safe from dust and UV light.
- Finishing in the Hoop: For a modern, rustic vibe, why not display your project right in the embroidery hoop you stitched it in? Just trim the excess fabric around the back and either glue it down or gather it with a running stitch for a neat finish.
- Making a Small Pillow: Small designs are perfect for turning into tiny decorative pillows or even scented sachets. Simply stitch your piece to a backing fabric, add some stuffing, and sew it closed.
- Creating a Unique Patch: Turn your stitch into a wearable piece of art by finishing it as a patch for a jacket or bag. Iron-on adhesive backing makes this an easy and fun option.
These are just a few ideas to get you started. For a more detailed walkthrough of these methods and a few more, be sure to explore our in-depth guide to cross-stitch finishing techniques. Choosing the right display really honors the time and care you invested, ensuring your creation is enjoyed for a long, long time.
Common Questions from New Stitchers

As you get into the rhythm of cross-stitching, you’ll inevitably run into a few little quirks and questions. It happens to everyone! Think of this as your quick-reference guide for those moments when you think, "Is this supposed to be happening?"
Don't worry, these are the same hurdles that even experienced stitchers have to manage. Knowing the simple fixes right from the start will make your whole experience smoother and a lot more fun.
How Do I Keep the Back of My Work Neat?
Ah, the quest for a tidy back! While it's often seen as a mark of an expert, a neat back is more practical than anything else. A tangled mess of threads can create lumps and bumps that you can actually see from the front of your piece.
The secret is to avoid knots wherever you can. Instead of tying a knot to start, try a "loop start" if you're using an even number of strands. You can also just leave a small tail on the back and catch it under your first few stitches to lock it in place. When you're ready to end a thread, just run your needle under three or four finished stitches on the back before snipping it close.
A big cause of a messy back is "carrying" your thread across large gaps of unstitched fabric. It's tempting to just jump from one area to another, but those long trails can show through, especially dark thread on light fabric. It's almost always better to end your thread and start fresh in the new spot.
What Does "Floss Coverage" Mean?
You’ll hear the term "coverage" a lot in the cross-stitch world. It's just a simple way of describing how well your stitches cover the fabric underneath. The idea is to have nice, plump 'X's where you can't see the little squares of the Aida cloth peeking through.
Good coverage really comes down to a balance between two key things:
- Fabric Count: This is the number of squares per inch on your fabric.
- Number of Floss Strands: This is how many of the six strands from the floss you're actually using.
For 14-count Aida, the go-to fabric for most beginners, using two strands of floss is pretty much the gold standard. It gives you that perfect, full look. If you were stitching on a fabric with bigger squares, like 11-count Aida, you'd likely need to use three strands to get the same lush result.
Why Does My Thread Keep Twisting and Knotting?
This is probably the single most common frustration for new stitchers. It feels like the thread has a mind of its own! Luckily, there are a few simple habits that can fix this.
First, work with shorter lengths of floss. A piece about 18 inches long—roughly the distance from your fingertips to your elbow—is perfect. Anything longer is just asking for a tangled mess.
Also, make sure you separate each strand of floss individually before putting them back together in your needle. This little step helps them lie flat next to each other instead of twisting up. And a final pro tip: every few stitches, just let your needle and thread dangle. You'll see it naturally unwind itself, which prevents most knots from ever forming.
For more hands-on advice, we've gathered tons of helpful information in our guide covering essential cross stitch tips for beginners.
Can I Use Any Fabric for Cross Stitch?
While you can technically stitch on just about anything, you really want to start with an "evenweave" fabric. The easiest and most popular choice by far is Aida cloth. It's woven specifically with a clear grid of holes that makes counting and forming perfect stitches a breeze.
Other fabrics like linen are also evenweave, but their threads can be a bit uneven, making them trickier for a beginner. It's best to avoid standard quilting cotton or t-shirt material for your first projects because they don't have that built-in grid you need for easy counting. Once you get the hang of Aida, you might find you enjoy other needlecrafts, like learning how to crochet a Spider-Man keychain for beginners.
Ready to turn your favorite photos into timeless keepsakes? At Cross Stitched, we create custom, all-in-one kits that make it easy to stitch your cherished memories. Upload a photo today and start your next creative journey.


