
Have you ever scrolled through your camera roll, landed on a photo of a cherished pet or a stunning vacation view, and thought, "That would make an amazing cross stitch project"? Well, you’re in the right place. Using a cross stitch pattern maker from photo is a fantastic way to turn those digital memories into a piece of stitched art you can actually hold. It takes the guesswork out of the process, converting a complex image into a clear, gridded pattern with all the right thread colours.
This guide will walk you through everything you need to know to create beautiful, personalised art without the usual frustrations. We'll get into the nitty-gritty of choosing a photo that will translate well to fabric and navigating the software settings that make all the difference. My goal is to help you confidently turn that digital file into a complete kit you can’t wait to get started on.
Why Bother Turning a Photo into a Pattern?
Cross stitch has had a huge comeback, and it’s no surprise. It’s the perfect blend of a time-honoured craft with a modern, personal twist. The ability to create something that is 100% unique is what has so many people picking up a needle and thread again.
- Create One-of-a-Kind Heirlooms: Imagine turning a favourite wedding photo or a picture of your first home into a stitched piece that can be passed down through your family.
- Give Gifts That Truly Mean Something: A hand-stitched portrait of a grandchild or a best friend's dog has a personal touch that you just can't find in a store.
- Preserve Memories Creatively: Stitching a special moment is a wonderfully meditative way to relive and honour a memory you hold dear.
This DIY crafting trend is booming. The global cross-stitch market was valued at USD 0.15 billion in 2024 and is expected to hit USD 0.22 billion by 2033. It's clear that tools like photo-to-pattern makers are making this craft more accessible and exciting for everyone.
If you're curious about how technology is changing creative hobbies in general, learning how to use an AI art generator from photo offers a fascinating look at the bigger picture.
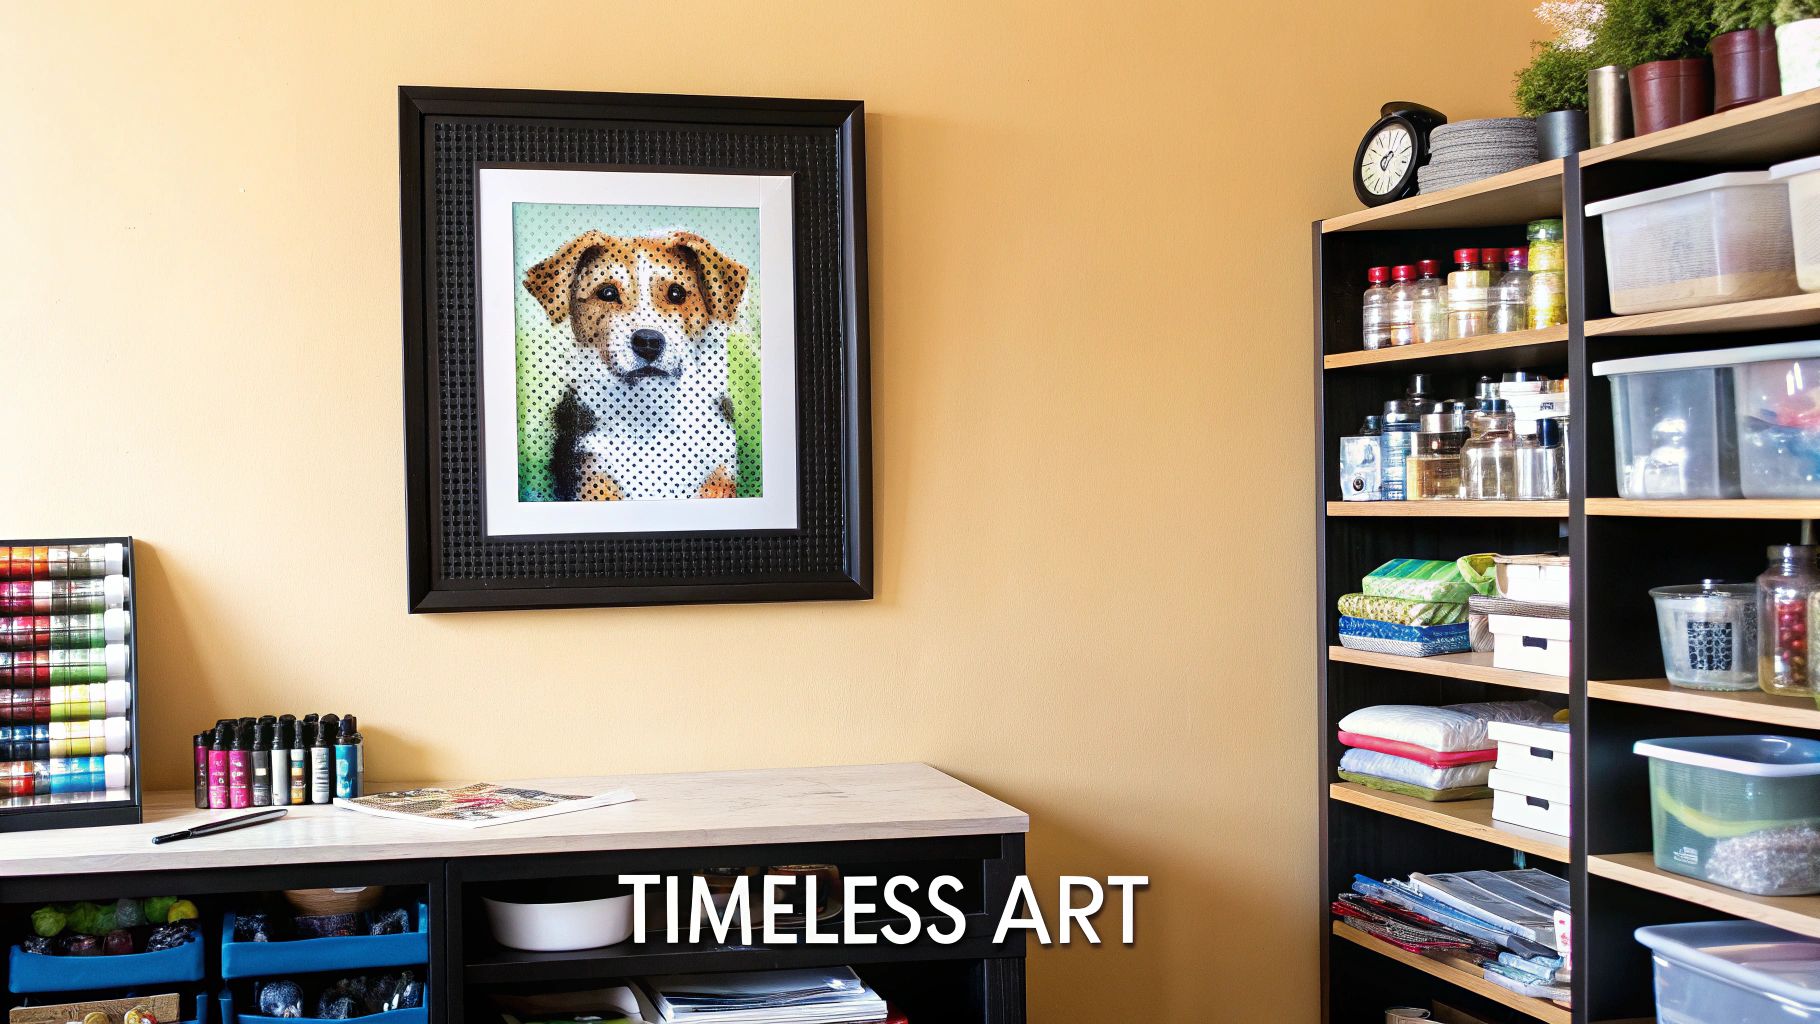
Your finished piece deserves to be shown off properly! Once you've put in all that work, thinking about how you’ll display it is the final, satisfying step. A great presentation not only makes your work shine but also protects the fabric for years to come.
After spending hours on your project, the right frame can elevate it from a simple craft to a true piece of art. For some great tips and tricks from the pros, check out our guide on framing cross stitch pictures.
Choosing a Photo That Stitches Beautifully
The journey to an amazing cross-stitch piece starts way before you ever pick up a needle. It all begins with the photo you choose. This is easily the most crucial step when using a cross stitch pattern maker from photo, because not all images are created equal when it comes to translating them into a grid of stitches.
Think of the pattern maker as an artist simplifying your photo into distinct blocks of color. If your picture is too chaotic, the resulting pattern will be a confusing mess. The photos that work best almost always have three things in common: high contrast, a clear focal point, and a simple background.
A fantastic example? A sharp, well-lit photo of your dog sitting on a plain-colored blanket. The clean lines separating your pet from the background give the software a clear roadmap, which means your final piece will have a well-defined and instantly recognizable subject.
Spotting Potential Problems in Your Photo
On the flip side, a blurry, dimly lit snapshot of a crowd at a concert is a prime candidate for a frustrating project. The weak contrast and cluttered details will turn into a sea of single, isolated stitches that stitchers call 'confetti'. This not only makes the project a headache to work on, but the final result will probably look muddy and undefined.
Key Takeaway: You're looking for a photo that already has a strong, clean composition. If the main subject doesn't pop out at you immediately, it's not going to stand out once it’s converted to thread.
This infographic gives you a perfect visual of a photo that's ready to go, showing a distinct subject against an uncluttered background.
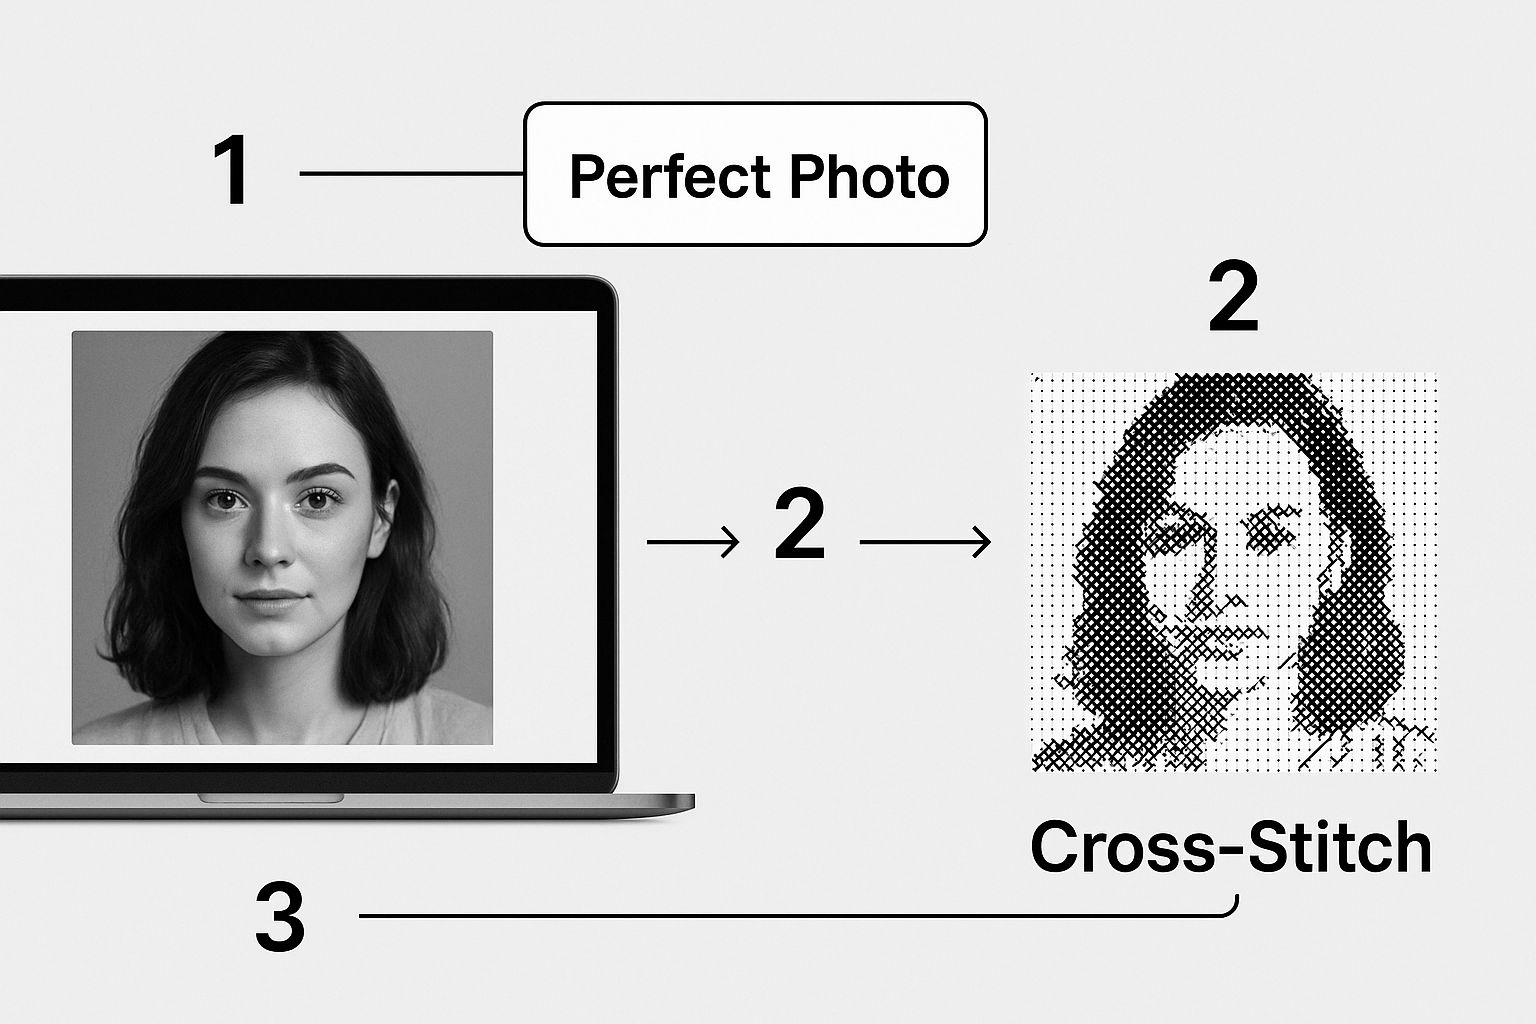
As you can see, the bold lighting and simple setting help the pattern maker map out the colors cleanly, avoiding all that messy confetti. Before hitting that upload button, give your image a quick check by asking yourself a few questions:
- Is my subject in sharp focus? Blurry edges lead to a muddy-looking pattern.
- Is the lighting good? Great lighting creates distinct shadows and highlights, which translate wonderfully into different thread shades.
- How busy is the background? A cluttered background fights for attention with your main subject. A quick crop or even using a simple photo editor to blur it out beforehand can make a world of difference.
Taking a few minutes to be picky about your photo at the start will save you hours of frustration later and lead to a much more satisfying stitching experience.
Getting Your Pattern Settings Just Right
Once your photo is uploaded, you’ll land on the main dashboard. This is where the real magic happens—transforming a simple picture into a stitchable work of art. It can look like a lot of options at first, but don't worry. You really only need to focus on three key areas to dial in your perfect pattern.
The software gives you a starting point, a first draft of your pattern. Your job now is to tweak it to fit what you have in mind for the final piece. Think about the size you want it to be, the level of detail you're comfortable stitching, and the overall look you're going for.
The Big Three: Color, Fabric, and Size
Let's walk through the three most important adjustments you'll be making. Getting these right is 90% of the battle.
- Number of Thread Colors: The software often defaults to a massive number of colors—sometimes over 150! While this creates a photo-realistic result, it can be a nightmare to stitch. Scaling back the color count is the single most effective way to simplify a complex pattern.
- Fabric Count (Aida): This number (14, 16, 18, etc.) tells you how many stitches fit into one inch of fabric. Changing the Aida count directly changes the finished size of your project without changing the number of stitches. It's a fantastic way to make a piece larger or smaller.
- Final Dimensions: You can also work backward by telling the software the exact size you want the finished piece to be (in inches or centimeters). It will then adjust the total number of stitches to fit, which in turn changes the amount of detail in the pattern.
It's this level of control that has made these tools so popular. They take the guesswork out of creating something truly personal. You can quickly upload a photo, play with a few settings, and have a PDF pattern ready to go. This has really opened up a whole new world of creative projects for stitchers, which you can see in action on sites like Pixel-Stitch.net.
The controls for these settings are usually front and center right after you upload, like in the example interface below.
This is your creative cockpit. You can adjust the stitch count, the color palette, and other details and see the changes happen in real-time on the pattern preview.
Putting It Into Practice
Let's say you've uploaded a picture of a single red rose. The pattern maker spits out a version with 150 different shades of red, pink, and green. It's stunning, but that's a lot of floss to manage. By sliding the color count down to 40, you'll see the software intelligently merge similar shades. The project instantly becomes more manageable and fun to stitch, without losing the beautiful essence of the rose.
Now, let's think about fabric. If the default pattern on 14-count Aida results in a 10x12 inch piece, what happens if you switch to 18-count Aida? The stitches become smaller and tighter, shrinking the final project down to about 7.7x9.3 inches. You do the exact same amount of stitching, but end up with a more compact, delicate-looking piece.
My Best Advice: Just play around! Toggle the color count up and down. Switch between different fabric counts. Watch how the preview image shifts and changes. Experimenting is the absolute best way to find that perfect balance between a beautiful, detailed pattern and a project you’ll actually enjoy completing.
As you get more comfortable, you might find that other image editing tools can help you prep your photos before you even upload them. For more advanced tweaks, you could check out Photopro's suite of image tools. Ultimately, these adjustments are all about giving you the control to create a pattern that perfectly matches your vision.
Fine-Tuning Your Palette and Fabric
Once the pattern maker works its magic on your photo, you'll have a solid starting point. But this is where the real artistry begins. Think of the initial pattern as a first draft—with a few thoughtful adjustments, you can elevate it from good to truly stunning.
The first thing I always look at is the color palette. The software can sometimes get a little too detailed, generating a massive list of threads with shades that are barely distinguishable. For example, in a pet portrait, you might end up with five different shades of near-black for a shadow when one or two would do the job perfectly.
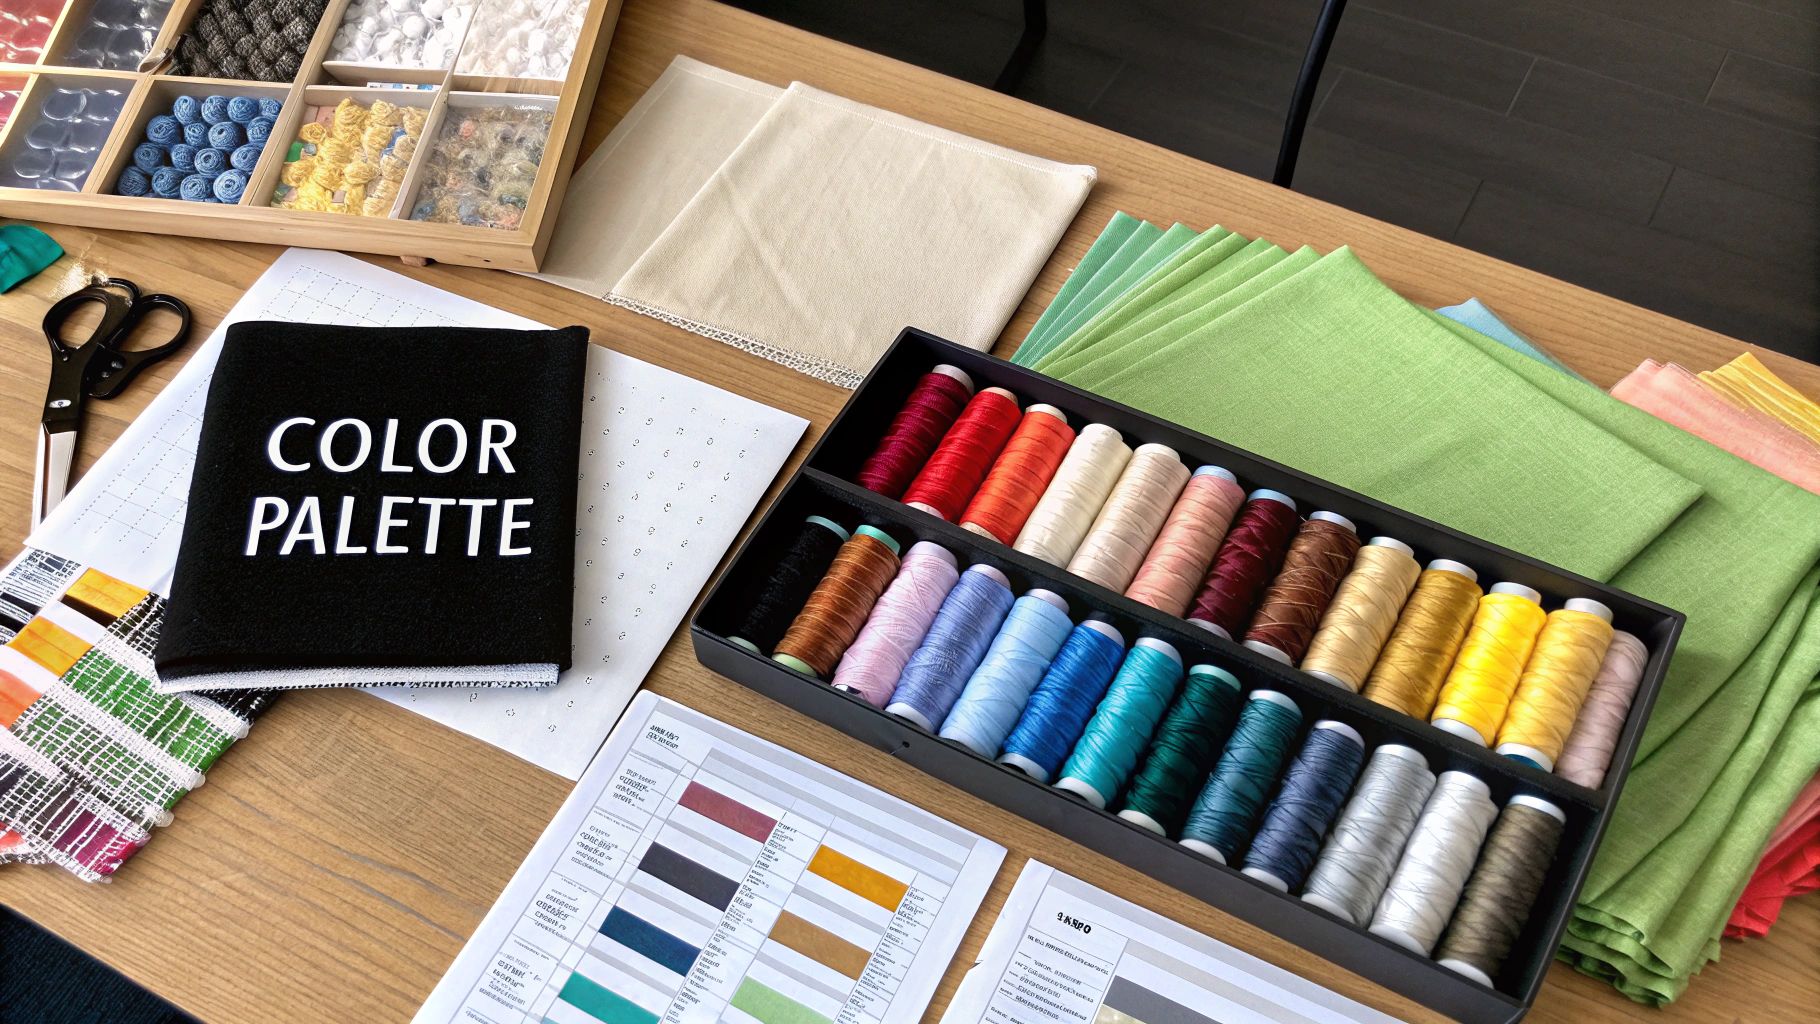 DMC threads fanned out, showing a wide palette.">
This is where you can make a huge impact. Manually combining those similar shades is a pro move. Merging those five grays into a single, well-chosen color not only simplifies the stitching process but also saves you money on floss. It also helps the finished piece look less "choppy" and more cohesive.
How Fabric Count Shapes Your Final Piece
Next up is your fabric. This choice is about more than just feel; it directly controls the final size and detail of your project. The "count" of your Aida cloth simply means the number of stitches you can fit into one inch. A small change here can make a big difference.
- 14-Count Aida: A fantastic choice for beginners or anyone who prefers a slightly larger, more traditional look. The holes are bigger and easier to see.
- 18-Count Aida: This count packs the stitches in tighter, creating a more detailed, almost photo-realistic finish. It’s perfect when you want to capture fine details without the project becoming enormous.
To see just how much this matters, here’s a quick breakdown of how fabric count affects the finished size of a 100x100 stitch pattern.
Fabric Count Impact on Final Project Size
This table shows how the Aida fabric count affects the final dimensions of a 100x100 stitch pattern, helping you plan your project.
| Aida Count (Stitches per Inch) | Finished Size (Inches) | Recommended For |
|---|---|---|
| 14-Count | 7.1" x 7.1" | Beginners, projects with a classic "pixelated" look |
| 16-Count | 6.3" x 6.3" | Good middle ground, offering more detail than 14-count |
| 18-Count | 5.6" x 5.6" | Detailed portraits, photorealistic designs, smaller pieces |
| 22-Count | 4.5" x 4.5" | Advanced stitchers, highly intricate and delicate work |
As you can see, the higher the count, the smaller and more detailed the final piece will be.
My Advice: There's no "right" or "wrong" choice here—it’s all about the effect you're going for. A lower count gives you a more classic, graphic feel, while a higher count smooths out the image for a more blended look.
Of course, your thread brand matters, too. If you ever need to substitute colors or are just curious about how different brands compare, having a good reference is invaluable. I always keep our guide on DMC conversion charts handy. It’s an essential tool for making sure your project turns out exactly how you envisioned it.
Getting Your Kit Ready to Stitch
Okay, so you’ve got your digital pattern—now for the fun part! Let's turn that file on your screen into a real, stitchable project. This is where you bridge the gap between the design and that first satisfying pull of the needle.
Your downloaded PDF is essentially your treasure map. Inside, you'll find two key pieces: the symbol chart and the floss key. The chart is the gridded pattern, and the floss key is the legend that tells you which DMC thread color each symbol represents. Simple as that.
Sizing Up Your Fabric
First things first, let's figure out your fabric. A good rule of thumb I always follow is to add a three-inch margin to all four sides of your finished design dimensions.
So, if your pattern is going to be 10" x 12", you’ll need a piece of Aida cloth that’s at least 16" x 18". Trust me, you'll be grateful for that extra room when it comes time to hoop it up or get it framed.
If you want to skip the mental math, our cross stitch calculator will give you the precise dimensions you need in seconds.
Your Shopping List
With your fabric size sorted, you can gather the rest of your materials. Here’s a quick checklist of the essentials:
- Aida Fabric: Cut to size, including that all-important margin.
- DMC Threads: Your floss key is your guide here—it lists every color code you'll need.
- Tapestry Needles: I typically use a size 24 or 26 for the common 14-count and 16-count Aida fabrics.
- Embroidery Hoop or Q-Snap Frame: This is non-negotiable for keeping your fabric tight and your stitches even.
- Sharp Scissors: A small pair for clean thread snips makes a world of difference.
It’s no surprise that creating personalized crafts is more popular than ever. The needlecraft pattern market was valued at a whopping USD 34,026.8 million back in 2025 and is expected to nearly double by 2035. It just goes to show how many of us love bringing unique ideas—like a pattern made from a favorite photo—to life with our own hands. You can read more about this creative market trend if you're curious
A Few Common Questions About Turning Photos Into Patterns
Even with a great tool, you're bound to have a few questions when you start turning your own photos into cross-stitch patterns. Let's walk through some of the most common hurdles so your project is a joy from the very first stitch.
What's With All the "Confetti"?
You might notice your pattern has a lot of "confetti"—those single, isolated stitches of color that can make a project feel messy and slow you down. This usually happens when the original photo has too much detail or not enough contrast between different areas.
The easiest fix is to simply reduce the number of colors in the pattern maker's settings. Doing this forces the software to merge similar shades, which cleans up the pattern by creating larger, more manageable blocks of color.
Can I Use a Black and White Photo?
Absolutely! Black and white photos can be transformed into some of the most stunning and dramatic cross-stitch pieces. The process is exactly the same, but you’ll be working with a grayscale palette instead of a full-color one.
This is actually a fantastic way for beginners to dive in, since the limited number of thread colors makes the whole project feel less overwhelming.
How Accurate Are the Thread Colors?
This is a big one. While our software does a fantastic job of matching colors, what you see on your screen might not be a 100% perfect match for the physical DMC floss. Every monitor and phone screen is calibrated a little differently.
My best advice? Trust your own eyes. The generated thread list is an excellent starting point, but don't be afraid to make a substitution if a color feels slightly off to you. Think of it as your final artistic touch.
Finally, for the best possible result, always start with a high-quality image. A photo that's at least 1000 pixels wide or tall gives the software much more data to work with. This leads to a cleaner, more detailed pattern that you'll be proud to display.
Ready to turn your favorite memories into a beautiful, handcrafted keepsake? The Cross Stitched photo-to-pattern maker is ready when you are. Upload your photo and see what you can create.


