

Quick answer: To frame a cross stitch, first wash and press the finished piece, then mount it onto acid-free board by lacing the fabric edges with thread or using self-adhesive mount board. Fit the mounted piece into a frame with UV-protective glass. The key steps are: wash, press face-down, mount, and frame with a mat to prevent the glass touching the stitches.
Frequently asked questions
How do you frame a cross stitch picture?
Wash and press the finished piece, mount it onto acid-free board (by lacing or using adhesive), then place it in a suitable frame. Using a mat board to keep the glass away from the stitches prevents flattening and moisture damage.
Do you need to wash a cross stitch before framing?
Yes. Washing removes the natural oils transferred from handling, hoop marks, and any pen markings used to find the centre. Hand-wash in cool water with a small amount of gentle soap, rinse thoroughly, and press face-down on a towel while still slightly damp.
What is the best way to mount cross stitch for framing?
Lacing is the archival-quality method: the fabric is pulled taut over acid-free foam board and laced across the back with strong thread. Adhesive mount boards offer a quicker alternative but may not hold as long without yellowing the fabric over time.
Should you use glass over a framed cross stitch?
Glass protects the stitches from dust and UV damage. Use UV-protective or conservation glass rather than standard glass for longevity. Ensure a mat board or spacer keeps the glass from touching the stitches directly.
Can you display cross stitch in an embroidery hoop instead of a frame?
Yes. A wooden or plastic embroidery hoop makes a quick, casual display for finished pieces. Trim the excess fabric behind the hoop, secure it with glue or stitching, and hang as-is. This suits small designs and informal settings.
You've poured countless hours into that final stitch, and now your masterpiece is complete. What comes next is just as important as the stitching itself: framing. This isn't just about sticking your work in a pretty frame; it's about protecting your art, preserving every thread, and transforming your project into something truly special for your wall.
Giving Your Cross Stitch the Finish It Deserves
After spending so much time with a piece, that final step can feel a little intimidating. But trust me, learning how to properly frame your needlework is a skill that will take your craft to a whole new level. A good frame job ensures your art stays vibrant and protected for years, turning a finished project into a lasting heirloom.
This guide goes beyond just picking a frame off the shelf. We're going to get into the hands-on techniques that give your projects a polished, professional finish, all from the comfort of your home. By the end, you'll feel confident tackling every part of the process yourself.
What This Guide Covers
We'll break down the entire journey of framing counted cross stitch pictures into clear, manageable parts. Here’s what you can expect to learn:
- Fabric Preparation: I'll show you how to properly clean, press, and trim your fabric so it’s perfectly ready for mounting.
- Material Selection: We'll talk about why choosing acid-free mats and UV-protective glass is so crucial for preventing that dreaded yellowing and fading over time.
- Mounting Methods: You'll learn a few different techniques, from pinning to lacing, to get that perfectly taut, wrinkle-free finish that makes a piece look professionally done.
The real goal here is to take the mystery out of framing. It’s about empowering you to protect your stitches from dust, humidity, and light damage while showing off their beauty. Every choice, from the mat color to how you mount it, plays a part in the final look.
If you're still new to the craft and want to make sure your work is ready for this stage, it never hurts to brush up on the cross stitch basics. And once your piece is beautifully framed, you can get some great ideas from these essential interior design tips to find the perfect spot for it in your home.
How to Prepare Your Fabric for a Flawless Frame
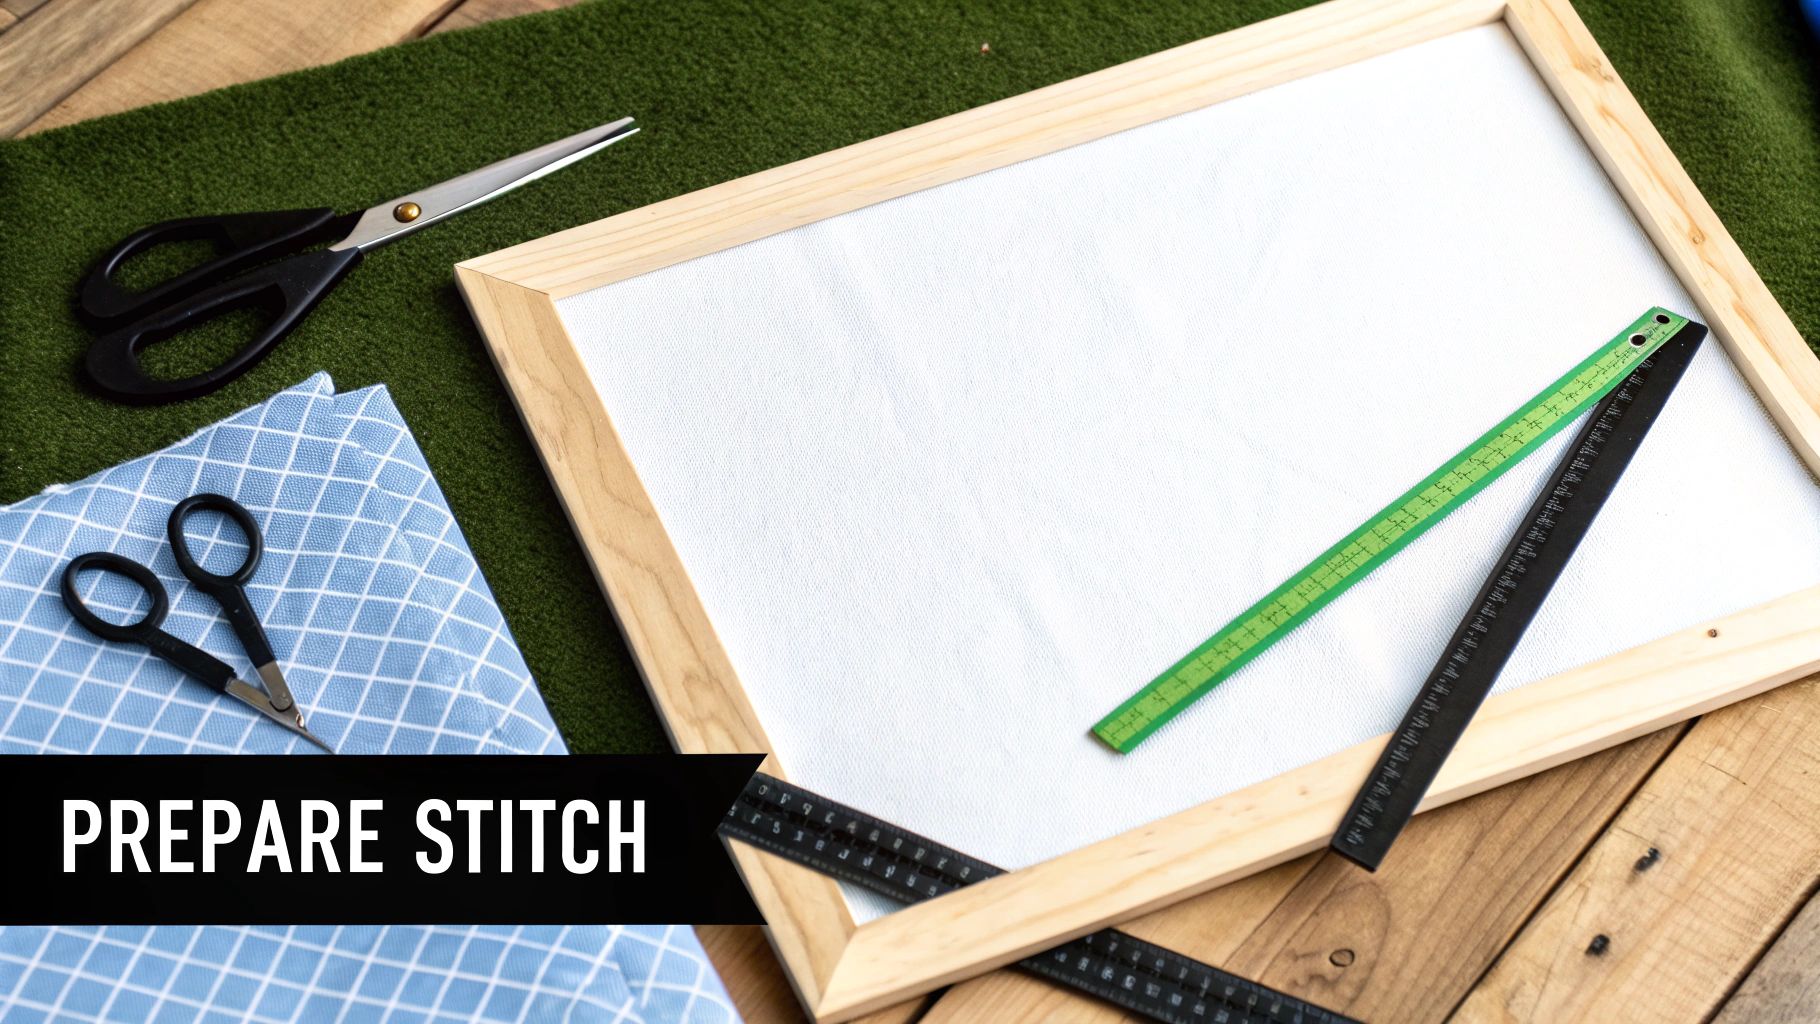
Before your beautiful cross stitch gets anywhere near a frame, a little prep work is the secret to a polished, professional look. This isn't just about a quick pass with the iron; it’s about setting the stage for a perfect finish. Taking the time now saves you from the frustration of dealing with wrinkles and distortion later.
The journey of framing counted cross stitch pictures really starts with a clean slate. After weeks or even months of handling, your project has likely picked up natural oils from your hands, dust, or hoop marks. A gentle hand-wash can work wonders, reviving the brightness of both the fabric and your threads.
I know this step can feel a bit nerve-wracking—the fear of bleeding threads is real! The trick is to use cool water and a mild, dye-free detergent. Just submerge your piece, let it soak for a little while, and rinse it thoroughly until the water runs completely clear. Whatever you do, don't wring it out! That’s a surefire way to damage your delicate stitches.
The Art of Pressing Without Crushing
Once your piece is clean, the next challenge is getting it perfectly flat without flattening your stitches. That beautiful texture is what gives cross stitch its charm, and pressing it from the front with a hot iron can completely ruin that dimension.
To avoid this disaster, always press your piece from the back. Lay it face down on a clean, thick towel. The towel’s plush surface acts as a cushion for your stitches, letting the iron flatten the fabric around them without crushing their loft.
I usually use a medium heat setting with some steam and work in gentle, sweeping motions. This technique is fantastic for getting rid of stubborn creases from a hoop or Q-snap while keeping that beautiful texture you worked so hard to create.
Pro Tip: If you hit a really stubborn crease, a light mist of distilled water can help relax the fabric fibers. Just make absolutely sure the piece is completely dry before moving on.
Trimming for a Perfect Fit
With your fabric clean and pressed, the final prep step is trimming. This is crucial for making the mounting process go smoothly. If you cut too little fabric, it’s a struggle to pull it taut. Cut too much, and you’ve got nothing left to secure it with.
A good rule of thumb is to leave a border of 2 to 3 inches of blank fabric around all four sides of your stitched design. This gives you plenty of extra material to work with, no matter which mounting method you choose—pinning, lacing, or using an adhesive board.
For a precise cut, I always follow these steps:
- Measure Carefully: Use a ruler to measure out from the edge of your stitching. Mark your cutting line with a water-soluble fabric pencil.
- Check Your Frame: Double-check that your trimmed fabric will fit onto your mounting board with enough excess to wrap securely around the back.
- Cut Straight: Sharp fabric scissors or a rotary cutter and mat will give you a clean, straight edge. This prevents fraying and makes for a much neater finish on the back of the frame.
For a deeper dive into getting your projects pristine, check out our complete guide on how to clean a cross stitch, which covers everything from spot treating to full washes. With these prep steps out of the way, your artwork is now ready for the main event—mounting and framing.
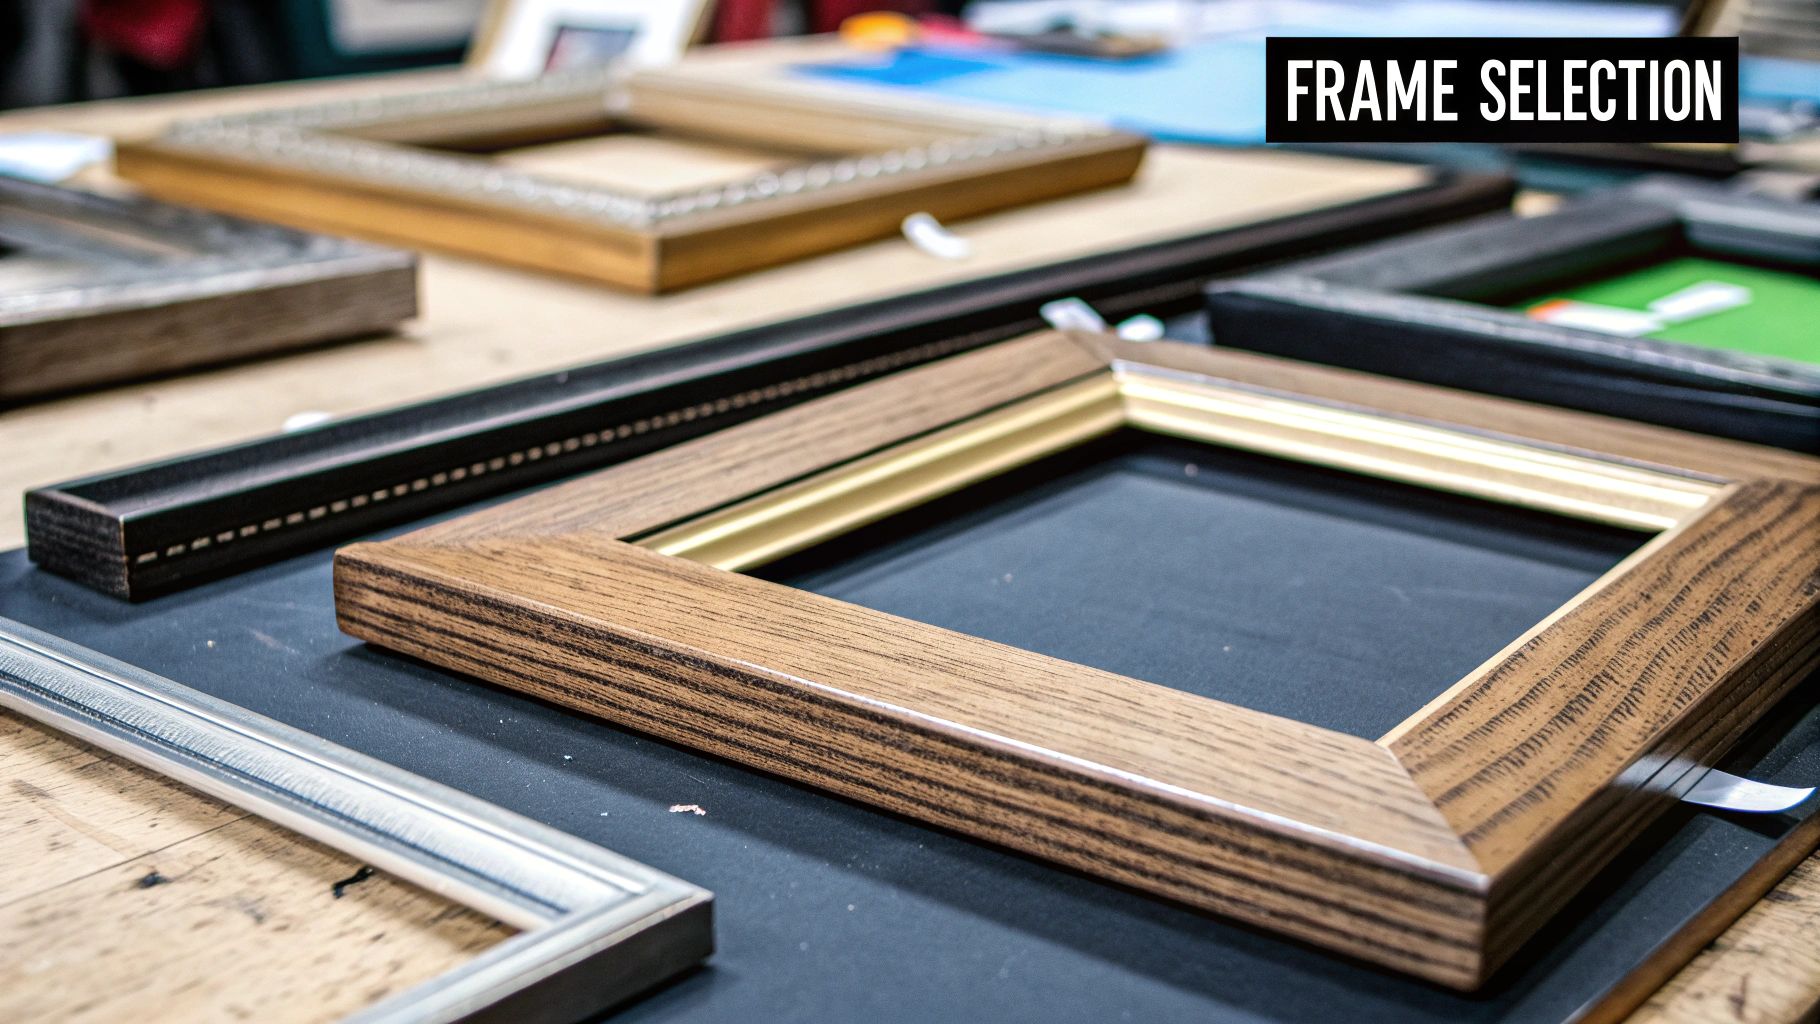
Choosing Your Frame, Mat, and Glass

Now for the fun part. With your piece all prepped and ready, you get to decide how to present it to the world. Walking into a frame shop can feel a bit like sensory overload with all the choices, but it really boils down to three key decisions: the frame, the mat, and the glass.
The frame itself does so much more than just hold everything together; it really sets the tone. A rustic, wide wooden frame might be the perfect complement for a traditional sampler, while a sleek, thin metal one can give a modern geometric piece that clean, gallery-worthy finish. Think about the colors in your stitching, of course, but also consider where it will hang.
My best advice? Don't be shy about bringing your finished cross stitch with you to the shop. Holding it up against different frame corners is the only way to really see what makes your hard work shine.
Why You Can't Skip the Mat
If there's one hill I will die on when it comes to framing textiles, it's this: you absolutely need a mat. A matboard isn't just a pretty border. Its most critical job is creating a tiny but crucial air gap between your stitches and the glass.
Without that buffer, any condensation or moisture can get trapped right against your fabric, creating a perfect environment for mildew or discoloration down the road. Just as bad, direct contact with the glass will slowly flatten your beautiful, plump stitches. After all that work, the last thing you want is a squished-looking project.
Crucial Takeaway: Always, always insist on acid-free or archival-quality matboard. Standard paper mats contain acids that will literally leach into your fabric over time, causing that awful yellow-brown staining known as "mat burn." The small extra cost is a tiny price to pay for protecting your piece forever.
When it comes to color, a classic off-white or cream is a safe bet that lets your stitching be the star. But for a more custom look, try pulling a subtle accent color from your design for the mat. It’s a simple trick that ties the whole presentation together beautifully.
Selecting the Right Glass (or "Glazing")
The final layer of protection is the glazing—the clear stuff that goes over the top. This might seem like a simple choice, but the type of glass or acrylic you pick makes a huge difference in how well your piece is protected.
Here’s a quick rundown of what you’ll likely see:
- Standard Glass: This is your basic, most affordable option. It does a fine job protecting against dust and fingerprints but offers next to no protection from damaging ultraviolet (UV) light.
- UV-Protective Glass or Acrylic: For needlework, this is the gold standard. It’s designed to block up to 99% of the UV rays that are the number one cause of your threads and fabric fading over time.
- Anti-Reflective Glass: You might hear this called "museum glass." It has a special coating that cuts way down on glare, giving you a crystal-clear view of your stitching from any angle. The best versions of this also include UV protection.
The idea of investing in protective framing isn't new. It became popular back in the 19th and 20th centuries as stitchers looked for ways to elevate their intricate work into lasting art. We see that same dedication today—surveys show nearly half of serious stitchers opt for professional framing, because they understand how important archival materials are. You can actually see some of the market data on this stats and data website.
Ultimately, if your piece is going to hang in a room with any natural light, choosing UV-protective glazing is a must. Just think of it as sunscreen for your art. It’s the single best thing you can do to ensure the vibrant colors you spent so many hours on stay bright for decades.
Mounting Your Cross Stitch for a Drum-Tight Finish
This is where the real magic happens. Mounting is, without a doubt, the most critical step for getting that perfectly smooth, tight-as-a-drum finish for your framed cross stitch. After all the hours you've poured into every single stitch, a good mount is what makes your hard work truly shine.
There are a few solid ways to mount your fabric at home. We'll walk through three of the most reliable DIY methods. Each one strikes a different balance between ease, control, and permanence, so you can pick the right approach for your project and your comfort level.
The Sticky Board Method
Self-adhesive mounting boards are easily the quickest way to get the job done. They have a peel-and-stick surface, so you just press your fabric into place. Simple, right? The trick, though, is to avoid getting any dreaded air bubbles or wrinkles trapped under your fabric.
The best way to tackle this is to work from the center out. Start by aligning the center of your design with the center of the board. Don't peel the whole backing off at once! Just peel back a small strip in the middle. Carefully press the center of your fabric down, and then slowly smooth it towards the edges, peeling away more of the backing as you go. It's a lot like applying a screen protector to a new phone—slow and steady is the only way to go.
A Word of Caution: This method is fast, but it's also permanent. Once that fabric is on, it's not coming off without a fight. Trying to reposition it can easily damage your stitches or warp the fabric. Because of that, many of us save this technique for smaller projects or pieces we're not as emotionally attached to.
The Pinning Method
Now, the pinning method is a fantastic technique that gives you incredible control over the tension, and it's a favorite for a reason. It's completely reversible. If you don't like how it looks, you just pull out the pins and start again. No harm, no foul. This makes it perfect for beginners and seasoned stitchers alike.
All you'll need is an acid-free foam core board (cut to the size of your frame's opening) and a box of rust-proof T-pins or small straight pins.
Here’s how you do it:
- Anchor the Center: Find the center of both your fabric and the foam board. Pop a single pin right through the middle of your design into the board to hold it in place.
- Work the Long Sides: Starting at the center of the top edge, gently pull the fabric taut around to the back and push a pin into the side edge of the foam board. Do the same on the bottom edge directly opposite. Now, work your way out from the center on both long sides, adding pins every inch or so and keeping the tension even.
- Tackle the Short Sides: Repeat the exact same process for the two shorter sides. Start in the middle and work your way out to the corners.
- Fold the Corners: When you get to the corners, just fold the excess fabric neatly like you're wrapping a gift and secure it with a couple of pins.
This image shows a couple of professional mounting approaches, which rely on the same core principles we're talking about here.

It’s a great visual for understanding the trade-offs between speed, cost, and long-term preservation that you’ll always encounter in framing.
The Lacing Method
When you've finished a truly special piece—an heirloom or something you're incredibly proud of—the lacing method is the gold standard. This is an archival technique that gives you the absolute best, most precise control over tension. It takes a bit more time and patience, but the drum-tight finish is simply unmatched, and it's 100% reversible without leaving a single hole or sticky residue.
You’ll need a strong, heavy-duty thread and a needle. The idea is to "lace up" the back of your fabric, almost like you're lacing a corset. You start by stitching back and forth between the two long sides of the extra fabric, pulling them snugly toward the center. Once that's done, you repeat the process with the two shorter sides.
This crisscrossing web of thread distributes tension perfectly across the entire piece. It ensures your fabric stays straight, taut, and beautiful for decades. If you're looking for more hands-on tutorials for this and other finishing ideas, you can explore some great cross stitch finishing techniques to give your work that professional touch.
Comparing Popular Cross Stitch Mounting Methods
Not sure which DIY mounting technique is right for you? This table breaks down the three main options to help you choose the best fit for your skill level, your project, and your preservation goals.
| Mounting Method | Difficulty Level | Reversibility | Best For | Key Tip |
|---|---|---|---|---|
| Sticky Board | Easy | No (Permanent) | Small, quick projects or less valuable pieces. | Work from the center out to avoid bubbles. |
| Pinning | Easy-Medium | Yes (Fully Reversible) | Beginners, or any project where you want flexibility. | Use the side edge of the foam core for a clean front. |
| Lacing | Medium-Hard | Yes (Fully Reversible) | Heirloom pieces, delicate fabrics, and archival framing. | Use a strong, neutral-colored thread. |
Each method has its place in a stitcher's toolkit. The pinning method is a fantastic all-rounder, while sticky boards are great in a pinch. For those irreplaceable pieces, though, taking the extra time to lace is always worth the effort.
Putting It All Together for a Flawless Finish
Okay, your stitch work is perfectly mounted and ready to go. This is the fun part—where all that careful prep work finally comes together and your project starts to look like a real piece of art.
First things first, let's talk glass. There is nothing more frustrating than sealing up your frame only to spot a piece of lint or a fingerprint on the inside. I always clean both sides with a microfiber cloth. Here's a key tip: spray the cleaner onto the cloth, not directly on the glass. This simple trick keeps any liquid from sneaking under the edge and potentially damaging your fabric or mat.
Getting the Layers Right
Think of assembling your frame like making a sandwich. Each layer has its place, and the order is critical to getting a secure, professional-looking result. You'll be placing everything into the recess on the back of the frame, which is called the rabbet.
Here's the order that works every time:
- Glass: Your sparkling clean glass (or acrylic) goes in first, sitting snugly against the frame's inside lip.
- Matboard: If you're using a mat, lay it carefully on top of the glass.
- Mounted Artwork: Now, gently lower your mounted cross stitch into the frame, with the stitched side facing the glass.
- Backing Board: A final piece of acid-free board on top adds extra support and another layer of protection.
My Two Cents: Before you lock everything down, flip the frame over and give it one last look from the front. Scan for any stray hairs or dust specks trapped under the glass. It’s a thousand times easier to fix it now than after it's all sealed up!
Securing the Back for a Lasting Hold
With your layers all stacked up, you need to keep them from shifting. A lot of store-bought frames come with those flimsy, bendable metal tabs. Frankly, they're not great for the thickness of a mounted cross stitch—they just don't apply enough pressure.
For a truly secure, gallery-quality fit, I always use glazier's points. These are small, flat metal tabs that you press into the wood of the frame using a putty knife or a special point driver tool. They create a firm, even pressure that holds the entire "sandwich" tightly in place.
The final step that really elevates your work is adding a dust cover. Just cut a piece of kraft paper to be slightly smaller than the back of your frame. Run a thin bead of archival glue or some archival double-sided tape around the back edges of the frame, then press the paper down for a clean seal.
This extra step protects your hard work from dust, bugs, and humidity for years to come. It's a small detail, but it reflects a real dedication to preserving craftsmanship. As more people embrace needlecraft, there's a growing appreciation for proper framing that ensures these beautiful projects last. You can find more details on this trend's growth at futuremarketinsights.com.
Answering Your Top Cross-Stitch Framing Questions
Even with the best instructions, you're bound to run into a few head-scratchers when it's time to frame your work. It happens to all of us! Let's walk through some of the questions I hear most often from fellow stitchers and get you the clear, practical answers you need.
To Glass, or Not to Glass?
I get this one a lot. The short answer is: yes, absolutely use glass. While it’s tempting to leave the fabric uncovered so you can appreciate the texture, glass (or acrylic) is your best defense against dust, dirt, and ambient humidity.
More importantly, it protects your beautiful floss colors from fading over time due to UV light exposure. If you’re worried about glare, you can always look into museum-grade or anti-reflective glass. For a piece you’ve poured your heart into, investing in UV-protective glass is like buying the best insurance policy for your art. Think of it as sunscreen for your stitches!
How Do I Get It Perfectly Centered?
Achieving that perfectly centered look comes down to one thing: measuring twice and securing once. First, find the exact center of your stitched design and mark it lightly with a pencil on the back of your fabric. Do the same for your mounting board.
Line up those two center marks as your starting point. From there, grab a ruler and measure the distance from the edge of your stitching to the edge of the board on all four sides. Nudge the fabric gently until those measurements are identical. It’s this final tweak that makes all the difference.
Taking the time to get the framing just right is what transforms a personal project into a professional-looking display. It's no surprise that as more people embrace handmade crafts, the desire to frame them beautifully has grown too. The global cross-stitch kit market has swelled to around USD 1.24 billion, a number that really highlights how much we value showcasing our work. You can dig into more of these market trends on growthmarketreports.com.
Can I Just Use a Regular Photo Frame?
Maybe, but you need to check one crucial dimension: the frame’s depth, which is technically called the rabbet. A piece of cross-stitch mounted on foam core or mat board is much thicker than a single photograph.
Your frame needs to be deep enough to accommodate the glass, a mat (if you're using one), your mounted fabric, and the final backing board, all without bowing. If the frame is too shallow, you won’t be able to secure the back properly, and the whole thing will look strained.
What's the Safest Way to Clean a Framed Piece?
This is a big one. To clean the glass, never spray cleaner directly onto the frame. That’s just asking for liquid to seep under the edge and onto your fabric or mat, which can cause permanent damage.
Instead, lightly spray a clean microfiber cloth with your glass cleaner and then wipe the glass. It gives you total control and eliminates any risk of seepage. For the frame itself, a quick pass with a dry duster is usually all you need.
At Cross Stitched, we know every project is a labor of love worth preserving. We help you turn your favorite photos into one-of-a-kind kits, giving you everything you need to stitch your memories. Create your personalized cross stitch kit today!


