
Quick answer: A photo or image can be converted into a cross stitch pattern using dedicated software (such as PC Stitch, KG Chart, or free tools like Stitch Fiddle) that pixelates the image and maps each pixel to a DMC thread colour. The process involves uploading the image, setting the stitch count and fabric size, limiting the colour palette, and exporting a printable chart.
Frequently asked questions
How do you turn a picture into a cross stitch pattern?
Upload the image to cross stitch design software or an online converter. Set the desired stitch count or finished size. The tool converts the image into a pixelated grid and suggests DMC thread colours for each square. Export the result as a printable chart.
What software can turn a photo into a cross stitch pattern?
Popular options include PC Stitch (Windows desktop), MacStitch (Mac), KG Chart (online, free), and Stitch Fiddle (online, free tier available). Each converts images to charted patterns with DMC colour suggestions.
Is it free to convert a photo to a cross stitch pattern?
Several free online tools exist, including Stitch Fiddle and KG Chart. These offer basic conversion without software installation. Paid desktop applications such as PC Stitch provide more control over colour reduction, stitch count, and pattern editing.
What makes a good photo for converting to a cross stitch pattern?
High contrast images with a clear subject and simple background convert most accurately. Portraits, pet photos, and bold graphic designs tend to produce better results than cluttered, low-contrast, or heavily shadowed images.
How many colours should a cross stitch pattern from a photo have?
Most stitchers recommend limiting the palette to 20–40 colours for a manageable project. More colours produce greater photographic accuracy but significantly increase thread purchasing and pattern complexity.
Turning a treasured photo into a stitchable work of art is an incredibly rewarding process. Using modern tools, you can translate the colors and details of your favorite picture into a clear cross stitch chart. It’s a wonderful way to create a deeply personal keepsake, whether it’s a family portrait, a beloved pet, or a stunning landscape from that unforgettable trip.
Bringing Your Photos to Life With Thread
Imagine transforming a favorite memory—a wedding day snapshot, your child’s first smile, or that perfect vacation sunset—into a tangible piece of art crafted by your own hands. This guide is your complete roadmap. We're moving beyond generic advice to give you practical, step-by-step instructions for turning any digital image into a beautiful cross stitch masterpiece.
The appeal of this craft lies in its unique blend of modern technology and traditional handiwork. It’s a hobby that has captivated creators for generations, and its popularity is only growing. This isn't just a niche pastime anymore; it's part of a massive global trend. The needlecraft patterns market, which includes custom designs from photos, is projected to grow from around USD 34 billion in 2025 to nearly USD 64 billion by 2035. This boom is fueled by a worldwide passion for DIY projects and personalized home decor. You can explore detailed insights on this growing needlecraft market from Future Market Insights.
Key Factors for a Successful Pattern
Before you even think about uploading a photo, it pays to understand a few core elements. The quality of your final pattern is directly tied to the choices you make right at the start.
Here are the critical factors that will make or break your project:
- Photo Quality: A high-resolution image with good contrast is non-negotiable. Blurry or poorly lit photos will only result in a muddy, indistinct pattern that’s frustrating to stitch.
- Subject Simplicity: Trust me on this one—images with a clear focal point and an uncluttered background translate much better. A simple portrait shot almost always works better than a chaotic group photo at a busy event.
- Color Palette Management: The number of thread colors you select is a crucial balancing act. More colors can create more detail and realism, but they also significantly increase the project's complexity and cost.
The goal isn't just to convert a picture; it's to interpret it. A great pattern captures the essence of the original photo, not necessarily every single pixel. Sometimes, simplifying details is the key to a more beautiful finished piece.
To help you get a handle on these trade-offs, I've put together a quick overview of the main things you need to consider when you generate a cross stitch pattern from a picture.
Quick Overview of Photo to Pattern Factors
This table summarizes the key elements that influence the quality of a custom cross stitch pattern created from a picture.
| Factor | Why It Matters | Quick Tip |
|---|---|---|
| Image Resolution | Higher resolution captures more detail, preventing a blocky or pixelated final pattern. | Always use the original, full-size photo file, not a compressed version from social media. |
| Contrast & Lighting | Good contrast helps the software distinguish between different elements and shades. | Choose photos with clear light and shadow. Avoid images that are too dark or washed out. |
| Color Count | Determines the level of detail and realism versus the complexity of stitching. | For portraits, aim for 35-50 colors. For simpler designs, 20-30 may be enough. |
| Fabric Count (Aida) | The fabric count (e.g., 14-count, 18-count) impacts the final size and detail of the project. | Higher counts (like 18ct) create a smaller, more detailed image. Lower counts (14ct) are larger and quicker to stitch. |
By keeping these points in mind from the get-go, you’re not just hoping for a good result—you’re actively guiding the process. This is how you create a stunning, stitchable work of art you’ll be proud of for years to come.
Alright, let's transform that section. Here’s a rewrite that sounds like it came from an experienced stitcher sharing their hard-won advice.
Choosing the Best Photo for Your Pattern
I can't stress this enough: your finished cross-stitch project is only ever as good as the photo you start with. It’s the absolute foundation of everything that comes after. Think of it like building a house – a shaky foundation will cause problems no matter how well you build the rest. A great photo, on the other hand, sets you up for a stunning result before you even pick up a needle.
The number one thing to look for is resolution. You need a high-resolution photo, plain and simple. When you upload an image, the software has to analyze all the tiny details to create a coherent pattern. Photos you’ve downloaded from social media are almost always compressed, meaning a lot of that crucial data has been thrown away. This leads to patterns that look fuzzy or blocky. Always, always track down the original, full-size file from your phone or camera.
Look for Clear Subjects and Good Contrast
Once you've got a high-res image, the next thing to check is the photo itself. Does your subject pop? You're looking for images with good, clear contrast and lighting. A picture where your subject is well-lit and stands out from what’s behind them will translate into a much better pattern. The software needs to be able to "see" the difference between a black cat and the dark couch it's sleeping on, and strong contrast does most of the heavy lifting.
Let's imagine two photos:
- A great choice: Your golden retriever sitting in a bright green field on a sunny day. The dog is clearly the star, the colors are distinct, and the background isn’t competing for attention.
- A tough one: A candid shot of your friends at a dimly lit concert. The lighting is all over the place, people are fading into the shadows, and the background is a chaotic mess of lights and other concert-goers.
The first photo will almost certainly become a clean, beautiful pattern that’s a joy to stitch. The second? You'd likely end up with a muddy, confusing chart where all the colors blend together. It would be an exercise in frustration.
A key thing to remember is that you're capturing the essence of the photo, not recreating every last pixel. The pattern generator simplifies your complex image into a grid of colored squares. The clearer your starting image is, the better that translation will be.
A Few Small Edits Can Make a Huge Difference
Before you even think about uploading your photo, spending just a couple of minutes on some basic edits can dramatically improve your final pattern. You don't need fancy software like Photoshop; the editing tools built right into your phone are more than enough for this.
Cropping is your secret weapon. Seriously. Get rid of all that distracting background noise and put the focus squarely on your subject. If you're making a portrait of your grandchild, crop in tight on their face and shoulders. This forces the generator to use all the available stitches to capture their smile and the light in their eyes, not the random lamp in the corner of the room.
Also, try playing with the brightness and contrast sliders. If a photo feels a bit dark or washed out, bumping these up a little can reveal hidden details that the software might otherwise miss. These tiny pre-edits give the generator the best possible canvas to work from, and you'll be rewarded with a much cleaner and more accurate cross stitch pattern from your picture.
Alright, this is where the fun really begins. You’ve picked out the perfect photo, and now it’s time to turn it into a real, stitchable pattern. This isn’t just about hitting a "convert" button and hoping for the best; it’s a bit of an art form, a dance between what you want the final piece to look like and what’s actually practical to stitch.
The settings you tweak in the pattern generator will define everything about your project: its final size, how much detail it has, the overall complexity, and even how much it'll cost you in materials. Let's break down the three most important dials you'll be turning when you create a cross stitch pattern from a picture.
The Big Three Pattern Variables
When you upload your image to a tool like Cross Stitched, you're essentially telling it how to translate pixels into stitches. Here are the main controls you'll use:
-
Finished Size: This is usually set in the number of stitches (e.g., 150 stitches wide). This number, combined with your fabric choice, dictates the final physical dimensions. Going bigger means you can pack in more detail, but it's also a bigger commitment in time and thread.
-
Fabric Count (Aida): This number tells you how many stitches fit into one inch of fabric. A common, beginner-friendly choice is 14-count Aida, which gives you larger stitches and helps the project feel like it's progressing faster. For a more refined look with smaller, tighter stitches, you might opt for an 18-count Aida, which will result in a smaller but more detailed piece.
-
Number of Thread Colors: Here’s the biggest trade-off you’ll make. The more colors you use, the more photorealistic your design will be. But it also means you’ll be buying more floss, changing your needle more often, and managing a much more complex chart. It’s a classic case of detail versus difficulty.
As you can see, your materials are the foundation for everything that comes next. The digital pattern is one thing, but the thread and fabric are what bring it to life.
Finding That Perfect Balance
Let's walk through a real-world example. Say you've uploaded a gorgeous photo of your golden retriever. The generator spits out a preview with 50 different shades of gold, brown, and cream. On your screen, it looks absolutely perfect.
But now, picture yourself stitching it. You might have to make five stitches of one color, then re-thread your needle for two stitches of a slightly different beige, then switch again for a single stitch of off-white. It can get tedious, fast.
This is where you need to play with the settings. Try sliding that color count down from 50 to 30. Look closely at the preview. Did the sparkle in your dog’s eyes disappear? Or did the background just get a little less busy while the important features stayed sharp?
The trick is to learn how to "read" the digital preview. Ask yourself: Is this change sacrificing an essential detail, or is it just simplifying a section without losing the heart of the photo? Often, cutting the color count makes for a much more enjoyable project with a result that’s just as beautiful.
Thankfully, the technology behind these generators has improved dramatically. Modern pattern-making tools are getting smarter, and a rising interest in personalized home decor is pushing them to get even better. If you're curious about the broader trends, you can explore more on the embroidery market's growth at Business Research Insights.
Ultimately, you’re looking for the sweet spot that feels right for you. An expert stitcher aiming for a masterpiece might welcome a 50-color chart on 18-count fabric. A beginner might have a much better time with a 25-color version on 14-count Aida that they can finish and proudly hang on the wall. My advice? Experiment! Tweak the settings, study the preview, and choose the combination that gets you excited to thread that first needle.
Making Your Pattern Shine: The Art of Refinement
Okay, you've hit the button and your photo is now a cross-stitch chart. It's always a thrill to see that first draft, but don't thread your needle just yet. A computer-generated pattern is a fantastic starting point, but the real magic happens in the editing phase. This is where your eye as a stitcher comes in to transform a digital file into a truly enjoyable project.
The first thing you’ll probably notice are what we call "confetti" stitches. These are the random, single-colored stitches that pop up in areas that should be smooth. Think of a single brown stitch in the middle of a blue sky. On-screen, it might look like subtle shading, but when you're stitching, it means stopping and starting your thread for one. single. stitch. It’s a pain, and cleaning these up is the single best thing you can do for a frustration-free experience.
Simplify Your Colors for Smoother Stitching
Next, take a hard look at your color palette. The software, in its quest for accuracy, often assigns two or three colors that are practically twins. You might see DMC 3752 and DMC 3753, two nearly identical shades of dusty blue, sitting right next to each other.
To the naked eye, the difference is almost zero. By manually changing those few odd stitches to the dominant color in that area, you'll see huge benefits. You can:
- Shrink your thread list: Who doesn't want to buy fewer skeins?
- Create cleaner color blocks: This gives the finished piece a more polished, less "digital" look.
- Stitch faster: Fewer color changes mean you get into a rhythm and stay there longer.
This part feels a lot like being a pixel artist. You're making deliberate choices, stitch by stitch, to improve the final cross stitch pattern from your picture and make it look less like a computer made it and more like you designed it.
Bring Your Subject to Life With Backstitching
Pattern generators are brilliant at mapping out color, but they often struggle with sharp details. This is most obvious in portraits, where a face might be beautifully shaded but the eyes look a little flat, or a smile doesn't quite reach the corners. The soul of the picture gets lost in the pixels.
This is where backstitching becomes your most powerful tool. It’s like taking a fine-tipped pen and drawing in the details that make your subject recognizable.
Grab a single strand of dark floss—black or dark brown usually works best—and trace the important lines. A simple outline around the eyes, the curve of a lip, or the edge of a flower petal can dramatically sharpen the image. It’s this final touch that separates a basic conversion from a piece of art that truly captures the spirit of your photo.
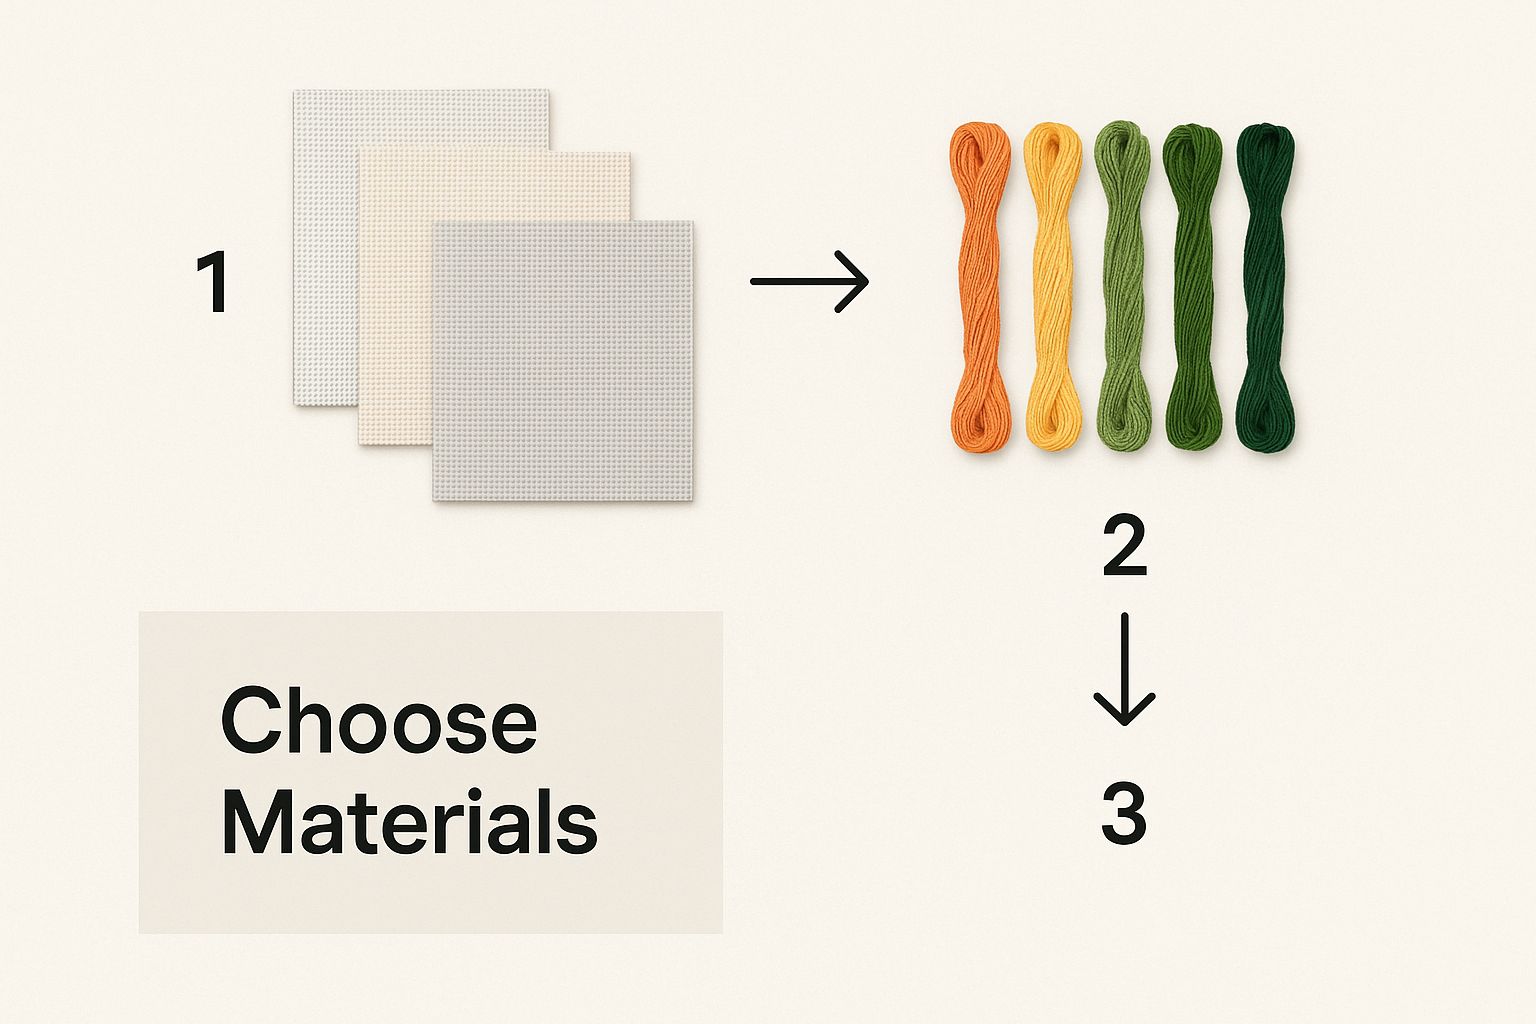
Gathering Your Supplies and Starting to Stitch
Alright, the digital work is done. You've tweaked and perfected your design on the screen, and now it’s time for the magic to happen. This is the moment we translate all that planning into a real, tangible piece of art. Let's get your supplies sorted so you can start stitching your custom pattern.
The first thing you need to do is create your shopping list directly from the pattern you generated. Your pattern will have a thread key, which is basically a legend listing every DMC or Anchor floss color number required. It should also give you a stitch count for each color, which is incredibly helpful for figuring out how much thread you’ll actually need to buy.
Calculating Your Fabric and Thread Needs
Don't eyeball your fabric size—that’s a recipe for running out of room later. Start by finding the final stitch dimensions on your pattern (for instance, 140 stitches wide by 196 stitches high). Then, just divide each of those numbers by your fabric count. Let's use 14-count Aida as an example.
- Width: 140 stitches / 14-count = 10 inches
- Height: 196 stitches / 14-count = 14 inches
That gives you the size of the finished design itself, but you're not done yet. You absolutely need to add a margin. I can't stress this enough: always add at least 3 inches of extra fabric on all four sides. This space is non-negotiable for securing the fabric in a hoop or Q-snap while you stitch and is vital for professional framing down the road. So, for our example, you'd want a piece of Aida measuring at least 16 x 20 inches.
When it comes to thread, a good rule of thumb is that one standard skein of DMC floss (which is 8.7 yards) will give you about 2,000 to 2,500 stitches if you're using two strands on 14-count Aida. Look at your pattern's stitch count for each specific color. If a color needs 3,000 stitches, grab two skeins. It's always a smart move to buy an extra skein of your most-used colors. Trust me, it beats scrambling to find the same dye lot weeks later.
My two cents: The moment you get home with your new threads, organize them. Winding them onto plastic bobbins and labeling them with the DMC number will save you from a world of tangles and headaches. A neat floss box makes the whole process feel more like a relaxing craft and less like a chore.
Setting Up for Your First Stitch
A little prep work before you make that first stitch can make all the difference in how much you enjoy the process. Getting your station set up properly, from your needle to your lighting, is key.
You'll want a tapestry needle for cross stitch. A size 24 needle is the sweet spot for 14-count Aida. If you're working with a finer fabric like 18-count, you'll want to switch to a smaller size 26 needle. The goal is for the needle to pass through the fabric's holes easily without distorting them. Good lighting is also a game-changer. To keep eye strain at bay during those long, satisfying stitching sessions, think about getting one of the best lamps for sewing.
Finally, let's find the center of your fabric. Just fold it in half lengthwise, and then in half again widthwise. Give that corner a gentle pinch to mark the center point. This spot corresponds to the center of your chart, which is usually marked with arrows. Starting your project from the center is the best way to ensure your design is perfectly positioned.
Common Questions About Creating Patterns From Photos
Even with the best tools and a fantastic photo, the process of turning that picture into a stitchable pattern can feel a bit tricky. It's a creative journey, and every image has its own quirks. Let's tackle some of the most common hurdles stitchers run into when making a cross stitch pattern from a picture.
A big one I hear all the time is about the type of photo. We know high-resolution is king, but what about portraits versus landscapes? For portraits, the magic is always in the details—the sparkle in an eye, the curve of a smile. These kinds of photos really shine with a higher color count, maybe 35-50 colors, to capture those subtle skin tones and expressions.
Landscapes, on the other hand, are often more forgiving. You can usually get away with a more limited palette, say 25-35 colors, because you're capturing an overall mood or a sweeping vista, not every single leaf on a distant tree.
How Many Colors Is Too Many?
Finding the right number of thread colors is a constant balancing act. You're trading off between incredible detail and a simpler, more enjoyable stitching process. Sure, more colors can give you photo-realism, but it also means a lot more time spent swapping out threads and a bigger pile of floss to buy.
Here's what I usually do: I let the pattern generator give me its initial recommendation, and then I almost always dial it back a bit. Look closely at the preview. Ask yourself, "What am I actually losing by simplifying?" More often than not, trimming the palette from 45 down to 35 colors just smooths out the background noise while keeping your main subject perfectly clear. It makes for a much more pleasant project without sacrificing the soul of the image.
The goal isn't a perfect pixel-for-pixel replica; it's a beautiful, stitchable interpretation. You're the artist here. If a color count feels overwhelming, it probably is. Trust your instinct and simplify.
Can I Really Edit the Pattern Myself?
Absolutely! In fact, you should. I always tell people to think of the generated pattern as a first draft, not the final product. Getting in there and making manual edits is what takes a design from good to great. Most pattern software lets you click on individual stitches and change their color, which is a game-changer.
This is especially crucial for two things:
- Eliminating "Confetti" Stitches: These are those random, single-color stitches floating in a sea of another color. They make an area look spotty and are a real pain to stitch. My advice? Just change them to match the main color in that section. It cleans up the design instantly.
- Adding Backstitching: Pattern generators are famously bad at creating sharp lines. This is where you come in. Using a single strand of black or dark brown floss to outline key features—like eyes, mouths, or architectural details—adds an incredible amount of definition. It makes your subject pop.
Don't ever be afraid to jump in and make these tweaks. They give your project that professional, polished look and make the whole stitching experience far more relaxing.
Ready to turn your favorite photo into a true work of art? With Cross Stitched, you can upload your picture and get a complete, all-in-one kit delivered right to your door. Start creating your personalized masterpiece today


