
Let’s be honest, every stitcher has faced the "floss monster." You reach for a skein, and what you pull out is a tangled, knotted mess that looks more like a bird's nest than usable thread. It’s frustrating, and a disorganized stash can be a real creativity killer. All that time spent untangling is time you could have been happily stitching.
The best way to store your embroidery floss is whatever keeps it clean, organized, and tangle-free. For most of us, that means using plastic bobbins tucked into partitioned boxes. This simple setup protects your threads and makes finding the exact color you need a breeze, turning a potentially chaotic part of the hobby into a joyful, organized one.
Why Bother Organizing Your Floss?
A good storage system is the secret to a peaceful and productive stitching life. I had my own "aha" moment a few years back while working on a complex portrait piece. I wasted nearly an hour digging through a chaotic drawer for one specific shade of grey. I almost gave up on the project entirely out of sheer frustration.
That's when it clicked for me. A proper organization system isn't just about being neat—it’s about respecting your time and the beautiful materials you've invested in.
The Real-World Impact of Good Organization
When you finally get your stash in order, you’ll notice a few immediate benefits:
- It Protects Your Investment: A good system keeps floss safe from dust, damaging sunlight that causes fading, and even moisture that could lead to mildew.
- It Makes Project Prep a Snap: Finding the exact color you need in seconds means you can get started on your projects faster, with way less friction.
- It Cuts Down on Waste: No more tangles means you use more of every skein, which saves you money in the long run.
This isn't just a modern-day obsession. The move toward systematic storage has been happening for decades. The introduction of plastic bobbins back in the 1960s was a total game-changer, cutting down storage prep time by an estimated 60% compared to just leaving threads in their original skeins. By the 1980s, about 75% of serious embroiderers were using some kind of bobbin system. You can learn more about the history of floss storage and its benefits to see how these simple tools made such a huge difference.
A smart storage system does more than just organize your floss—it organizes your mind, freeing you from clutter so you can focus on the art of stitching.
Comparing Popular Floss Storage Systems
Finding the best way to store your embroidery floss is a bit of a personal journey. What works for one stitcher might not be the right fit for another. It really boils down to how big your collection is, what your stitching space looks like, and honestly, your own personal style. Let's walk through the most popular methods so you can figure out what makes the most sense for you.
This little flowchart sums it up pretty well.
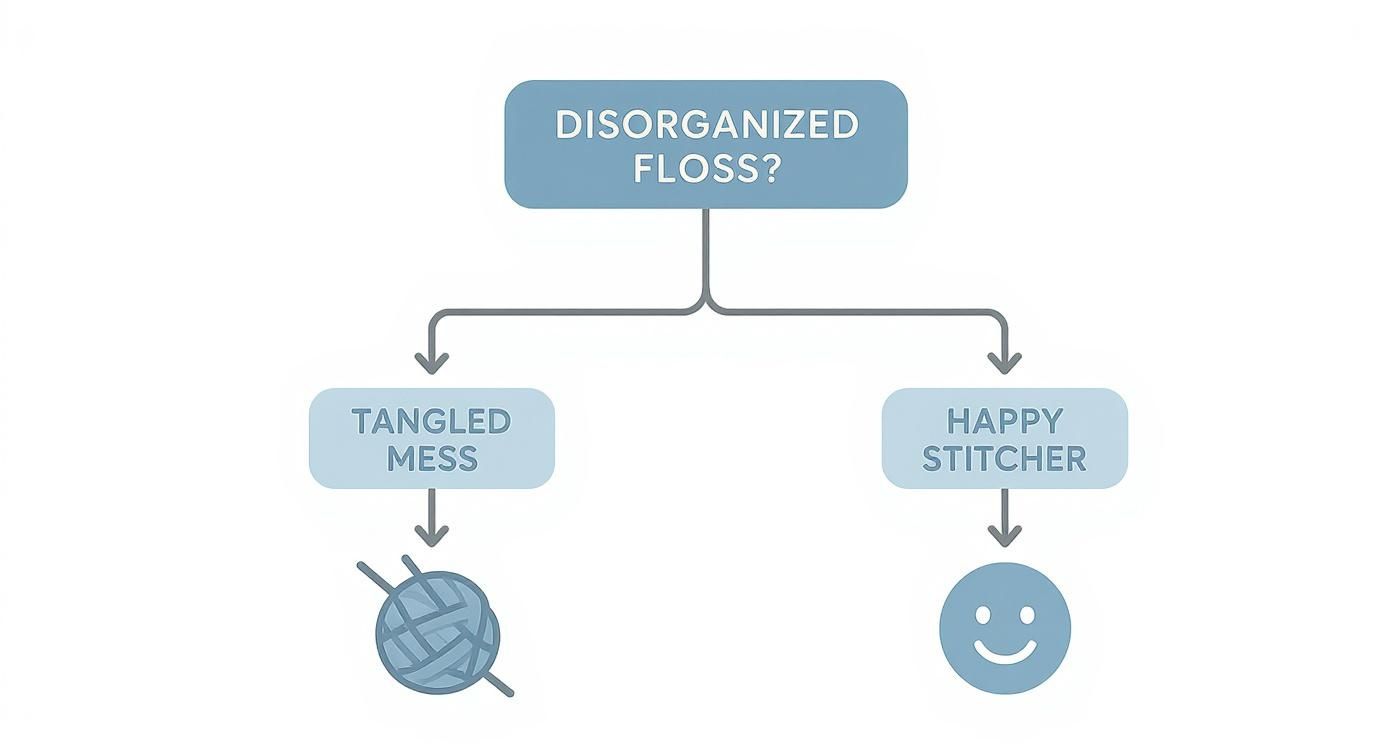
As you can see, a little time spent organizing now saves you a massive headache later. It's the first step toward a much happier—and less tangled—stitching life.
The Classic Bobbin and Box Method
When you picture floss storage, the bobbin-and-box system is probably what comes to mind. It's the tried-and-true method for a reason. You wind each skein onto a little plastic or cardboard bobbin, slap a label with the color number on it, and file it neatly in a partitioned plastic box.
The biggest win here is visibility and order. Need DMC 310 or Anchor 403? You can find it in seconds. This kind of precision is a lifesaver when you're working on a complex pattern with a ton of color changes. In fact, industry surveys show that 65-70% of stitchers use some type of plastic storage, with bobbin boxes leading the pack.
The catch? It takes a fair bit of time to get started. Winding hundreds of skeins can feel like a whole project on its own, especially if you're wrangling a massive stash.
Floss Drops and Rings for Quick Access
If you'd rather spend less time winding and more time stitching, floss drops on a binder ring might be your new best friend. Instead of winding, you just loop the skein through a hole on a tag (the "floss drop") and label it. Then you can group all the threads for a single project onto one ring.
This grab-and-go setup is perfect for a few key situations:
- Managing a Work-in-Progress (WIP): It keeps all your project colors in one place, so you’re not digging through your main collection every time.
- Travel Kits: A single ring of floss drops is super compact and easy to toss in a bag.
- If You Just Hate Winding: This is, by far, a faster way to get new floss into your system.
On the downside, the long strands can get a little messy if you're not careful. It definitely doesn't have that super-neat, uniform look of a bobbin box. For anyone leaning this way, checking out different styles of a cross-stitch thread organiser can give you even more ideas for keeping project threads under control.
Keeping Full Skeins in Bags or Drawers
Some stitchers just can't bear to separate a skein from its original paper bands until they absolutely have to. If that's you, storing them in small, clear bags is a great option. Brands like Floss-A-Way make little baggies with a hole for a binder ring and a space for a label, giving you the best of both worlds.
And for those of us with truly epic collections? Sometimes you have to bring in the furniture.
A dedicated set of shallow drawers, like those in a Bisley cabinet or an artist's flat file, can be the ultimate storage dream. Add some drawer dividers, and you've basically built yourself a beautiful, functional floss library.
This approach obviously needs more space, so it’s best if you have a dedicated craft room or corner. The payoff, though, is incredible capacity and being able to see huge groups of colors all at once—a massive plus for designers or anyone who loves building their own palettes from scratch.
Embroidery Floss Storage Methods Compared
To make the choice a little easier, here’s a quick rundown of the main options, their pros and cons, and who they’re really for.
| Storage Method | Best For | Pros | Cons |
|---|---|---|---|
| Bobbins & Boxes | Stitchers with large, diverse collections who value precise organization. | Highly organized, easy to find specific colors, protects floss well, stackable. | Very time-consuming initial setup; can create kinks in the floss. |
| Floss Drops & Rings | Project-based stitchers, travel kits, and those who hate winding. | Quick to set up, easy to grab all threads for one project, portable. | Can become tangled if not handled carefully; less uniform look. |
| Bags & Rings | Those who prefer keeping skeins intact but want project-based organization. | Keeps skeins whole, no winding needed, portable, protects from dust. | Can be bulkier than floss drops; requires purchasing bags. |
| Drawer Systems | Stitchers with very large collections and a dedicated craft space. | Huge capacity, excellent for seeing color families at a glance. | Requires significant space and financial investment; not portable. |
Ultimately, there's no single "best" way to store embroidery floss. The right system is the one that gets out of your way, makes you feel organized, and lets you focus on the joy of creating.
How to Wind and Label Your Floss Correctly
Before you even think about filing your floss away, you’ve got to get the prep work right. The way you wind and label your floss is the absolute foundation for a happy, tangle-free stitching life. Trust me, if you rush this part, you'll pay for it later when you’re wrestling with a messy bobbin or can't tell two shades of blue apart.
Let’s start with the basics: the bobbin itself. You'll see cardboard and plastic options out there. While the cardboard ones are cheap and tempting, plastic bobbins are a far better long-term investment. They’re practically indestructible—they don't bend, get soggy, or fray at the edges, which means your floss stays secure and your labels stay put for years.
Now for the winding. It's more of a gentle art than a race. Start by sliding those paper sleeves off a new skein of floss and carefully unfurl it into a big loop. Find one of the cut ends, pinch it against the middle of your bobbin, and start wrapping.
A little tip from experience: wind with just enough tension to keep the floss neat on the bobbin. If you pull it too tight, you can actually stretch and flatten the fibers, which can change the texture and sheen of your stitches. Keep it relaxed.
If you’re prepping a whole bunch of colors at once, do your fingers a favor and get a bobbin winder. It’s a small, hand-cranked gadget that makes the job incredibly fast and gives you a much more consistent result. When you're done, just tuck the loose end into one of the little slits on the bobbin to keep it from unraveling.
The Art of Proper Labeling
Winding is only half the job. The step you absolutely can’t afford to skip is labeling. An unlabeled bobbin is a recipe for disaster down the road. You must write the brand and color number (like DMC 310) on every single one.
This isn't just about being tidy; it's crucial for several reasons:
- Following Patterns: When a chart calls for a specific number, you need to know you've got the exact right shade.
- Shopping Made Easy: Run out of a color mid-project? Knowing the number means you can buy a replacement without any guesswork.
- Matching Dye Lots: While big brands like DMC are incredibly consistent, having the number is a lifesaver if you ever need to match a specific dye lot for a massive project.
A fine-tip permanent marker is perfect for writing directly on plastic bobbins. Another great method is to use pre-printed number stickers; they give your collection a really clean, uniform look.
If you're serious about creating a pristine and easy-to-read system, a dedicated label maker is a game-changer. For a deep dive into what's available, check out this ultimate guide to label printer machines. It can help you find the right tool to make your floss collection look professional and effortless to navigate.
Smart Ways to Organize Your Floss Collection
Now that your bobbins are neatly wound and labeled, it's time for the fun part: creating a system that lets you grab the perfect color without having to think twice. How you arrange your floss is a deeply personal choice, and what works for one stitcher might not work for another. There's no single "right" way, but there are a few trusted methods that can help you find your organizational groove.
The most popular and arguably most practical method is organizing your floss numerically by color code. If you primarily follow patterns, this approach is an absolute game-changer. When a chart calls for DMC 743, you just go to your box and pull it in seconds. No guesswork, no frantic searching.
This system is all about precision and efficiency. You aren't just looking for "that one shade of medium yellow"; you're looking for a specific number. It makes everything from prepping a new project to restocking your stash completely straightforward.
Organizing by Color Family
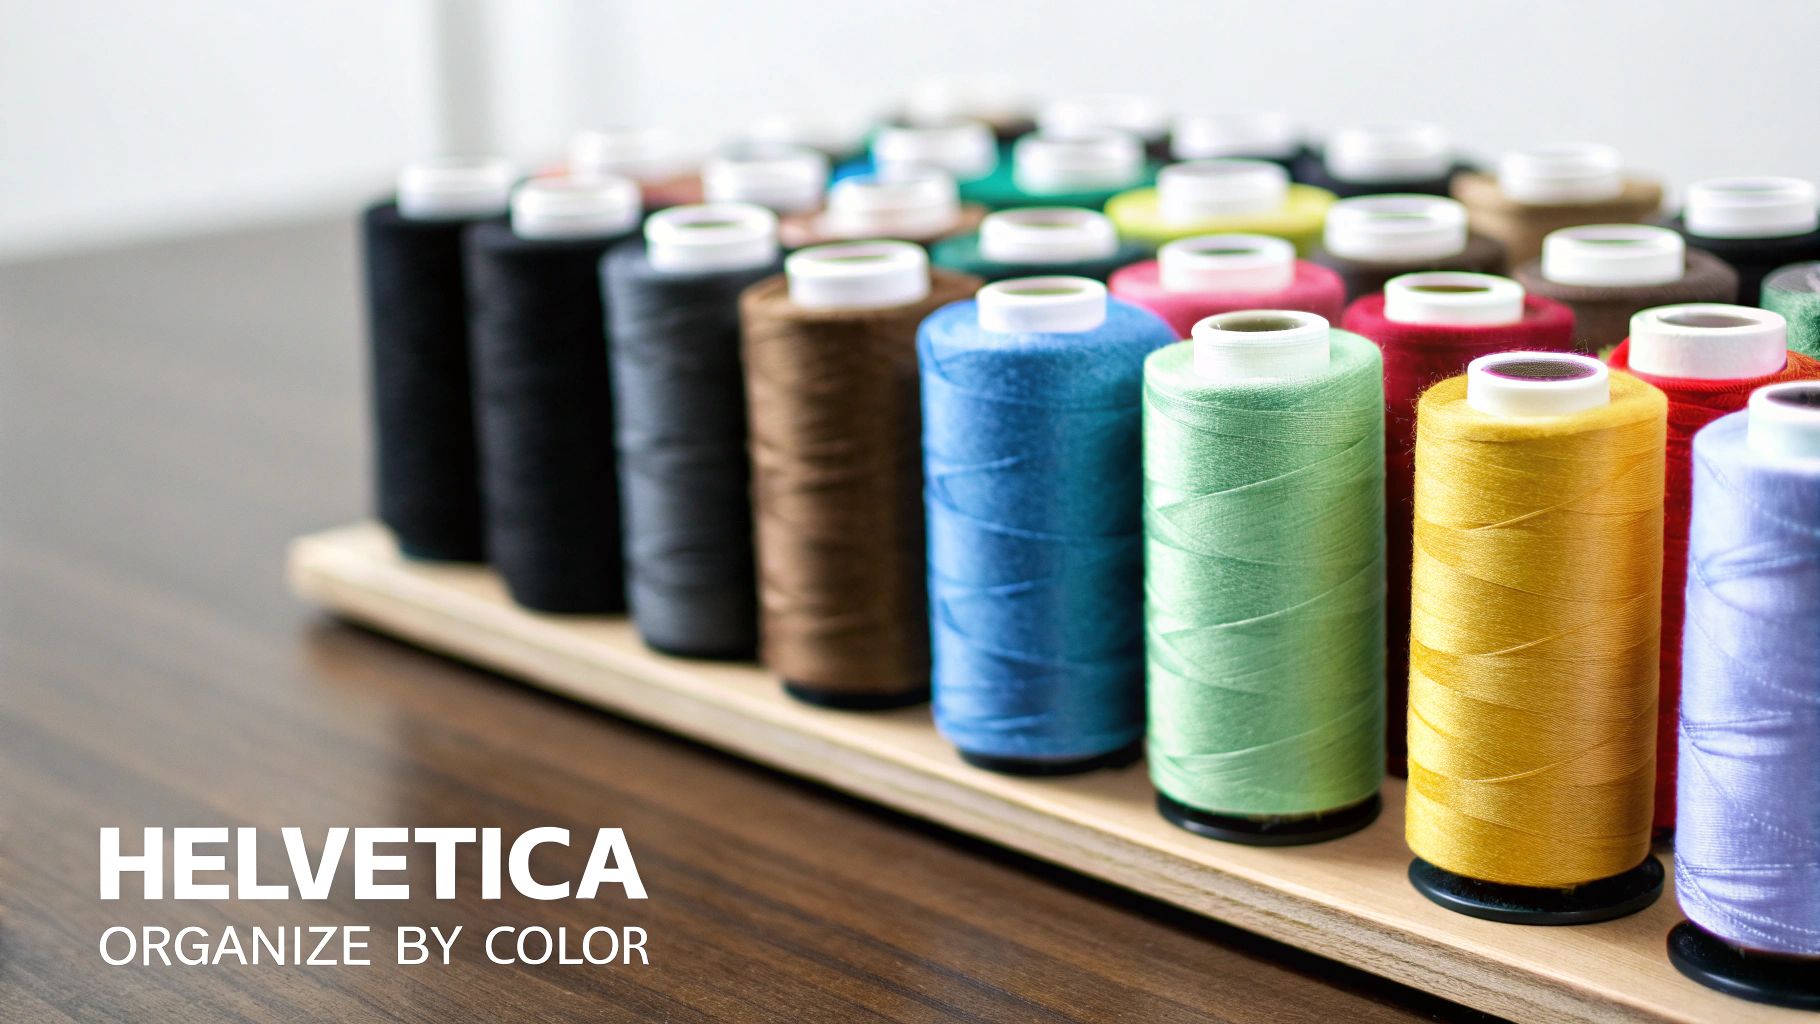
If you're more of a freehand stitcher or love designing your own patterns, sorting by color family might feel more natural. This is a visual approach where you arrange your bobbins in a beautiful rainbow or gradient sequence. It’s like having your own personal color palette right at your fingertips.
Sorting your floss this way can be incredibly inspiring. Seeing all of your reds, blues, and greens clustered together makes it so much easier to build harmonious color palettes. You can instantly see the subtle differences between shades, helping you pick the perfect gradient for a sunset sky or a variety of greens for a lush landscape.
The only real downside is that finding a specific number can be a bit trickier if a pattern calls for one. But for the visual artist, the creative spark it provides often makes it well worth the trade-off.
A lot of us end up with a hybrid system. We keep our main stash organized by number, but then pull the bobbins for a specific project and group them by color on a project ring or in a small travel case. It's the best of both worlds!
Using a Project-Based System
A project-based system is less about permanent storage and more about your immediate workflow. Think of it as the ultimate "grab-and-go" setup. When you kick off a new cross-stitch piece, you pull all the required floss bobbins and pop them into a dedicated project bag or a separate little box.
This method is brilliant for a few reasons:
- Keeps you focused: Everything you need is in one place, so there's less distraction.
- Perfect for on-the-go stitching: It makes your current work-in-progress completely portable.
- Reduces overwhelm: You're only looking at the colors you need right now, not your entire collection.
Most stitchers use this alongside a larger, numerically sorted stash. If you're looking for broader inspiration, you can find some fantastic craft organization ideas that go way beyond just thread. Thinking about your entire craft space can help you dial in your floss system. After all, figuring out how to store embroidery floss is just one piece of the puzzle, and our detailed guide can show you how to organize craft supplies from top to bottom.
Keeping Your Embroidery Floss Safe and Vibrant

Think of your thread collection as a vibrant library of color. Just like old books, those beautiful threads are more fragile than they look. Protecting your investment is just as crucial as keeping it tidy, and the best way to store embroidery floss involves shielding it from a few common enemies.
The two biggest culprits that will ruin your stash are sunlight and dust. Direct sunlight is a color killer; its UV rays will literally bleach the life out of your floss, leaving you with dull, faded shades. Dust and everyday grime can settle deep into the fibers, turning your bright whites dingy and making the thread feel gritty to the touch.
Shielding Floss from Light and Dust
Luckily, the fix is pretty simple: always keep your floss in something that closes. Whether you're a fan of plastic bobbin boxes, dedicated floss bags, or a tidy set of drawers, the goal is to put a physical barrier between your thread and the elements.
Leaving your floss collection out on an open shelf might look pretty, but it's a recipe for faded colors, especially if it's anywhere near a window. I’ve seen it happen—even a little indirect sunlight over a few months can bleach the exposed side of a bobbin.
By keeping your floss in a lidded box or a closed drawer, you're not just organizing it—you're preserving its color integrity for every future project.
This one simple habit ensures the festive red you picked out last Christmas will be just as vibrant when you need it next year. This advice holds true for all types of embroidery floss cotton and silks; they all need protection.
Combating Moisture and Mildew
The third threat, and a sneaky one at that, is moisture. Humidity can lead to mildew, which leaves behind a musty smell and can permanently stain and weaken the cotton fibers. Eventually, the thread becomes brittle and will just snap when you try to stitch with it. A cool, dry place is what you're aiming for.
If you live in a humid climate, you'll need to be a little more strategic.
- Avoid damp areas: Basements, attics, and garages are off-limits for floss storage. The temperature swings and dampness are a death sentence for thread.
- Use desiccants: Here's a great little hack—toss a small silica gel packet into each of your floss boxes. You know, the kind you find in new shoes or purses? They're perfect for absorbing any excess moisture in the air.
- Ensure cleanliness: Before you put a single bobbin away, make sure the container itself is completely clean and bone-dry on the inside.
Taking these few extra steps will pay off in the long run. You'll have a collection of fresh, strong, and vibrant floss that's ready to go whenever inspiration strikes. Your future projects will thank you for it.
Answering Your Top Floss Storage Questions
Once you start building a serious floss collection, you'll inevitably run into a few common organizational puzzles. Everyone's system evolves over time with a bit of trial and error, but let's get you ahead of the curve by tackling some of the questions I hear all the time.
Plastic vs. Cardboard Bobbins: Which is Better?
While both will hold your floss, there’s a clear winner for long-term use: plastic bobbins. They’re just so much more durable. You can wind and unwind them countless times without the edges fraying or the bobbin bending. Plus, they're waterproof—a spilled cup of coffee won't turn your carefully wound floss into a mushy disaster.
That’s not to say cardboard bobbins don’t have their place. They're a great, low-cost way to get started when you're just building up your thread stash. The main drawback is that they do wear out. The notches can tear, the labels can smudge, and over time, they just get a bit flimsy.
My advice? Start with cardboard if you need to, but as you can, slowly upgrade your most-used colors to plastic. It's a small investment that really pays off in keeping your collection pristine and easy to manage for years to come.
Can I Wind Multiple Colors on the Same Bobbin?
I know it sounds like a space-saving hack, especially for those little leftover bits, but I’d strongly recommend against it. Winding more than one color on a single bobbin is usually a recipe for confusion and tangles.
You’ll quickly lose track of which strand belongs to which color number, particularly with very similar shades. Just picture trying to find that last little bit of DMC 310 black when it's wound up with a navy blue and a dark grey. You'll spend more time guessing and holding it up to the light than you will stitching.
Instead, have a dedicated system just for your leftovers:
- "Orts" Bobbins: Keep a few spare bobbins on hand just for winding up small, miscellaneous scraps.
- Floss Drops: These are brilliant for looping small amounts of thread you know you'll use again soon.
- A Scrap Jar: For the tiniest snips that aren't worth winding, a little jar on your desk keeps them contained.
This strategy keeps your main collection clean, accurate, and ready to go for any project.
What's the Best Way to Store Floss for Travel?
When you’re stitching on the go, you want a system that is both compact and secure. A small, hard-shell plastic floss box is my go-to. It keeps your bobbins from getting crushed or jostled around in your project bag.
If you want to travel even lighter, just pull the bobbins you need for your current work-in-progress and pop them onto a binder ring. Another clever method is creating a "thread book" using a small binder and plastic trading card sleeves—each pocket is a perfect fit for a single bobbin. No matter which you choose, the key is to only pack what you need to keep things organized and tangle-free.
Ready to turn your favorite memories into beautiful art? Cross Stitched helps you create a custom cross-stitch kit from any photo. Get started today and transform your pictures into timeless keepsakes. Visit us at https://cross-stitched.com to begin your next project


