

So, what exactly is a beginner cross stitch kit? Think of it as your creative starter pack. It's a single box that holds every single thing you need to create a finished piece of art, from the first stitch to the last.
Instead of wandering the aisles of a craft store feeling overwhelmed by a long shopping list, a kit bundles it all together: the fabric, all the colorful threads, the right needle, and the pattern itself. It takes the guesswork completely out of the equation.
Your Creative Journey Starts Here
Welcome to the wonderfully relaxing world of cross stitch! If you've ever found yourself admiring a beautiful piece of thread art and thinking, "I wish I could do that," I'm here to tell you that you absolutely can. The secret to getting started without any of the frustration is to begin with a kit designed just for you.
Consider it your 'hello world' moment for a new hobby. It’s the perfect way to dip your toes in the water and see if you like it, without a huge upfront investment or the stress of figuring out what to buy. These kits are carefully curated to help you build confidence right from the get-go, clearing away all the common hurdles that trip up newcomers.
Why a Kit Is Your Best First Step
Let's be honest, starting any new hobby has a bit of a learning curve. A beginner's cross stitch kit is designed to make that curve feel more like a gentle slope. It’s all about making your first experience as smooth and enjoyable as possible.
Here’s how a kit sets you up for success from the moment you open the box:
- No Guesswork: The fabric count, needle size, and thread colors are all perfectly matched to the pattern. You don't have to worry about a thing.
- Cost-Effective: Buying all your supplies one by one adds up fast. A kit gives you everything you need at a much friendlier price point.
- Instant Gratification: You can literally start stitching the second you open it. That initial spark of excitement gets channeled directly into creating something.
- Focus on the Fun: All the tedious prep work is done for you. You get to skip straight to the best part—the calming, meditative process of stitching.
The real magic of a beginner's kit is that it handles all the technical decisions for you. It frees you up to simply enjoy the pure joy and rhythm of stitching without getting bogged down in the details.
At the end of the day, a good beginner kit is so much more than a box of supplies. It's an invitation to slow down, unwind, and create something beautiful with your own two hands. It turns that flicker of curiosity into a finished masterpiece you can be truly proud of.
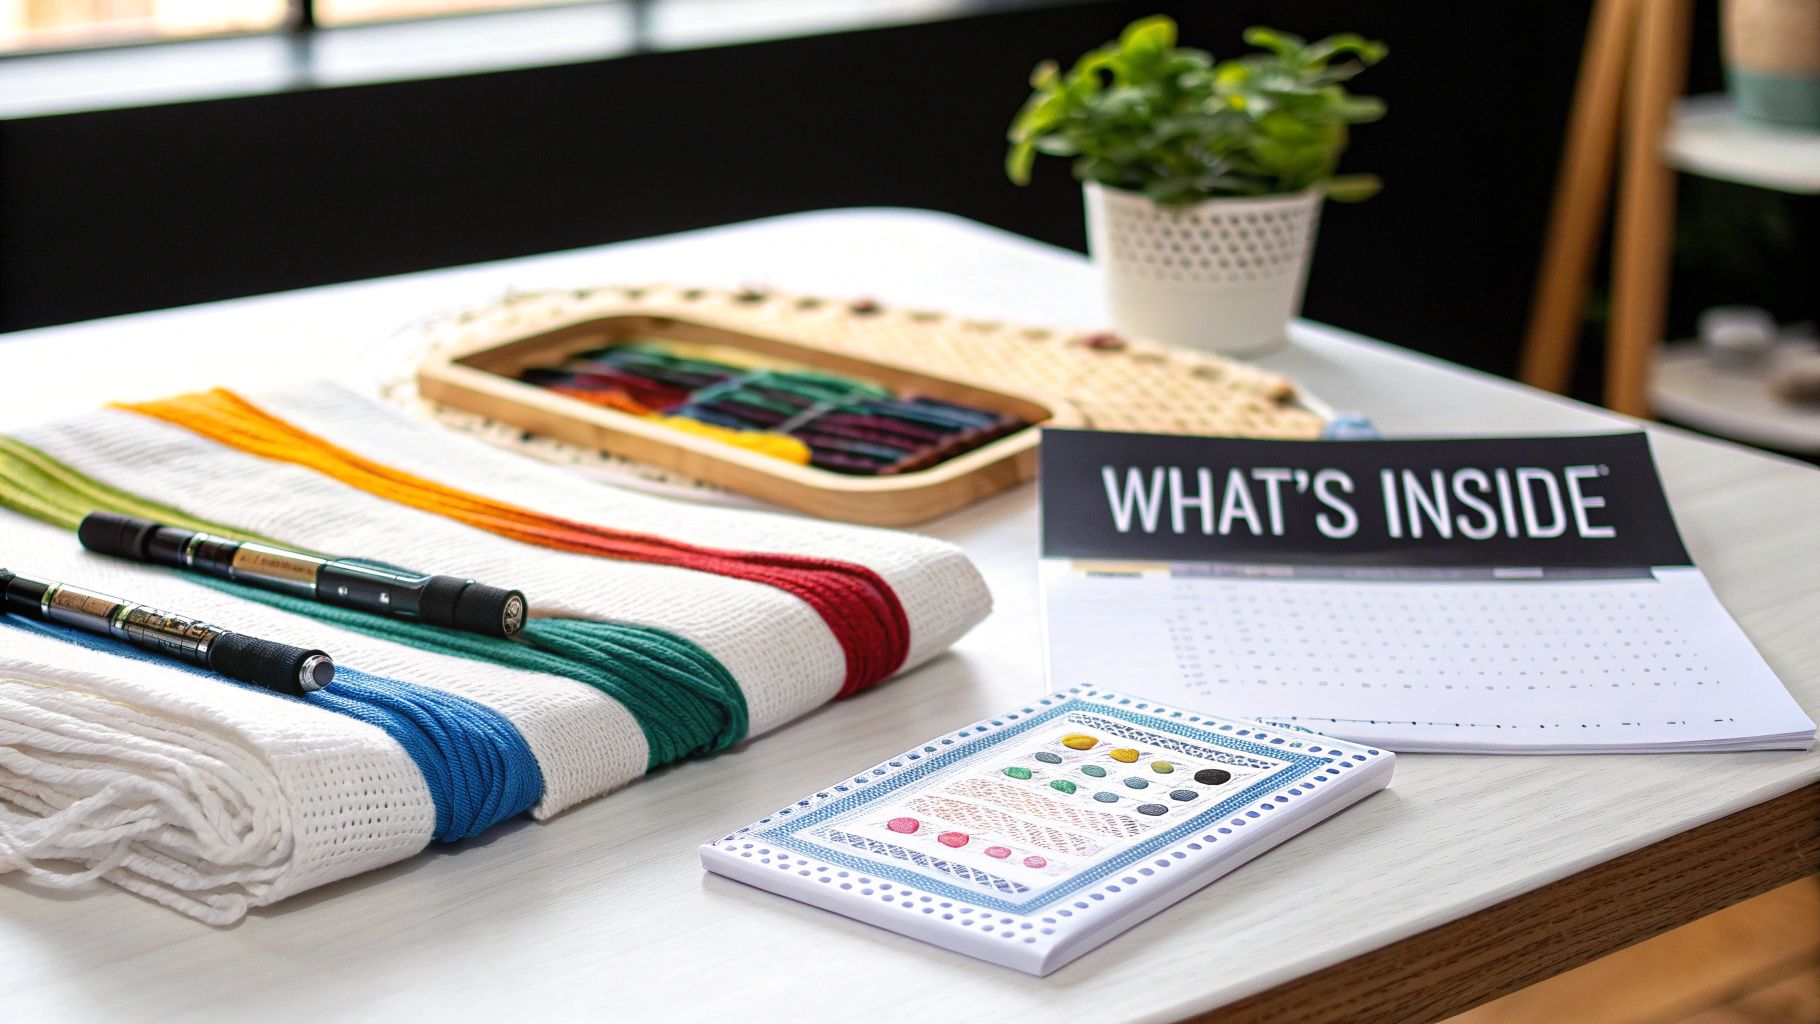
What Comes Inside Your First Kit
Opening your first cross-stitch kit is a bit like getting one of those meal-prep boxes. Everything you need is right there, perfectly measured and ready to go. You don’t have to guess or run to the store for a missing ingredient. Instead of flour and spices, you’ll find fabric, colorful threads, and the right tools—all specifically chosen to make sure your first project is a success.
This all-in-one approach is a huge part of why so many people are picking up the craft. These kits make it so easy to dive in, and most beginners can finish their first piece in under 20 hours.
So, what exactly are all these little items? Let's take a closer look at the core components you’ll find in just about every beginner’s kit.
The Foundation: Aida Fabric
The stiff, gridded fabric in your kit is your canvas, and it's called Aida cloth. Think of it as graph paper made of fabric. Those evenly spaced holes are your best friend when you're starting out, as they guide your needle and help you create perfectly neat, uniform stitches. It’s a huge confidence booster!
You’ll see a number like "11-count" or "14-count" mentioned on the package. This simply tells you how many little squares (or stitches) you can fit into one inch of the fabric.
- 11-Count Aida: With 11 squares per inch, this fabric has larger holes that are much easier to see and work with. It's my top recommendation for absolute beginners.
- 14-Count Aida: A little smaller with 14 squares per inch, this is probably the most common fabric you'll find. The stitches are a bit more refined but still very manageable for new hands.
A lower count always means bigger squares, which is exactly what you want when you're just getting the hang of things.
Your Palette: Embroidery Floss
Next up is the fun part: the color! Your kit will come with a bundle of embroidery floss, which is the thread you’ll use to paint your picture. A good beginner's kit will have the floss pre-cut and sorted on a little card, often labeled with the same symbols you'll see on your pattern. This saves you a ton of time and prevents any mix-ups.
If you look closely, you'll see that each piece of floss is actually made of six tiny strands twisted together. Most patterns will ask you to use just two or three strands at a time to keep your stitches looking delicate and tidy.
The Essential Tools: A Needle and a Pattern
Finally, you have your tools—the needle and the map.
A beginner’s cross stitch kit isn’t just a collection of supplies; it’s a complete, guided experience. Each component is specifically chosen to remove obstacles, allowing you to focus purely on the joy of creating.
The tapestry needle in your kit is special. It has a big eye, which makes threading it so much easier, and a blunt, rounded tip. It's designed that way so it glides right through the holes in the Aida without splitting the fabric threads. This is key to keeping your work neat.
The pattern chart is your roadmap to a beautiful finished piece. It’s a grid where every square with a symbol on it represents one cross stitch you need to make. Your job is simple: match the symbol on the chart to the right color of floss and stitch it onto the corresponding square on your fabric.
To give you a quick summary, here’s a breakdown of what you'll find inside.
What's Inside Your Beginning Cross Stitch Kit
| Component | What It Is | Why It's Important for Beginners |
|---|---|---|
| Aida Fabric | A stiff, woven cotton fabric with a natural grid pattern. | The evenly spaced holes make it easy to create uniform stitches, which is perfect for learning. |
| Embroidery Floss | Colorful cotton thread, usually pre-sorted and labeled. | Having colors pre-selected and organized removes the guesswork and lets you start stitching right away. |
| Tapestry Needle | A needle with a large eye and a blunt, rounded tip. | The blunt tip prevents you from accidentally piercing the fabric threads, keeping stitches neat. |
| Pattern Chart | A printed grid with symbols that show you where to stitch and which color to use. | This is your visual guide. Following it step-by-step ensures your design comes out perfectly. |
Each of these pieces plays a vital role in making your first cross-stitching adventure a smooth and enjoyable one. If you want to dive even deeper, you can explore our full guide on cross stitching materials.
Choosing the Perfect Beginner Kit
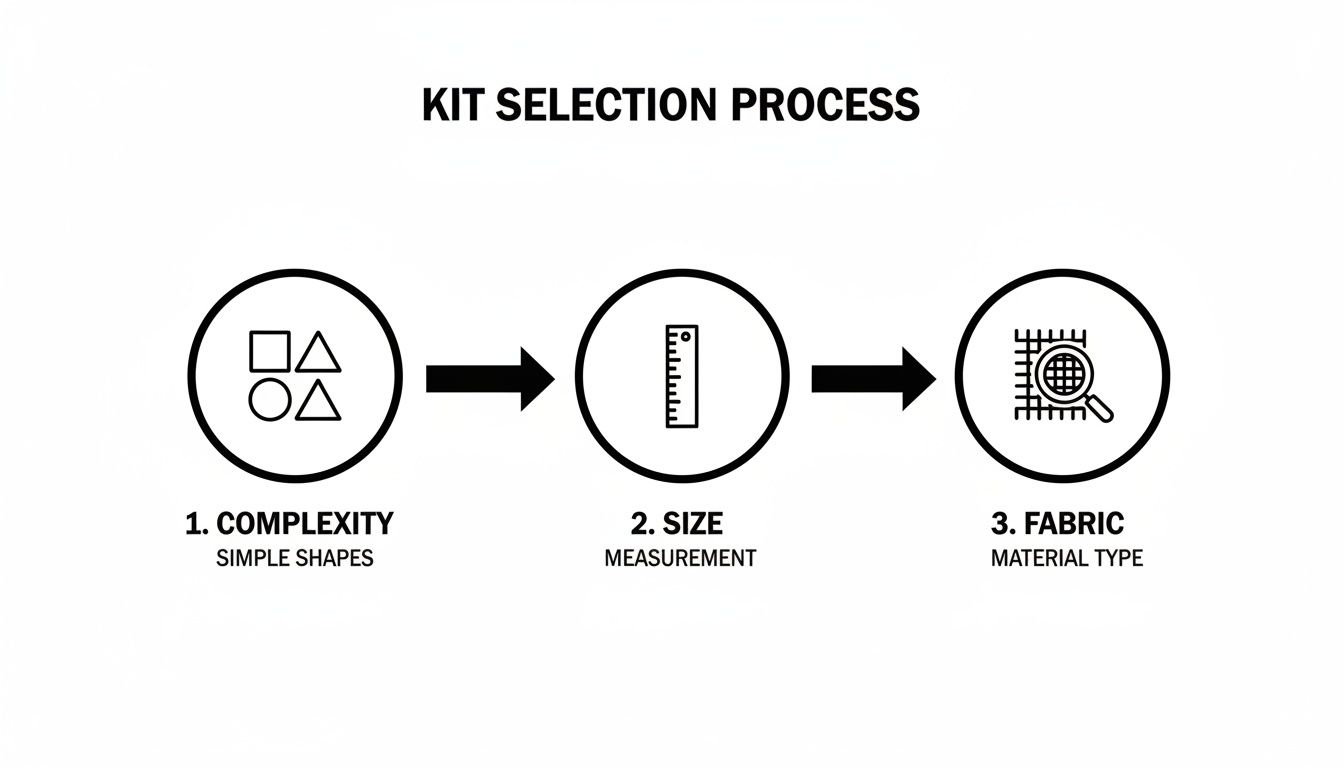
With so many beautiful beginner cross stitch kits out there, how do you possibly pick the right one? The secret is simple: choose a project you'll genuinely love seeing come to life. This first choice really sets the tone for your new hobby, so let's break down the three most important things to look for.
Think of it like learning to cook. You wouldn't tackle a five-course gourmet meal on day one. You'd start with something fun and satisfying, like your favorite cookies. The same idea applies here. Start small, get a quick and rewarding win under your belt, and you'll build the confidence to take on bigger things later.
Consider the Design Complexity
For your first project, simple is your best friend. Look for designs that have clear, easy-to-follow patterns.
- Blocky Shapes: Designs with solid chunks of color are much easier to stitch than patterns full of tiny details and fiddly shading.
- Limited Color Palette: A kit with fewer than 10-15 colors means you'll spend less time swapping out your thread and have less chance of getting your colors mixed up.
- Minimal Backstitching: This is a thin outline stitch often added at the end. Kits with little to no backstitching let you focus entirely on getting the hang of the basic cross stitch.
Choosing a simple design lets you get into that relaxing, meditative rhythm of stitching without feeling stressed out by a complicated chart.
Pick the Right Project Size
When you're just starting, smaller is almost always better. A small project, something under 5x7 inches, gives you a huge psychological boost. You can actually finish it in a weekend or a few evenings, and that feeling of accomplishment is what will make you want to stitch again.
A small, finished project you can hang on your wall is infinitely better than a huge, ambitious one that gets stuffed in a drawer, half-done. The goal here is to have a fantastic first experience.
Keep an eye out for kits labeled as "mini" or "ornament," or any that are designed to fit into a 3- to 5-inch embroidery hoop. These are perfectly sized to give you that amazing "I made this!" feeling without a massive time commitment.
Understand Fabric Count
Finally, let's talk about fabric count. This number simply tells you how many stitches you can make in one inch of fabric. For a beginner, a lower count is the way to go because it means the woven squares in the fabric are bigger and much easier to see.
An 11-count Aida fabric is the gold standard for your very first kit. The larger holes are easier on the eyes and make it a breeze to guide your needle exactly where it needs to go. While 14-count is also common in beginner kits, starting with 11-count makes the whole process feel smoother and more forgiving.
A Simple Guide to Your First Stitches
Alright, this is the moment we've been working towards—turning that blank piece of fabric into a small work of art. I know that first stitch can feel a little daunting, but trust me, it’s far simpler than it looks. We'll walk through it together, step-by-step, and you'll be stitching like a pro in no time.
A little bit of prep work goes a long way. Getting everything set up properly first is what makes the actual stitching part relaxing and fun, which is exactly how it should be.
Finding Your Starting Point
Every cross stitch pattern has a center, usually marked with arrows along the edges of the chart. The first thing we need to do is find that same center point on your fabric. This guarantees your design will be perfectly framed when you're done.
- Fold Your Fabric in Half: Gently fold your Aida cloth horizontally, from top to bottom, making a light crease.
- Fold It Again: Now, do the same thing vertically, folding it from side to side.
- Mark the Center: The point where those two creases meet is the exact center of your fabric. This is your launchpad—where you'll make your very first stitch!
This little trick is a lifesaver. It prevents that sinking feeling of realizing you're about to run out of fabric halfway through a project. It’s a foundational habit you'll use for every piece you ever make.
Preparing Your Thread and Needle
Before you can stitch, you’ll need to get your thread ready. Most beginning cross stitch kits come with embroidery floss made of six individual strands twisted together. For most patterns, you’ll only use two of these strands at a time.
To separate them without ending up with a tangled nightmare, just hold the main piece of floss and gently pull out one single strand at a time. Once you have two separate strands, you're ready to thread your needle.
For beginners, I always recommend the loop start method. It’s a fantastic technique for creating a clean, knot-free start on the back of your work.
The loop start is a game-changer for new stitchers. It keeps the back of your work incredibly neat and anchors your first stitch securely without a bulky knot, which can sometimes create a little bump on the front.
As you can see, focusing on a simple design, a smaller size, and fabric that’s easy to see is the perfect recipe for a successful first project.
Making Your First 'X'
You’ve found your center point and prepped your thread. Now for the fun part! A cross stitch is exactly what it sounds like: two tiny diagonal stitches that form a neat 'X'.
- From the back of the fabric, bring your needle up through a bottom-left hole.
- Go down diagonally into the top-right hole. You've just made a half-stitch!
- Now, come back up through the bottom-right hole.
- Finally, go down into the top-left hole to complete the 'X'.
And that's it! You’ve officially made your first cross stitch. Seriously, every single pattern out there, no matter how intricate, is just a collection of these simple 'X's.
It’s no surprise that minimalist and modern designs are gaining popularity right now. They’re fantastic for practicing these basic stitches and can often be finished in just 5-10 hours. Getting a quick, satisfying win like that is one of the best ways to stay motivated. You can explore more about these needlecraft pattern trends and see why smaller projects are so great for newcomers.
Finishing and Displaying Your Creation
There's nothing quite like the feeling of snipping that very last thread. It’s pure magic! You’ve taken a blank piece of fabric and a handful of colorful floss and turned it into a piece of art. Now it's time for the final touches that will really make your work shine.
Properly finishing your project is what elevates it from a simple stitched cloth to a masterpiece ready for its debut.
Think of this final step as your victory lap. It’s what preserves all your hard work and gets it ready to be shown off, providing a deeply satisfying end to the creative journey you started with your first beginning cross stitch kit.
Preparing Your Piece for Display
Before you can pop it in a frame, your fabric needs a little spa treatment. As you stitch, your hands naturally transfer oils to the cloth, and the embroidery hoop you used can leave behind some stubborn creases. A quick, gentle wash and press will fix all of that right up.
- Gentle Wash: Grab a clean sink or basin and fill it with lukewarm water and just a tiny drop of mild soap. Submerge your cross stitch and give it a gentle swish for a few minutes. Whatever you do, don't scrub or wring it out!
- Rinse Thoroughly: Drain the soapy water and rinse your project under cool, running water until you can’t see any more suds.
- Press and Dry: Lay your project face down on a clean, fluffy towel. Place another towel on top and roll them up together, pressing firmly to soak up the extra water. While it’s still slightly damp, use an iron on a low setting to press the piece from the back. This protects your beautiful stitches and smooths out every last wrinkle.
Think of this process like blocking a knitted sweater. It helps the fibers relax, evens out any wonky stitch tension, and gives your finished work a professional, polished look that truly honors the time you invested.
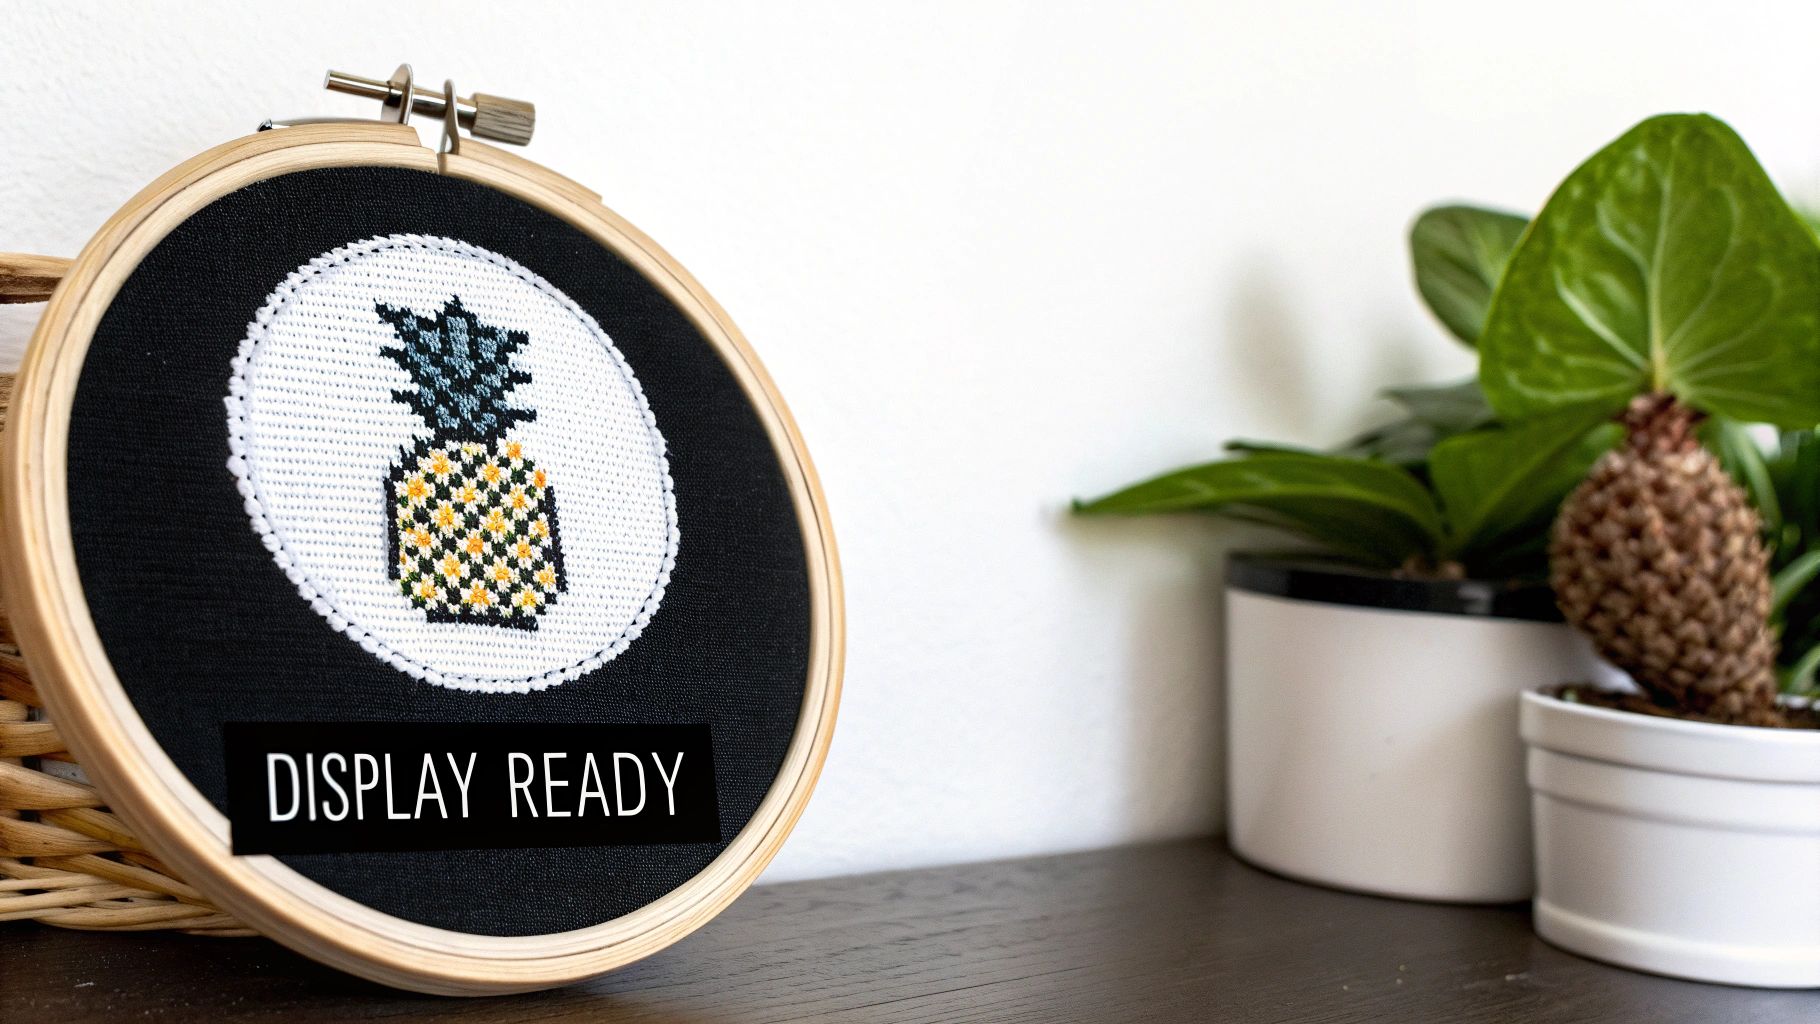
Simple and Stylish Display Ideas
Now for the best part—showing it off! You absolutely don't need to spend a fortune on custom framing to make your piece look amazing. There are tons of modern display options that are perfect for beginners and add a charming, handmade touch to your decor.
- The Classic Hoop Frame: This is the easiest and trendiest way to go. Just secure your finished, ironed piece back into the same embroidery hoop you stitched it in. Trim the excess fabric around the back, and it's instantly ready to hang for a clean, rustic look.
- Ready-Made Frames: A quick trip to the craft store for a small, affordable frame is another great option. For an extra-smooth, flat finish, you can mount your cross stitch onto a piece of sticky board before framing.
- Creative Mounts: Don't be afraid to think outside the box! Your smaller projects can be turned into adorable decorative pillows, unique patches for a jacket or tote bag, or even one-of-a-kind greeting cards.
Creating a Custom Kit From Your Own Photo
What if you could turn a favorite memory—a picture of your dog, a family vacation shot, or a beautiful sunset—into a work of art you stitch yourself? While pre-made kits are great, there’s nothing quite like creating something that’s one-of-a-kind. This is where personalized cross-stitch kits really shine.
It sounds complicated, but modern tools have made it incredibly simple, even if you’ve never picked up a needle before. You don't need to be an artist; you just need a photo you love.
Specialized services take your picture and convert it into a simple, grid-based pattern chart with a color key. Think of it like a paint-by-numbers canvas, but for thread.
Your Personalized All-In-One Kit
Just because the design is custom doesn't mean you lose the convenience of a kit. These personalized packages still give you that perfect all-in-one experience for beginners.
Everything you need to start is included, so there's no guesswork. You'll get the right size of Aida fabric for your specific project and every color of embroidery floss required, all pre-sorted and ready to go. It’s the best way to create a personal heirloom without the headache of tracking down supplies.
This move toward personalization is a huge part of why needlecrafts are making such a big comeback. Many people want to create something meaningful to them rather than a generic design, and services that turn photos into patterns make that possible. It’s a trend fueling a needlecraft patterns market that’s poised for some serious growth.
The real magic of a custom kit is the personal connection. You're not just stitching a random design; you're breathing life into a cherished memory, one "X" at a time. It turns a simple craft into a deeply personal creative journey.
If you're curious about how a photo might look as a pattern, a tool like a Minecraft Pixel Art Generator can be a fun way to see how images translate into a pixelated, grid-like format.
For a complete guide on the process, check out our deep dive on how to make cross stitch patterns from photos. It’s a fantastic option that makes the craft truly yours.
Got Questions? We've Got Answers
Jumping into a new hobby always brings up a few questions. That's a good thing! It shows you're curious and ready to dive in. We’ve pulled together some of the most common things beginners ask, so you can start stitching with confidence.
Think of this as your personal cheat sheet for getting started.
What's the Best Fabric for a Total Beginner?
Without a doubt, go for 11-count Aida fabric. The "count" just means how many stitches fit into one inch of fabric. A lower number like 11 means the woven squares are bigger, making them much easier to see and stitch through.
You'll find that most beginning cross stitch kits come with either 11-count or 14-count Aida for this very reason—it’s designed to set you up for success, not frustration.
How Can I Stop My Thread From Tangling All the Time?
Ah, the dreaded "thread nest." Every single stitcher, from beginner to pro, has been there! The best trick is to cut a shorter piece of floss to work with. Aim for a length of about 18 inches—anything longer is just asking for knots.
Also, when you separate your floss (most patterns use two of the six strands), pull them apart one by one. As you're stitching, just let your needle and thread hang down every so often. This lets the floss naturally untwist itself and is a total game-changer for preventing tangles.
If your thread gets tangled, you're not doing anything wrong—it's just what twisted floss does! Letting it unwind is one of the best habits you can form for a stress-free stitching session.
Can I Actually Create Something Good From a Photo?
You absolutely can. In fact, our custom photo-to-pattern kits are made with beginners in mind. We use smart tech to turn your picture into an easy-to-follow, color-coded chart, and we send you all the pre-sorted thread you need.
The final piece looks incredibly detailed and impressive, but you're still just making simple "X" stitches one at a time. It’s a brilliant way to create a really meaningful piece of art, even if you’ve never held a needle before.
Ready to turn a favorite photo into a stitched keepsake? At Cross Stitched, our custom kits make it simple for anyone to create something personal and beautiful. Check out our custom kit options today and get started on your masterpiece.


