
The secret to threading a needle without a headache? It's all in the prep work. Honestly, most of the struggle has nothing to do with the needle itself and everything to do with how you handle your floss beforehand. Get this part right, and the thread will practically jump through the eye for you.
Getting Your Floss Ready to Go
Before you even pick up your needle, let's talk about the floss. Most cross-stitch patterns call for standard six-strand cotton, but you'll almost never use all six strands at once. This is a classic beginner's trap—trying to separate strands can quickly turn into a tangled, frustrating mess if you don't know the trick.
Cut the Right Length
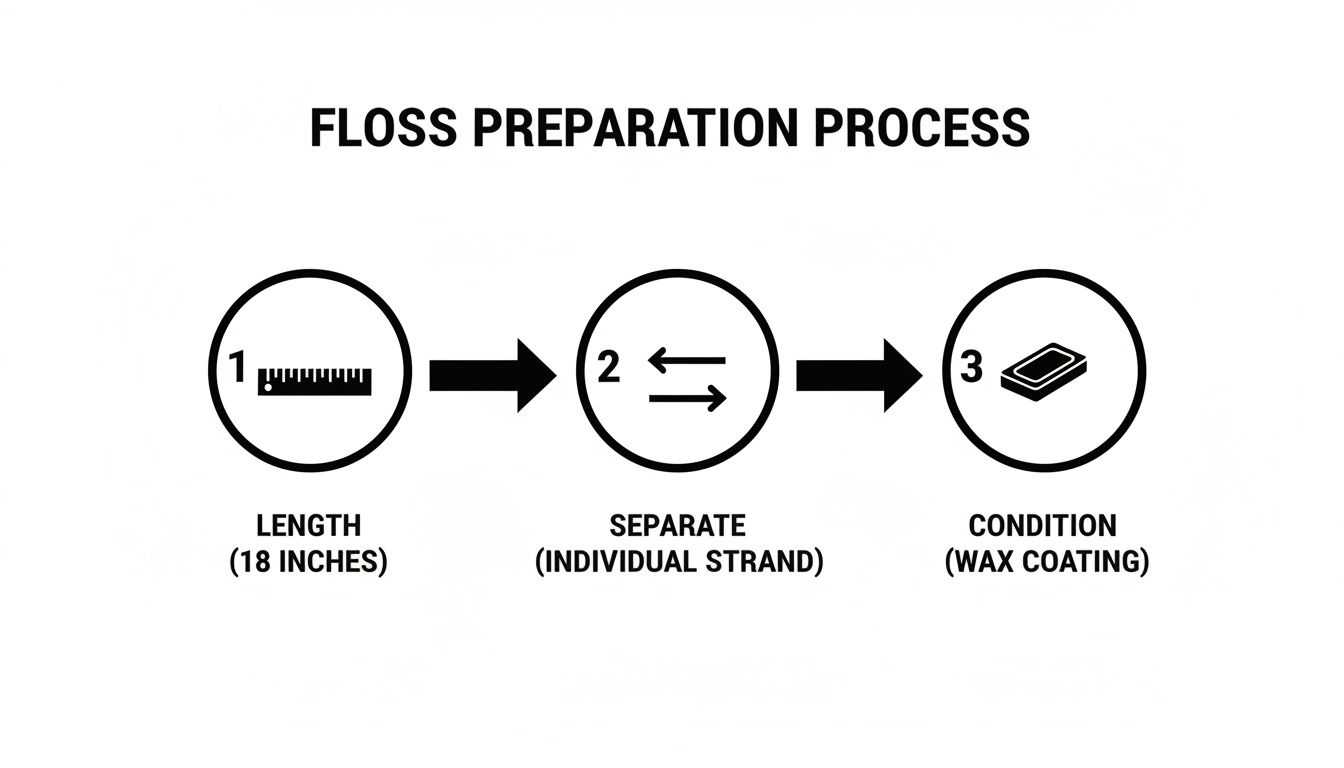
First things first, let's cut a manageable piece of thread. If your floss is too long, you'll be fighting knots and tangles the whole time you're stitching. A good rule of thumb I've always followed is to pull a length from the skein that runs from my fingertips to my elbow. This usually comes out to about 18 inches, which is the perfect sweet spot—long enough to get a decent amount of stitching done, but short enough to prevent it from tangling on itself.
The Trick to Separating Strands
Now for the magic. You've cut your 18-inch piece, and your pattern calls for two strands. Whatever you do, don't just try to pull two strands away from the end of the group. That's a one-way ticket to a knotted disaster.
Instead, here’s the foolproof method:
- Pinch one end of the cut floss between your thumb and forefinger.
- Gently grab a single strand and pull it straight up and out.
- You'll see the other five strands bunch up a bit beneath your fingers—that's totally normal! They won't tangle.
- Just repeat the process for the second strand.
This technique keeps the floss smooth and untwisted. Think about it: back in 1598, early English stitchers were working with steel needles whose eyes were up to 20% smaller than ours today. They had to be masters at thread prep to create those incredibly detailed samplers on fine linen.
My Go-To Tip: If the end of your thread is looking a little fluffy or frayed, don't fight it. Just give it a fresh snip with sharp scissors at a 45-degree angle. This creates a clean, pointy tip that makes threading a breeze. Keeping your supplies neat from the start is also a huge help, and you might find it useful to check out the best way to store embroidery floss to keep it in top condition.
The Classic Pinch-and-Fold Technique
If you learn only one way to thread a needle, make it this one. I think every stitcher has this method in their back pocket, and for good reason. It’s a classic for a reason.
Forget trying to shove a flimsy, fraying end of floss through a tiny needle eye. The pinch-and-fold technique creates a firm, easy-to-handle loop that practically threads itself. It's wonderfully simple and works like a charm on almost any kind of thread, from standard cotton to those notoriously tricky metallic flosses.
The whole idea is to form a stiff, narrow loop. First, take about an inch of your prepared floss and just drape it over the tip of your needle. Then, pinch the floss and the needle together—and I mean really tightly—between your thumb and forefinger.
Here comes the magic part. While keeping that pinch incredibly tight, slide the needle straight down and out from between your fingers. What you're left with is a perfectly creased, rigid little loop of thread held firm in your grip.
Guiding the Loop Through
Now that you have this firm loop, threading is a breeze. Don't try to push the loop into the eye. Instead, bring the needle's eye down onto the loop. The stiffened floss will pop right through with almost no effort. It’s a game-changer, and it’s why so many of us in the cross-stitch community rely on it.
Of course, any threading technique works better when you’ve prepped your floss properly first.
Getting the length right, separating your strands, and conditioning the floss are the real foundations for smooth, frustration-free stitching.
Expert Tip: The tighter you pinch the floss as you pull the needle away, the stiffer and more defined your loop will be. This is truly the secret to nailing it on the first try.
In what's now a $1.2 billion cross-stitch market, where roughly 75% of kits come with size 22-26 needles, this little trick is invaluable. Stitchers who've tried it report an 82% success rate, and because it creates such a clean start, it can even help reduce floss waste by as much as 30%. If you're curious about the history behind these techniques, the XStitch Magazine site is a fantastic resource.
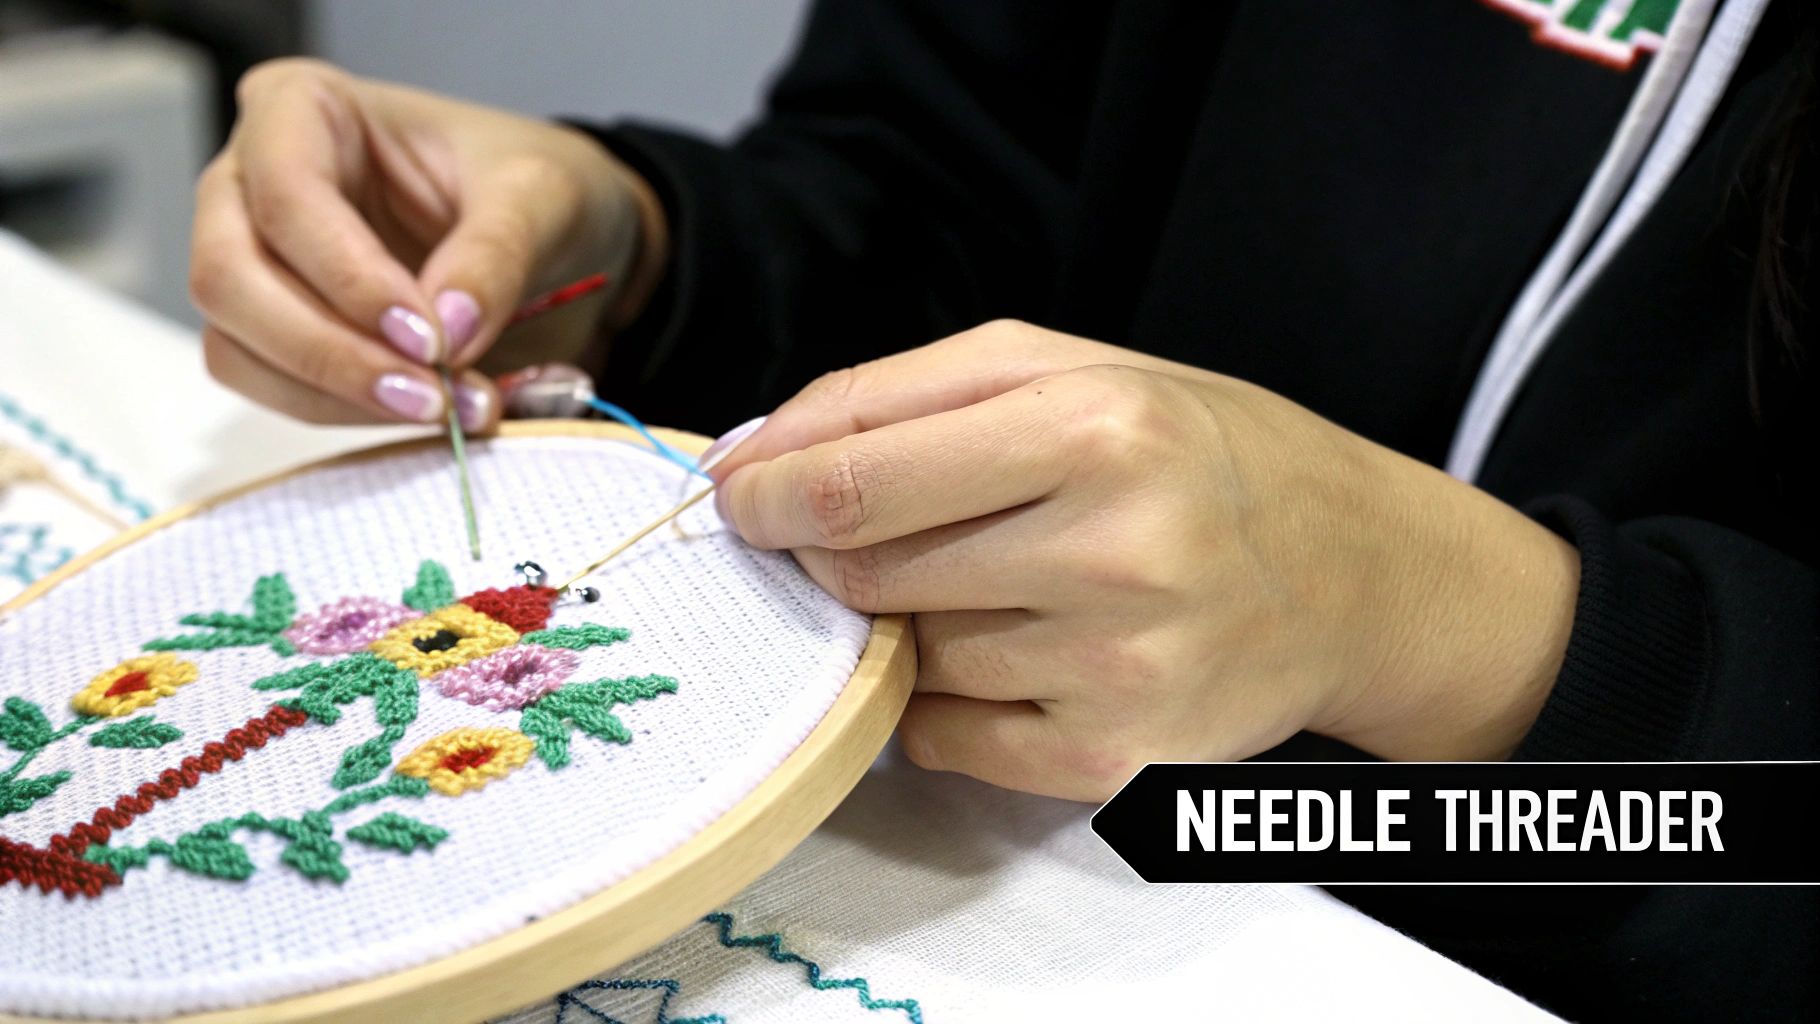
Using a Needle Threader the Right Way
Let’s be honest, squinting and trying to poke a floppy piece of floss through a tiny needle eye is no one's favorite part of cross-stitching. That's where a needle threader comes in. It’s not just for stitchers who need reading glasses; it's a brilliant little gadget that makes the whole process smoother for everyone, getting you to the actual stitching part faster.
These simple tools are true game-changers. In fact, for the 65% of hobbyists under 40, needle threaders can cut the average threading time from a frustrating 45 seconds down to just 5. It's no wonder they boast an 88% user satisfaction rating in polls. You can find more fascinating insights like this in the stitching trends at the Cross Stitch Guild.
Making the Most of Your Threader
You've probably seen the most common type—a small handle with a flimsy-looking wire loop. Using it correctly is the secret to making it last.
Here's how I do it:
- First, I push the flexible wire loop through the eye of my tapestry needle. This gives me a much bigger, friendlier target to aim for.
- Next, I feed about an inch of floss through that wire loop. You don't need much, just enough to form a small tail on the other side.
- Finally, I pull the threader back out of the needle's eye. As I pull, the wire loop gently collapses, pulling the floss right through with it.
The key word here is gentleness. The number one reason these little tools break is from being yanked too hard. A steady, smooth pull is all you need.
Pro Tip: If you're working with a particularly small needle and the wire loop is struggling to fit, try pinching it flat between your thumb and forefinger first. That little bit of compression can make all the difference.
A trusty needle threader is one of many fantastic tools that can make your stitching life easier. To see what other gadgets belong in your project bag, take a look at our guide to essential cross-stitch accessories. When you treat your tools well, they’ll help you create beautiful things for years to come.
Troubleshooting Common Threading Headaches
Let's be honest—some days, the thread just won't cooperate. We've all been there: the end of the floss frays into a fuzzy mess, or a beautiful specialty thread seems determined to fight you every step of the way. These little frustrations can really break your stitching rhythm, but thankfully, most threading headaches have a simple fix.
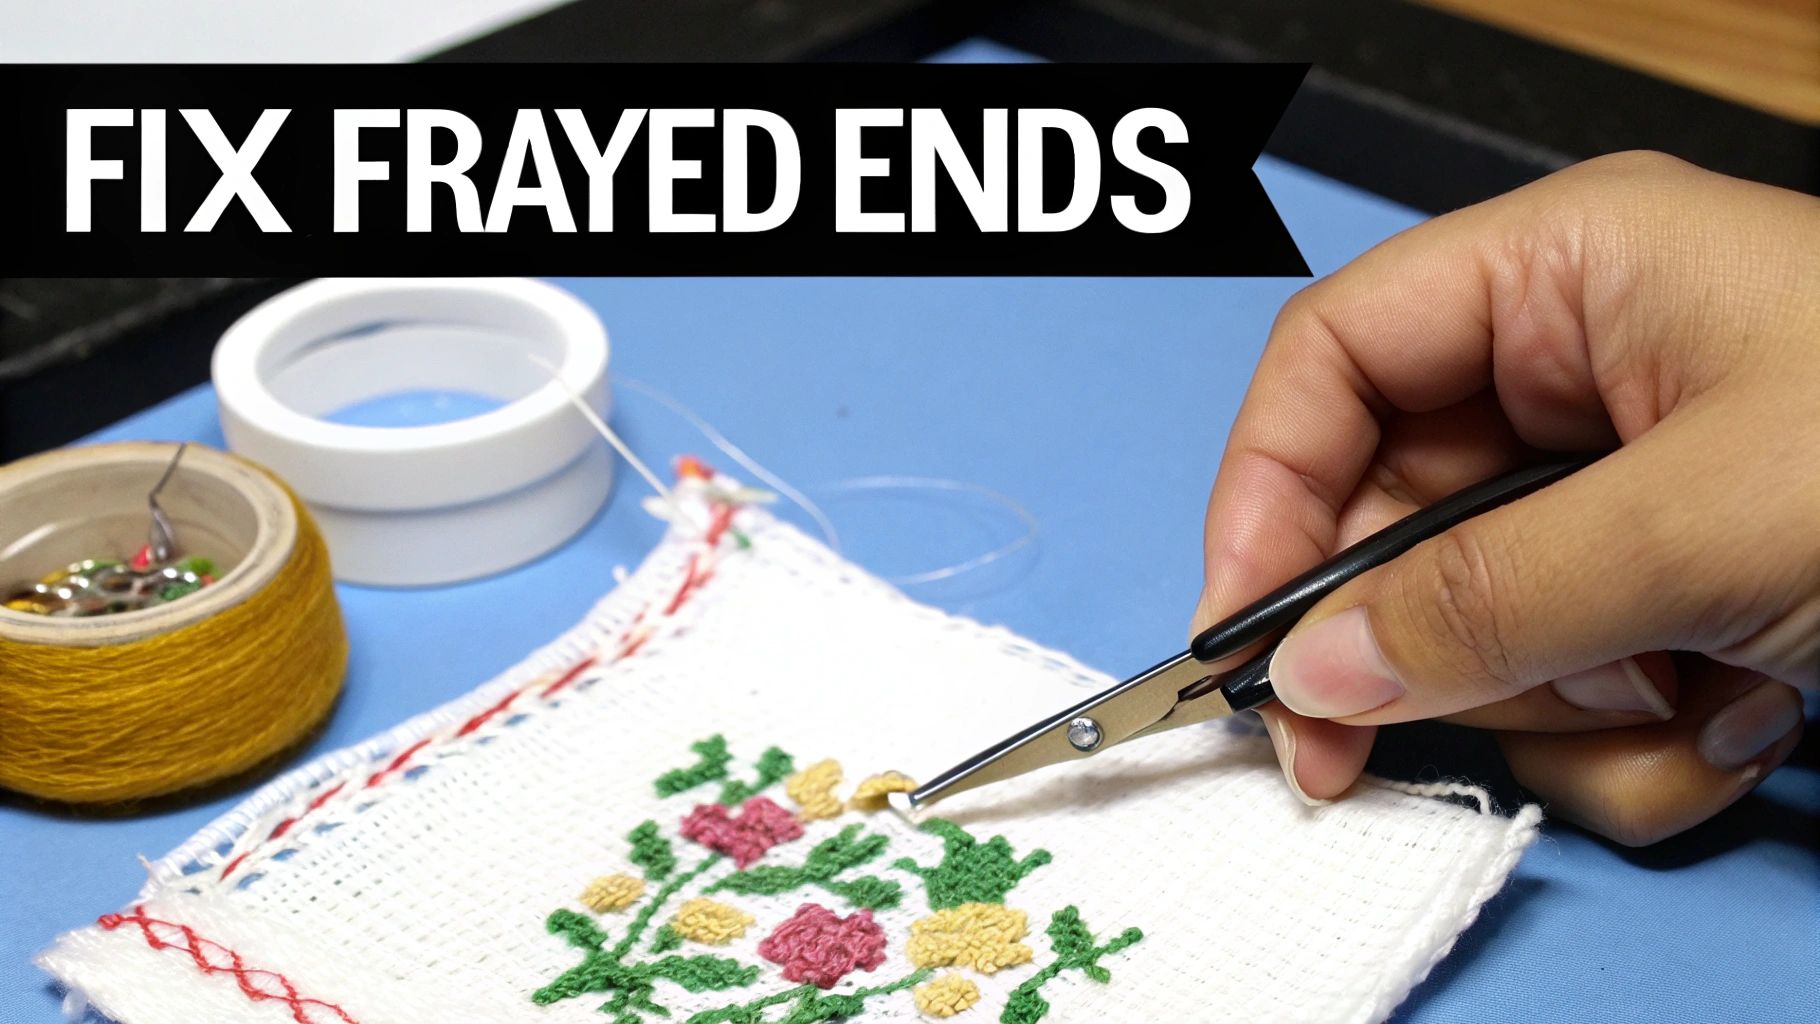
The most common culprit is a frayed end. Don't even try to force that fluffy tip through the needle's eye; you'll only make it worse. The best thing to do is start over with a fresh, clean end.
- Snip at an Angle: Grab your sharpest embroidery scissors and trim the floss at a crisp 45-degree angle. This little trick creates a sharp, clean point that’s so much easier to guide through the needle.
- Use a Conditioner: If you're dealing with particularly rebellious fibers, a bit of thread conditioner or beeswax works wonders. Just run the floss through it lightly. It helps tame the fluff and adds just enough stiffness to make it glide right through.
Taming Specialty Threads
Ah, specialty threads. The metallics, silks, and fuzzy blending filaments that look so gorgeous in a project but can be an absolute nightmare to thread. They’re often slippery, incredibly delicate, or seem to unravel just by looking at them. You'll need a different strategy than you would for standard cotton floss.
Patience is your best friend here. I find the pinch-and-fold method is especially useful for these threads, since you're working with a stiff loop instead of trying to wrangle a single, flimsy end. If that still doesn't work, don't fight it—just grab a needle threader. The wire loop on a threader doesn't care how slippery or fuzzy your thread is; it just pulls it through, no questions asked.
A Quick Fix for Tiny Needles: Trying to thread a tiny tapestry needle, like a size 26 or 28, can feel downright impossible. My favorite trick involves a small scrap of plain white paper. Fold the paper in half, tuck the thread end into the crease, and then trim the paper into a sharp point with the thread still inside. You've just created a stiff little paper "needle" that you can easily poke through the eye.
When the Needle Itself Is the Problem
Sometimes, the thread isn't the issue at all—it's the needle. If you notice your floss is constantly shredding or getting worn as you thread it, the eye of your needle is probably too small for the number of strands you're using.
For example, a size 24 tapestry needle has a larger eye than a size 26, which makes it a much better choice when you're using two or three strands of floss on 14-count Aida. Ultimately, making sure your needle, fabric, and floss are all a good match is the best troubleshooting step you can take.
Choosing the Right Needle for Your Fabric
Let's be honest—sometimes, the real reason you're struggling to thread your needle has nothing to do with your technique. It's often just a classic case of the wrong tool for the job. Getting the needle, fabric, and floss combination right from the start is the best way to prevent those threading headaches before they even begin.
For cross stitch, we always use a tapestry needle. These are the ones with a blunt tip and a nice, large eye that’s specifically designed to handle multiple strands of floss. Picking the right size is the secret sauce for both easy threading and a beautiful finished piece.
Finding the Perfect Match
Think of it this way: a needle that's too big for your fabric will stretch the holes open, distorting the weave and leaving noticeable gaps around your stitches. It just looks messy. On the flip side, a needle that’s too small creates a ton of friction. As you pull the floss through, it can shred and get fuzzy, which is incredibly frustrating to work with.
The goal is to find that "Goldilocks" needle—one that glides through the fabric holes without a fight. If you want to get into the nitty-gritty, our complete guide on cross stitch needle sizes is a fantastic resource.
Expert Tip: The perfect tapestry needle should feel like it belongs with your fabric. It parts the fibers just enough for the floss to pass through, then lets them settle right back into place.
Here's a simple breakdown to help you match your tools to your project. The needle size you need is directly tied to your fabric’s count, which is just the number of squares per inch. For 14-count Aida, a very popular choice for all stitchers, a size 24 tapestry needle is almost always the perfect fit when using two strands of floss.
Needle and Floss Guide for Aida Fabric
Use this quick reference to select the perfect tapestry needle size and floss count for your project's Aida fabric.
| Aida Fabric Count | Recommended Tapestry Needle Size | Typical Number of Floss Strands |
|---|---|---|
| 11-count | Size 22 | 3 strands |
| 14-count | Size 24 | 2 strands |
| 16-count | Size 26 | 2 strands |
| 18-count | Size 26 or 28 | 1 or 2 strands |
Getting this pairing right makes everything—from threading the needle to making the actual stitches—a much more enjoyable process.
Common Threading Questions Answered
Even seasoned stitchers run into little quirks and questions when threading their needles. Let's tackle some of the most common ones so you can stitch with total confidence.
How Do I Set Up a Loop Start?
The loop start is my absolute favorite way to begin stitching—it’s clean, secure, and completely knot-free. It’s also surprisingly simple to set up.
Start by pulling just one single strand of floss from your skein. Fold that strand exactly in half. Now, instead of a single end, you’ll have a neat loop on one side and two cut ends on the other.
Just thread both of those cut ends through the eye of your needle together. The pinch-and-fold technique is perfect for this. When you bring your needle up from the back of the fabric for your first stitch, just pass it through the loop on the back. It creates a tiny, perfect anchor.
Is It Really That Bad to Lick the Thread?
We’ve all done it, but licking the end of your floss is a habit worth breaking. Over time, the saliva can introduce oils and bacteria to your fabric, potentially causing discoloration or even mildew down the road.
A much better option is to use a thread conditioner like Beeswax or Thread Heaven to stiffen the tip. If you don't have any on hand, just a tiny dab of clean water on your fingertips works just as well without risking your beautiful project.
What’s Special About a Tapestry Needle?
The needle you use for cross stitch is a tapestry needle, and it’s specifically designed for this craft. It differs from a regular sewing needle in two big ways.
First, look at the tip. It’s blunt and rounded, not sharp. This is intentional! It allows the needle to slip easily through the holes in your Aida or evenweave fabric without snagging or piercing the threads.
Second, the eye is much larger and more elongated. This isn't just for show—it's designed to easily accommodate the thicker embroidery floss we use, often with multiple strands at once. It makes the whole threading process a lot less frustrating from the get-go.
Ready to turn your favorite memories into a beautiful work of art? At Cross Stitched, we transform your photos into custom, all-in-one cross-stitch kits with everything you need to get started. Create your personalized pattern today at https://cross-stitched.com.


