
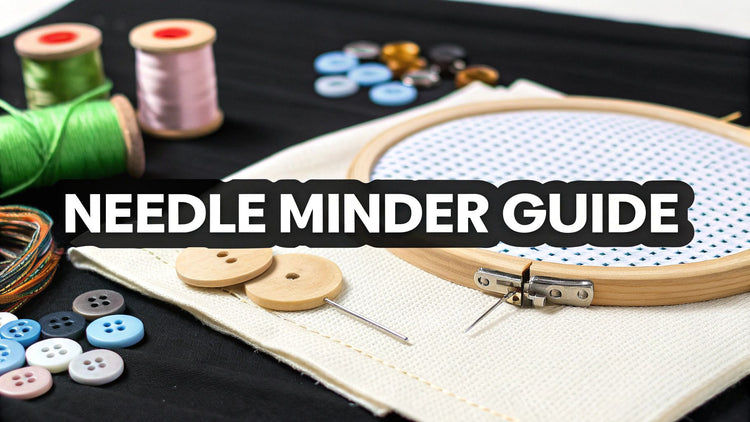
Ever set your needle down for just a moment, only for it to vanish into the sofa cushions? Or worse, find it later with your foot? If you’ve ever felt that jolt of panic, you’re not alone. The cross stitch needle minder is the wonderfully simple solution to this classic stitching problem.
Unlocking a Smoother Stitching Experience
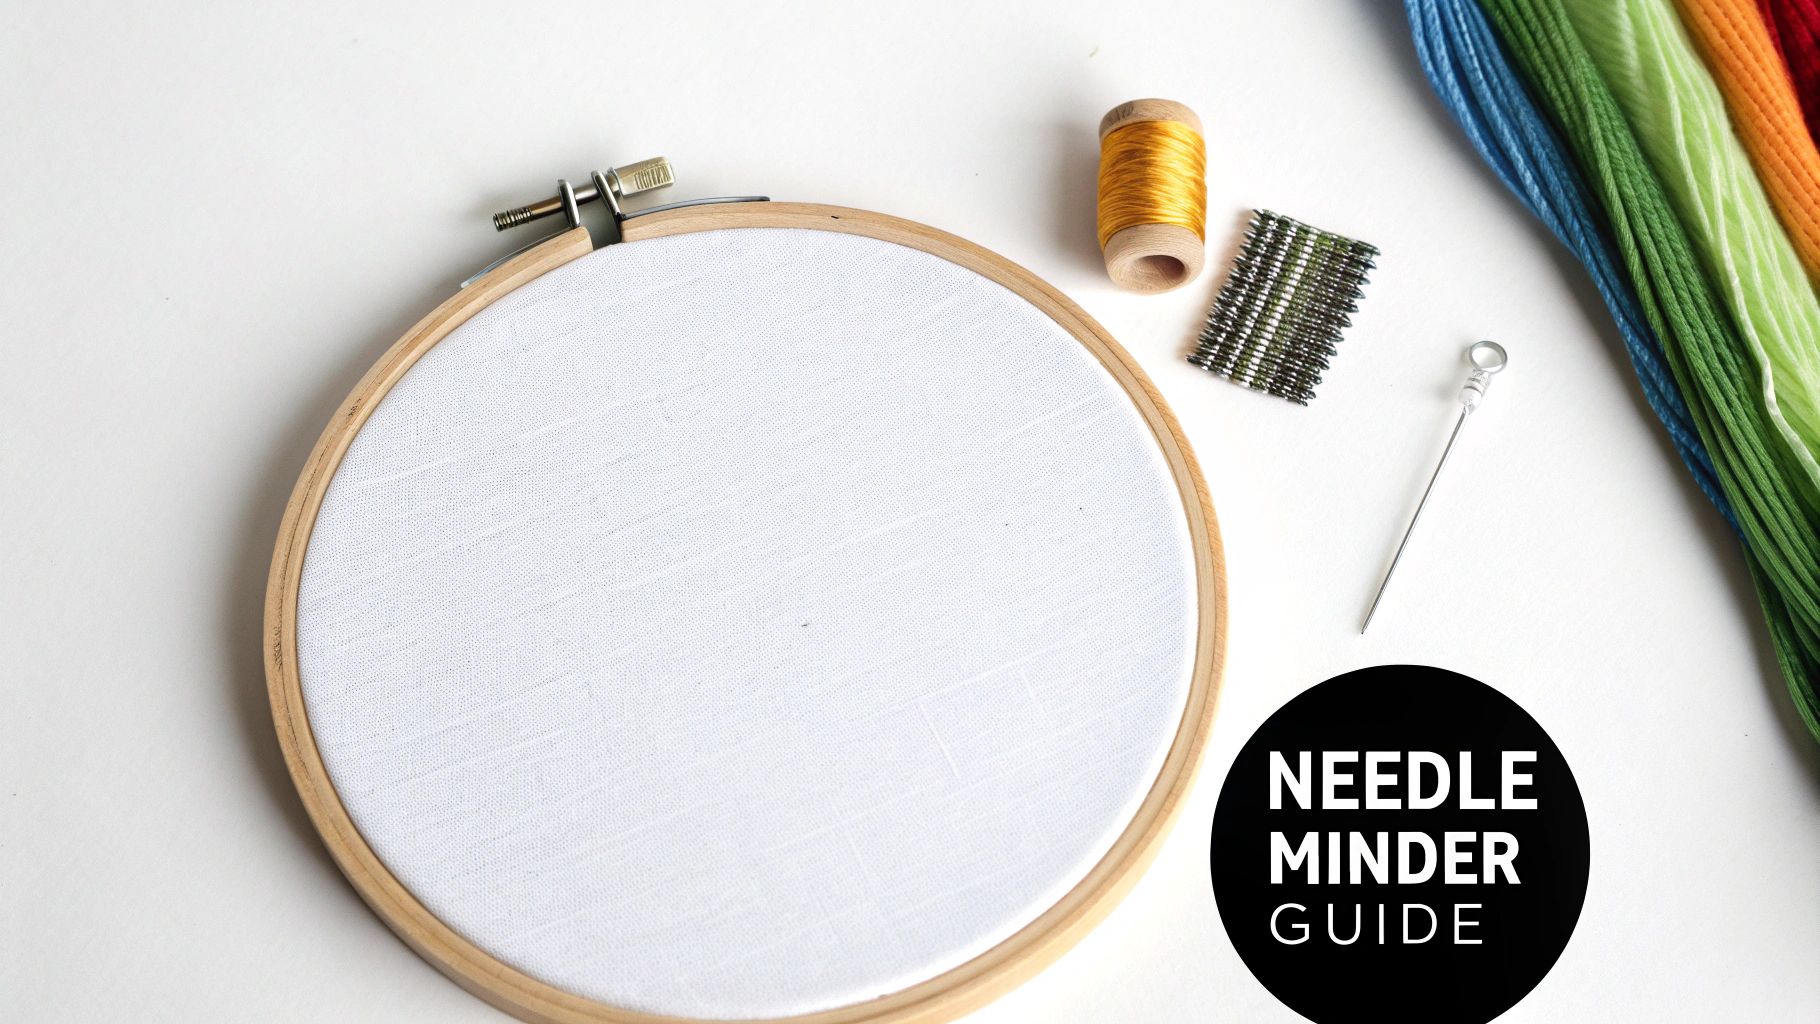
Think of a needle minder as a magnetic parking spot for your needle, right on your fabric. It's a small, decorative piece—like a cute enamel pin, a wooden charm, or a sparkly resin shape—that has a strong magnet glued to the back. A second, unattached magnet goes on the underside of your fabric, creating a secure little magnetic sandwich that holds your needle firmly in place without ever piercing your work.
This little tool does more than just stop you from losing needles. It keeps your project area tidy and your stitching flow smooth, which makes the whole experience so much more relaxing and fun. No more interruptions hunting for a wayward needle!
Why Every Stitcher Needs One
As crafting becomes more and more popular, we're seeing a real appreciation for tools that make our hobbies better. The global embroidery market, which includes beloved crafts like cross-stitch, was valued at around USD 3.2 billion in 2023 and is expected to grow to USD 6.2 billion by 2032. That's a lot of people looking for ways to improve their stitching!
Just like a well-organized desk makes work feel easier, a needle minder brings a sense of calm and order to your cross-stitch setup. If you love keeping your creative space just right, you might also appreciate other essential aesthetic desk organization tools that bring both function and joy to your hobbies.
Needle Minder Benefits at a Glance
A needle minder is so much more than just a pretty accessory; it’s a seriously practical tool that makes an immediate difference in your stitching routine. Let's break down exactly how this little gadget helps.
| Benefit | How It Helps Your Stitching |
|---|---|
| Prevents Lost Needles | No more frantic searching for a dropped needle! It saves you time, frustration, and potential ouchies. |
| Protects Your Fabric | Stops you from sticking your needle into your fabric, which can leave behind permanent holes or even rust stains. |
| Improves Workflow | Lets you park your needle quickly and securely when you need to change threads or take a quick break. |
| Adds Personal Style | With endless designs available, you can add a fun pop of personality right onto your project. |
Ultimately, a needle minder is a small change that brings big benefits. While it's just one of many handy gadgets out there, its impact is undeniable. You can check out more great tools in our guide to cross stitch accessories.
How a Needle Minder Works and Why You Need One
So, what’s the secret behind a needle minder? It’s actually a wonderfully simple idea. At its heart, a needle minder is a clever two-part magnetic system that gives you a secure parking spot for your needle right on your project. It’s the perfect answer to the age-old problem of lost needles.
Think of it like this: you have a small, decorative charm that sits on top of your fabric. This is the pretty part everyone sees. Glued to its back is a strong little magnet. The real trick is the second piece—another powerful magnet that goes on the underside of your Aida cloth.
When you bring them close, the two magnets snap together, sandwiching your fabric firmly between them. This creates a magnetic sweet spot on the surface of your work. The design is genius because it holds your needle tight without ever poking a hole in your delicate cloth. It’s a grip that’s gentle but surprisingly strong.
The Practical Magic of a Magnetic Grip
The real beauty of this system is how it smooths out your stitching process. We've all been there—you need to switch thread colors or just take a quick break, so you awkwardly poke your needle into the edge of your fabric. That old habit can leave behind noticeable holes, or even worse, rust stains if the needle sits there too long.
With a minder, you just pop your threaded needle right onto its face. The magnet grabs it instantly, holding it safe and sound until you’re ready to pick it up again.
Key Takeaway: A needle minder uses a two-magnet system to hold your needle without damaging your fabric. It’s a simple solution that prevents holes and rust stains, keeping your most important tool exactly where you need it.
This small but mighty gadget has quickly become a must-have for modern stitchers. Its popularity is part of a bigger trend in crafting, where we’re finding clever solutions to make our traditional hobbies even better. The market for embroidery tools, which includes handy accessories like these, was valued at around USD 2.4 billion in 2024 and is only expected to grow. It just goes to show that stitchers everywhere are loving tools that help them stay organized and enjoy their craft more. You can learn more about the growth of the embroidery accessory market.
Creating Your Own Stitching Sanctuary
Let’s be honest, how much time have you wasted hunting for a dropped needle? It’s the kind of frustrating interruption that completely kills your creative flow. A needle minder gets rid of that common headache for good.
With your needle safely parked, you can settle into a more peaceful and organized stitching session. This brings a few key benefits:
- Fewer Interruptions: Pause and restart your work seamlessly without losing your rhythm. No more frantic searches for a runaway needle.
- A Safer Space: A secured needle is one that won't get lost in the carpet or sofa cushions, saving you, your family, or your pets from a nasty surprise.
- Protect Your Project: By keeping the needle off the fabric itself, you ensure your finished piece stays pristine and free of extra holes or marks.
- A Splash of Personality: Minders come in endless designs, from cute and quirky to elegant and modern, letting you add a bit of your own style to your work-in-progress.
Ultimately, the reason you need a needle minder boils down to peace of mind. It turns your stitching time into a more fluid and relaxing experience, letting you focus on the beautiful art you're creating. It’s a simple tool that solves a universal problem for every single stitcher.
Exploring the Different Types of Needle Minders
Once you fall down the rabbit hole of needle minders, you quickly realize they’re more than just a handy tool—they're a whole world of tiny, functional art. Think of them as a little piece of your personality that gets to hang out on your cross stitch project, bringing a bit of extra joy to your stitching time.
The sheer variety is amazing. You can find everything from minimalist geometric shapes to quirky little animals that make you smile. Whether you’re into your favourite movies, elegant botanical designs, or something sparkly made from resin, there's a minder out there that's perfect for you. It's a fun way to find a piece that not only keeps your needle safe but actually complements the theme of your current work-in-progress.
Still on the fence about whether you need one? This little flowchart breaks it down perfectly.

As you can see, the logic is pretty simple. If you’re tired of playing hide-and-seek with your needles, a minder is about to become your new best friend.
A Look at Common Materials
The material of your needle minder plays a big role in its look, feel, and weight. Knowing the difference between them will help you pick the perfect companion for your stitching adventures.
- Enamel: These are the rockstars of the needle minder world. They’re essentially collector's pins without the pointy bit, offering a glossy, durable finish with incredibly vibrant and detailed designs. They have a satisfying weight and a super smooth surface.
- Wood: If you're going for a more natural or rustic vibe, a wooden minder is a fantastic choice. They're often laser-cut into beautiful, intricate shapes and are incredibly lightweight, making them very gentle on your fabric.
- Acrylic and Resin: This is where the creativity really explodes. Think glitter-filled shapes, custom-printed images—you name it. These minders are exceptionally lightweight, which is ideal for smaller projects or delicate fabrics that can't handle much weight.
Each material offers its own unique charm. Your choice will likely come down to your personal style and what makes the most sense for the project you’re currently stitching.
The Power Behind the Pretty Face
Beyond the fun design on top, the real workhorse of any cross stitch needle minder is the magnet. Most makers use neodymium magnets, a type of rare-earth magnet famous for being ridiculously strong for their tiny size. That strength is exactly what you need to get a firm grip on your fabric without adding a ton of bulk.
But here’s a key detail: not all magnets are created equal. You need one that’s strong enough to hold securely through your fabric and whatever hoop or Q-snap frame you’re using. At the same time, it can't be so powerful that it's a struggle to pull apart or, worse, damages your delicate floss.
The sweet spot for a great needle minder is the perfect balance between a strong neodymium magnet and a design that is smooth and light. This gives you a secure hold on your needle without messing with your fabric tension or snagging your threads.
When you're shopping, think about the fabric you stitch on most. If you’re working on a sturdy 14-count Aida in a big frame, a minder with a stronger magnet is a great help. But for a delicate piece on fine linen, you’ll want to go with a smaller, lighter minder with a gentler magnetic pull to avoid any risk of warping the fabric.
Finding Your Perfect Match
To make the choice a bit easier, let's put these popular options head-to-head. I've put together a table that breaks down what you can expect from each material, helping you find the best needle minder for your personal stitching style.
A good needle minder should feel like a natural extension of your creative process. This comparison will help you understand the unique characteristics of each type so you can choose one that not only looks great but also performs exactly how you need it to.
Comparing Needle Minder Materials and Styles
| Material Type | Key Features | Best For | Potential Drawbacks |
|---|---|---|---|
| Enamel | Hard, glossy finish; vibrant colors; very durable. | Everyday use on standard cotton Aida; projects where you want a pop of color. | Can be heavier, potentially weighing down very delicate or loosely woven fabrics. |
| Wood | Lightweight; natural, rustic aesthetic; often laser-engraved. | Stitching on linen or evenweave; projects with a natural or vintage theme. | Can be more susceptible to moisture; intricate designs may have fragile points. |
| Acrylic/Resin | Extremely lightweight; endless design possibilities (glitter, custom images). | Small hoops, travel projects, and delicate fabrics where weight is a primary concern. | May not feel as substantial as metal; lower-quality pieces could scratch over time. |
At the end of the day, the best cross stitch needle minder is the one that you genuinely love using. Don't be surprised if you end up with a small collection! Many of us have a few favourites we rotate through, choosing one to match our mood or the personality of our latest Cross Stitched kit.
Choosing and Using Your Perfect Needle Minder
Choosing a cross stitch needle minder is really a fun mix of personal style and practical need. It's easy to fall in love with a cool design, but the real magic happens when it also works perfectly with your project. Think of it like picking the right paintbrush for a canvas—a huge, heavy minder on a tiny, delicate project is just going to cause headaches.
The trick is to balance three things: size, weight, and magnet strength. That gorgeous, chunky enamel minder you’ve been eyeing? It might cause your fabric to sag if you’re working on a small hoop with lightweight linen. On the other hand, a tiny, feather-light minder might not have enough magnetic muscle to hold on tight to a huge project on stiff 14-count Aida fabric.
Picking the Right Size and Weight
For smaller projects—anything under 5 inches or stitched on delicate fabric—you’ll want something lightweight and compact. Wooden or acrylic minders are fantastic for this. They get the job done without adding extra weight that could mess with your fabric tension.
When you’re diving into a bigger, more ambitious cross stitch piece, you can go bold. A larger, heavier design won't be a problem because the fabric has enough surface area to support it. A stronger magnet is also a plus here, making sure it stays put through thicker material and a sturdy frame.
How to Place and Use Your Minder Correctly
Once you've found your perfect match, using it the right way is key to protecting both your minder and your project. It's super simple, but getting into these habits will make all the difference.
Here’s the best way to do it:
- Find the Sweet Spot: Pick a quiet corner of your project where your minder won't get in the way of your stitching. The top right or left of your hoop is usually a safe bet.
- Anchor from Behind: Take the second, plain magnet and place it on the back of your fabric, right underneath the decorative top piece. You'll feel them snap satisfyingly together.
- Park Your Needle: Whenever you need to switch threads or just take a breather, just rest your needle on the face of the minder. The magnet will hold it safe and sound.
- Slide, Don't Pull: This is the most important tip! To move or take your minder off, always slide the magnets apart instead of pulling them straight off. Pulling them apart can cause them to snap back together with a lot of force, which can easily chip or break them over time.
Essential Care and Safety Instructions
A little bit of care will keep your needle minder looking great and ensure your crafting space stays safe. Because these things use powerful neodymium magnets, there are a couple of important things to keep in mind.
Important Safety Note: The magnets in needle minders are surprisingly strong and can mess with electronics. Be sure to keep them a safe distance from your phone, laptop, credit cards, and especially medical devices like pacemakers. They are also small, so always store them well out of reach of children and pets.
To keep your minder and other tiny tools from getting lost, good storage is a game-changer. These sewing accessory box tips can give you some great ideas for keeping everything organised and secure.
With crafting on the rise, accessories like needle minders have become must-have tools for stitchers. It's all about making the process smoother and more enjoyable. And if you're curious about the other end of the needle, don't forget to check out our guide on cross stitch needles and their sizes.
Create Your Own DIY Cross Stitch Needle Minder
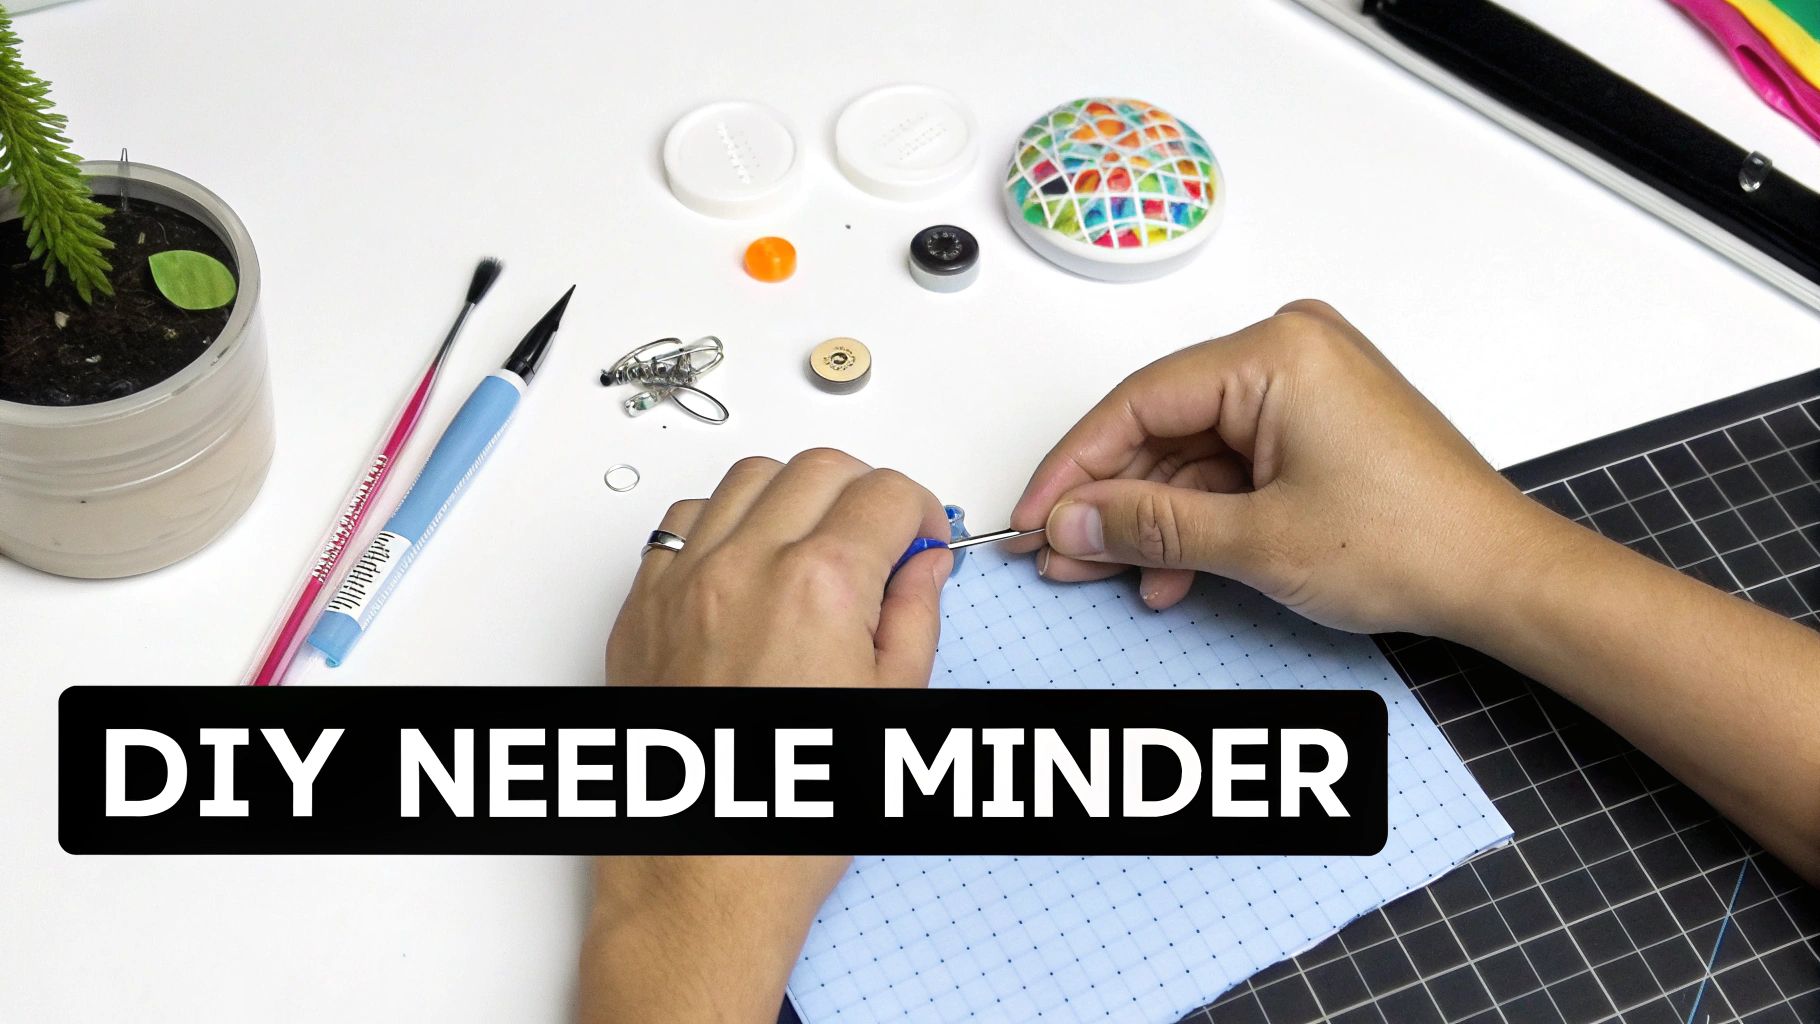
While there’s an amazing variety of pre-made needle minders out there, nothing beats the satisfaction of making your own. Crafting a DIY cross stitch needle minder is a surprisingly simple project that lets you create something that’s 100% you. It’s the perfect way to give a new life to an old button, a cute enamel pin, or that one leftover charm you didn't know what to do with.
This isn’t just about saving a few pounds; it’s about pouring more of your personality into your craft time. You get to decide the exact size, style, and feel, making sure it’s the perfect companion for your next project. Plus, it's a brilliant excuse to raid your craft stash and put those little odds and ends to good use.
Gathering Your DIY Materials
Before you dive in, you’ll need to round up a few key supplies. The best part about this project is how flexible it is, so feel free to experiment with what you have on hand.
- A Decorative Piece: This is your centerpiece! Anything with a flat back works best. Think unique buttons (just snip the back off), old enamel pins, flat-backed cabochons, polymer clay charms, or even a small, flat LEGO piece.
- Strong Magnets: You'll need two neodymium magnets for each minder. These are the serious, rare-earth magnets that pack a punch. A diameter of 8mm to 12mm and a thickness of 1mm to 2mm is a great place to start.
- A Powerful Adhesive: Your everyday craft glue won't cut it here. You need something heavy-duty that creates a rock-solid bond. E6000 is the go-to for most crafters because it’s incredibly strong and dries clear.
- A Safe Workspace: Lay down some cardboard or a craft mat to protect your table. And if you're using a strong glue like E6000, make sure you're in a well-ventilated space.
Step-by-Step Assembly Guide
Ready to make your own needle minder? It’s easier than you think. The active part of this project takes less than five minutes—the real test is having the patience to let it dry properly!
-
Prep Your Decorative Piece: First things first, make sure the back of your chosen item is clean and totally flat. If you're using a button, carefully snip off the shank with wire cutters and sand down any rough bits. For an enamel pin, use pliers to gently remove the post. A smooth surface is the secret to a strong bond.
-
Test Your Magnet Polarity: This is a game-changing tip! Before you even touch the glue, let your two magnets snap together. Take a permanent marker and put a dot on the top of one magnet and the bottom of the other (the two sides that are touching). This way, you know exactly which sides need to face out to attract, not repel.
-
Apply the Adhesive: Squeeze a small but generous dab of E6000 onto the back of your decorative piece. Now, place one of the magnets on the glue, making sure the side you marked is facing out (away from your decorative piece).
-
Let It Cure Completely: And now, the hardest part: waiting. Set your freshly glued minder somewhere safe where it won't be disturbed. E6000 needs a minimum of 24 hours to cure, but waiting the full 72 hours will give you an unbreakable bond. Trust me, don't try to use it early, or you’ll be re-gluing it later.
Crucial Tip: Resisting the urge to poke and test your needle minder before it's fully cured is key. A little patience now means your creation will hold up through countless hours of future stitching.
Once it's fully cured, your custom needle minder is ready for action! The second magnet is what you'll use to secure it from the back of your fabric. Making your own tools is one of the great joys of crafting, and if you get the bug, you'll find more great ideas in our guide on how to organize craft supplies.
Answering Your Top Needle Minder Questions
When you first hear about needle minders, it's totally normal for a few questions to pop up. The world of stitching gadgets is bigger than you'd think, and figuring out how this little tool actually works will help you get the most out of it. Let's tackle some of the most common things stitchers ask.
Think of this as your go-to guide for making sure your new accessory is a help, not a hindrance.
Will a Needle Minder Damage My Cross Stitch Fabric?
This is the big one, right? And I'm happy to report that no, a good needle minder won't harm your fabric. The whole point of the design is to gently clamp onto the cloth, not pierce it. The two magnets grip your Aida or linen from either side, holding on tight without leaving a single mark behind.
The trick is to use a minder with magnets that are strong but smooth. If you put a huge, heavy minder on a tiny project stretched over a small hoop, you might see some sagging. Also, a pro tip: always slide the magnets apart to move your minder, don't drag it across your project. That little bit of care prevents any friction on the threads.
Honestly, a needle minder is far safer for your fabric than the old habit of parking your needle directly in the cloth, which can leave behind permanent holes or even dreaded rust spots.
If you're working on something really delicate, like high-count linen or silk gauze, just reach for a smaller, lighter minder—something made from acrylic or wood is perfect.
What Kind of Magnets Are Best for a Needle Minder?
In the world of needle minders, Neodymium magnets are the undisputed champions. You might also hear them called rare-earth magnets. These little guys are incredibly powerful for their size, which is exactly what you need to keep your needle locked down without adding a clunky, heavy piece to your project.
When you're shopping for a minder (or making your own!), you want magnets that can hold on securely through both your fabric and your Q-snap or hoop. But you don't want them so strong that separating them feels like a gym workout.
A quality minder will have one magnet glued firmly to the back of the pretty part, with a second, loose magnet to go on the back of your fabric. It's also really important that the magnets have a smooth coating (like nickel) to stop them from snagging your threads or marking up your cloth.
Can I Use a Needle Minder with a Q-Snap or Hoop?
You bet! Needle minders are made for this. They work perfectly with Q-snaps, embroidery hoops, scroll frames—you name it. You just place the minder right on your taut fabric, inside the frame.
A really popular spot is up in a corner, well out of your main stitching zone but still easy to reach. The back magnet sits underneath the fabric, holding everything securely in place.
Working with thicker layers, like maybe some batting for a quilt project? Just double-check that your minder's magnets are strong enough for the job. But for 99% of standard hoop and Q-snap setups, the magnets on most minders you can buy are more than powerful enough.
How Should I Care For and Store My Minder?
Looking after your needle minder is super easy and will help it last for years. The single most important thing to remember is how you separate the magnets.
Always slide the magnets apart sideways. Never try to pull them straight apart. If you do, they can snap back together with a surprising amount of force, which can chip or crack the magnet—or even your beautiful decorative piece.
Here are a few other simple tips for care and storage:
- Safe Storage: When you're not using it, let the magnets find each other again. Storing it on the little piece of cardboard it came with is a great way to keep it safe.
- Keep Away From Electronics: These are strong magnets! Keep them a safe distance from your phone, laptop, and credit cards to avoid any potential damage.
- Child and Pet Safety: Minders are small and the magnets are powerful, making them a serious choking hazard. Always store them somewhere safe and out of reach of children and pets.
- Cleaning: If your minder gets a little dusty, all it needs is a gentle wipe with a soft, dry cloth. Steer clear of any harsh chemicals that might ruin the finish.
Ready to add a touch of personality and practicality to your next project? Explore the beautiful and functional collection of cross stitch accessories at Cross Stitched. Find the perfect needle minder to match your style and make every stitching session a joy. Visit us at https://cross-stitched.com to see our latest designs.


