

Quick answer: A French knot is made by bringing the needle up through the fabric, wrapping the thread around the needle shaft one or two times, then reinserting the needle one thread away from the exit point while holding the wrapped thread taut. When pulled through, the wraps form a raised, round knot used for eyes, berries, flower centres, and textured details.
Frequently asked questions
How do you do a French knot step by step?
Bring the needle up through the fabric. Hold the thread taut with your non-dominant hand. Wrap the thread around the needle once or twice. Insert the needle back into the fabric one thread away from where it emerged. Hold the wrapped thread taut and pull the needle through slowly to form the knot.
Why does my French knot disappear through the fabric?
This happens when the needle is reinserted into the exact same hole it came from. Always insert the needle one fabric thread away — even a tiny offset is enough to anchor the knot on the surface.
How many times should you wrap the thread for a French knot?
One wrap produces a small, tight knot. Two wraps produce a larger, rounder knot. More than two wraps can become untidy. For most embroidery use one or two wraps depending on the size of detail required.
What are French knots used for in cross stitch?
French knots add raised three-dimensional texture to cross stitch and embroidery designs. They are commonly used for eyes on animals, flower centres, berry clusters, snow, stars, and any small circular detail.
The French knot is a classic embroidery stitch that creates a tiny, textured knot, almost like a little bead, right on the surface of your fabric. You make it by bringing your threaded needle up from the back, wrapping the floss around the needle a couple of times, and then popping the needle back down right next to where you came up.
It sounds simple, and it is, once you get the hang of it.
What Exactly Is a French Knot?
The French knot is one of those stitches that every embroiderer loves to have in their toolkit. It’s cherished for the beautiful texture and dimension it brings to a piece. It's far more than just a dot; a well-placed French knot can be the delicate center of a flower, the twinkle in an animal's eye, or even a field of tiny stars in a night sky.
What I love about it is its ability to add a subtle "pop" that gives a design an almost three-dimensional feel that flat stitches just can't match.
It’s a staple for needlecrafters because it’s so adaptable. You can use a single knot for a tiny accent or cluster them together to create a rich, bumpy texture that just begs to be touched. The real charm of the French knot is in its simplicity and the huge impact it can have on your finished project.
From Ancient China to French Salons
Here’s a fun fact: the French knot isn't really French. Despite the name, its origins trace all the way back to ancient China. Historians have found knotted embroidery stitches on silk shoes from the Warring States period, which was way back between 475–221 BCE.
The stitch likely picked up its modern name when it became all the rage in France during the 16th and 17th centuries. If you're a history buff, you can learn more about the fascinating history of French knots and how they traveled across the globe.
Key Takeaway: The whole point of a French knot is to add texture and raised detail to your embroidery or cross-stitch. It’s the secret to transforming a flat piece into something more dynamic and interesting to look at.
Understanding this history gives you a new appreciation for the stitch. You're not just learning a technique; you're carrying on a timeless artistic tradition. With that in mind, you're all set to master the French knot with confidence.
Getting Your Gear Together
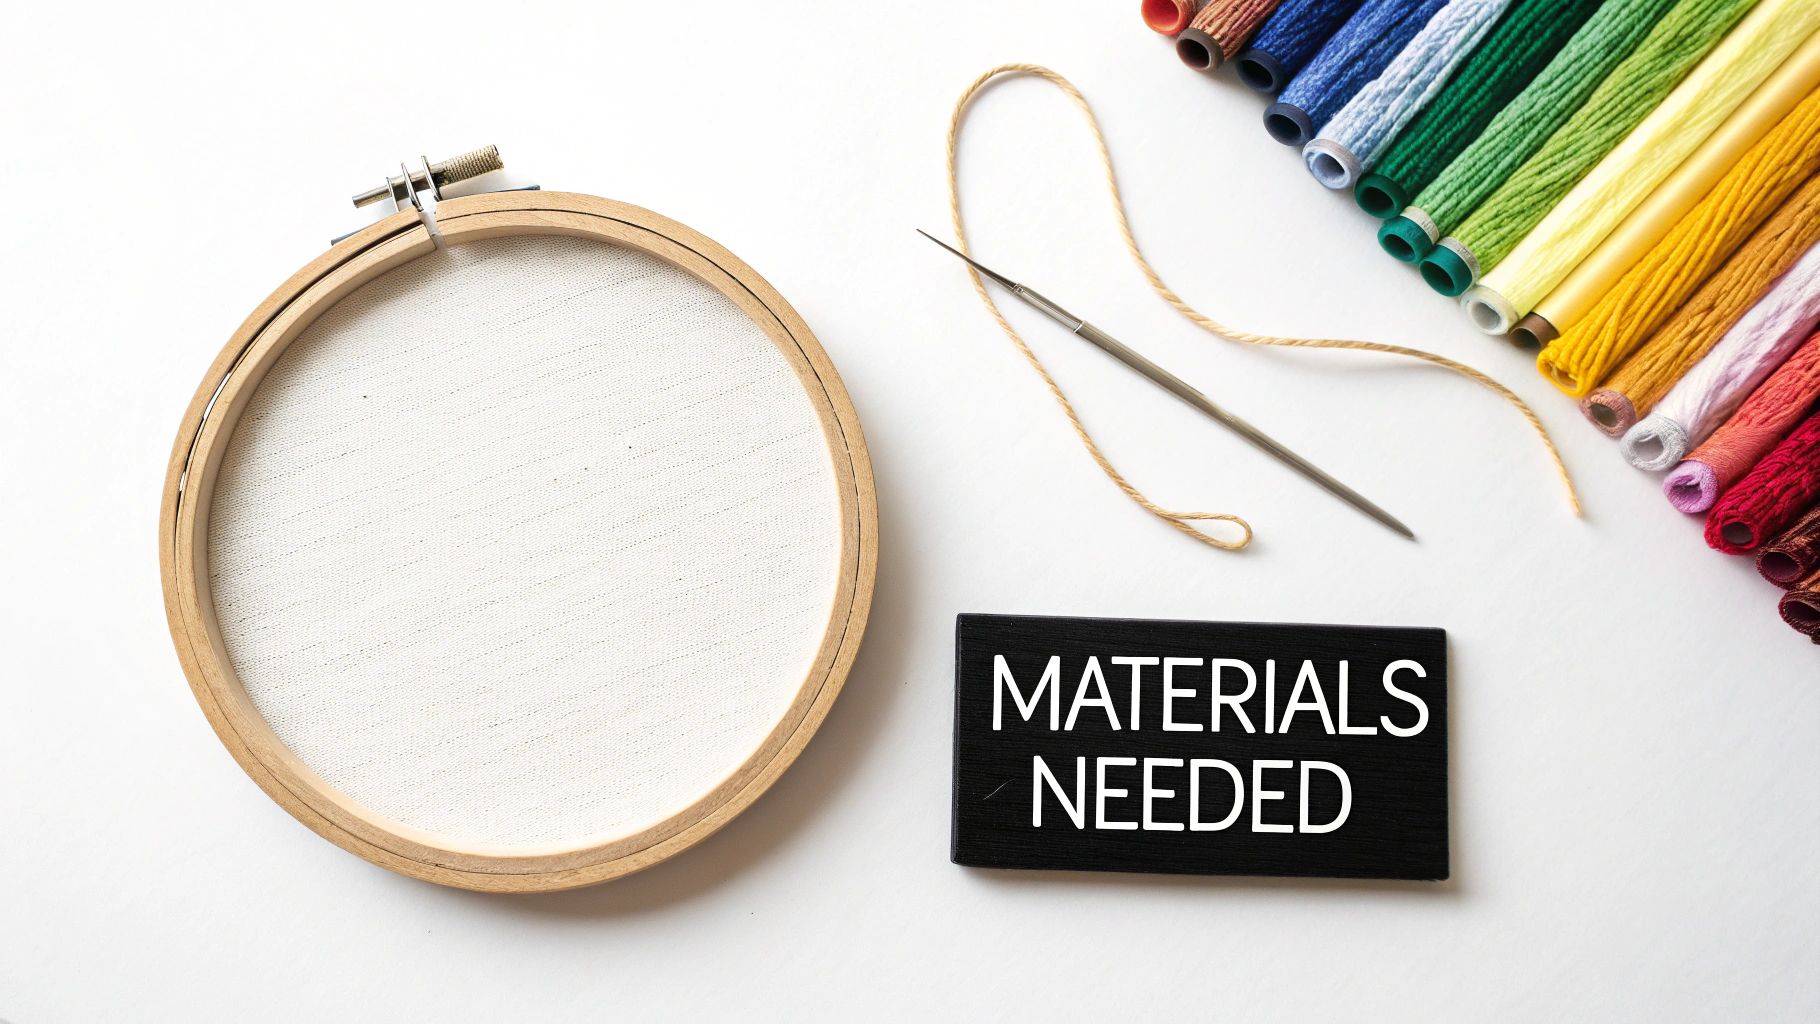
Before you dive in and start tying that perfect French knot, let's talk about supplies. Having the right tools on hand isn't just about following a list; it’s about setting yourself up for a smooth, frustration-free stitching session right from the get-go.
Good prep work really does make all the difference. For instance, you absolutely need a taut canvas to create clean, uniform knots. This is why an embroidery hoop is non-negotiable. It keeps your fabric pulled drum-tight, which stops it from puckering and gives you a firm, stable surface to work on.
Fabric And Floss: The Building Blocks
The foundation of any good stitch starts with your choice of fabric. I've found that materials like linen or a medium-weave cotton are ideal. They have enough body to hold the knot securely, preventing it from sinking into the fabric or pulling right through—a common headache with looser weaves.
Then, there's your embroidery floss. This is your secret weapon for controlling the size and pop of your knots. The standard six-strand cotton floss is incredibly versatile because you can tailor the thickness just by changing the number of strands you use.
- For tiny, delicate dots: Stick with 1-2 strands. This gives you a look that's almost like a tiny seed bead.
- For a classic, all-purpose knot: Using 2-3 strands is the sweet spot for most accents.
- For a bold, textured effect: Go with 4-6 strands to create knots that really stand out.
If you're just starting your journey with needle and thread, our guide on learning to cross-stitch is a great place to get comfortable with these basics.
Pro Tip: Don't underestimate the importance of your needle. A sharp embroidery needle that matches your thread count will make your life so much easier, gliding through the fabric without leaving big holes. Milliner's needles are another fantastic choice; their shaft is the same width as the eye, which makes pulling the needle through all those thread wraps a breeze.
The Core Technique for a Flawless French Knot
Alright, let's get down to the hands-on part—actually making this beautiful little stitch. Tying a French knot is all about getting a feel for the rhythm. It's pure muscle memory. Once you nail the movement, you'll be dotting your projects with perfect knots without a second thought.
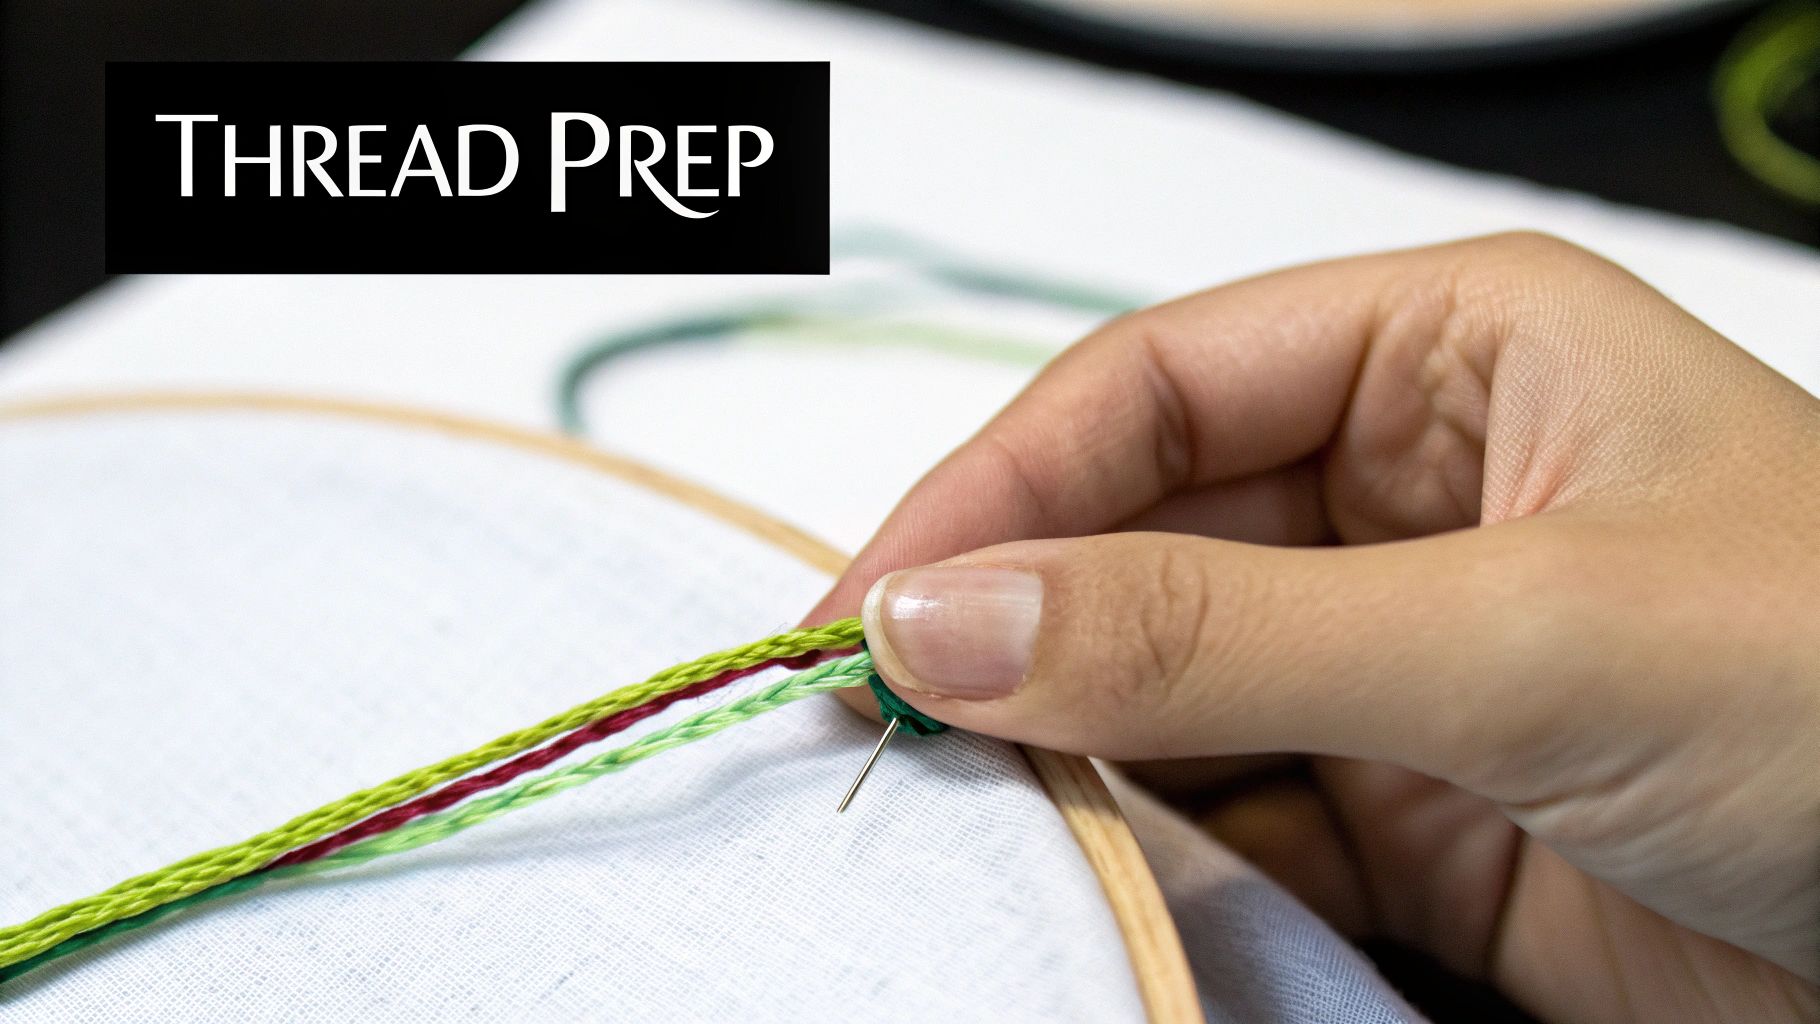
First things first: bring your threaded needle up from the back of the fabric, right where you want the knot to be. Pull the floss completely through so it's snug against the fabric. This is your anchor point.
The Art of the Wrap
With the needle in your dominant hand, gently pinch the thread with your other hand a few inches from the fabric's surface. This is how you'll keep everything under control. Now, bring the needle over and wrap the floss around it. For a good, standard-sized knot, two wraps is almost always the magic number.
This diagram really helps visualize the wrapping motion and how to position your needle.
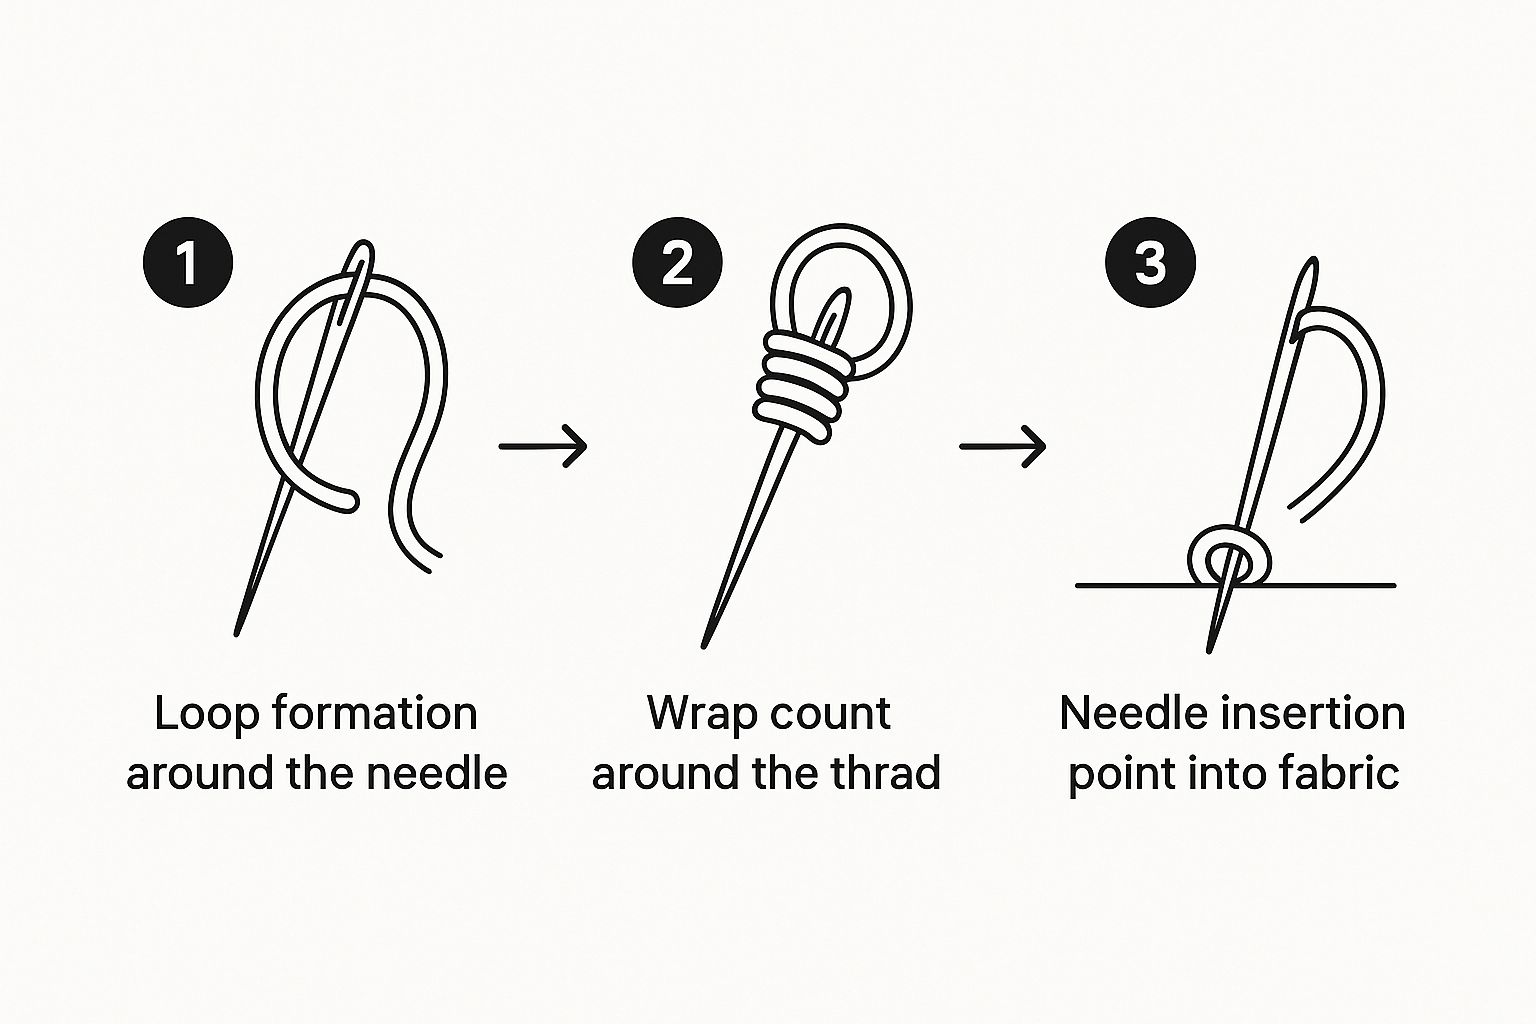
Seeing it laid out like this shows just how important it is to maintain that tension on the floss as you guide the needle back down.
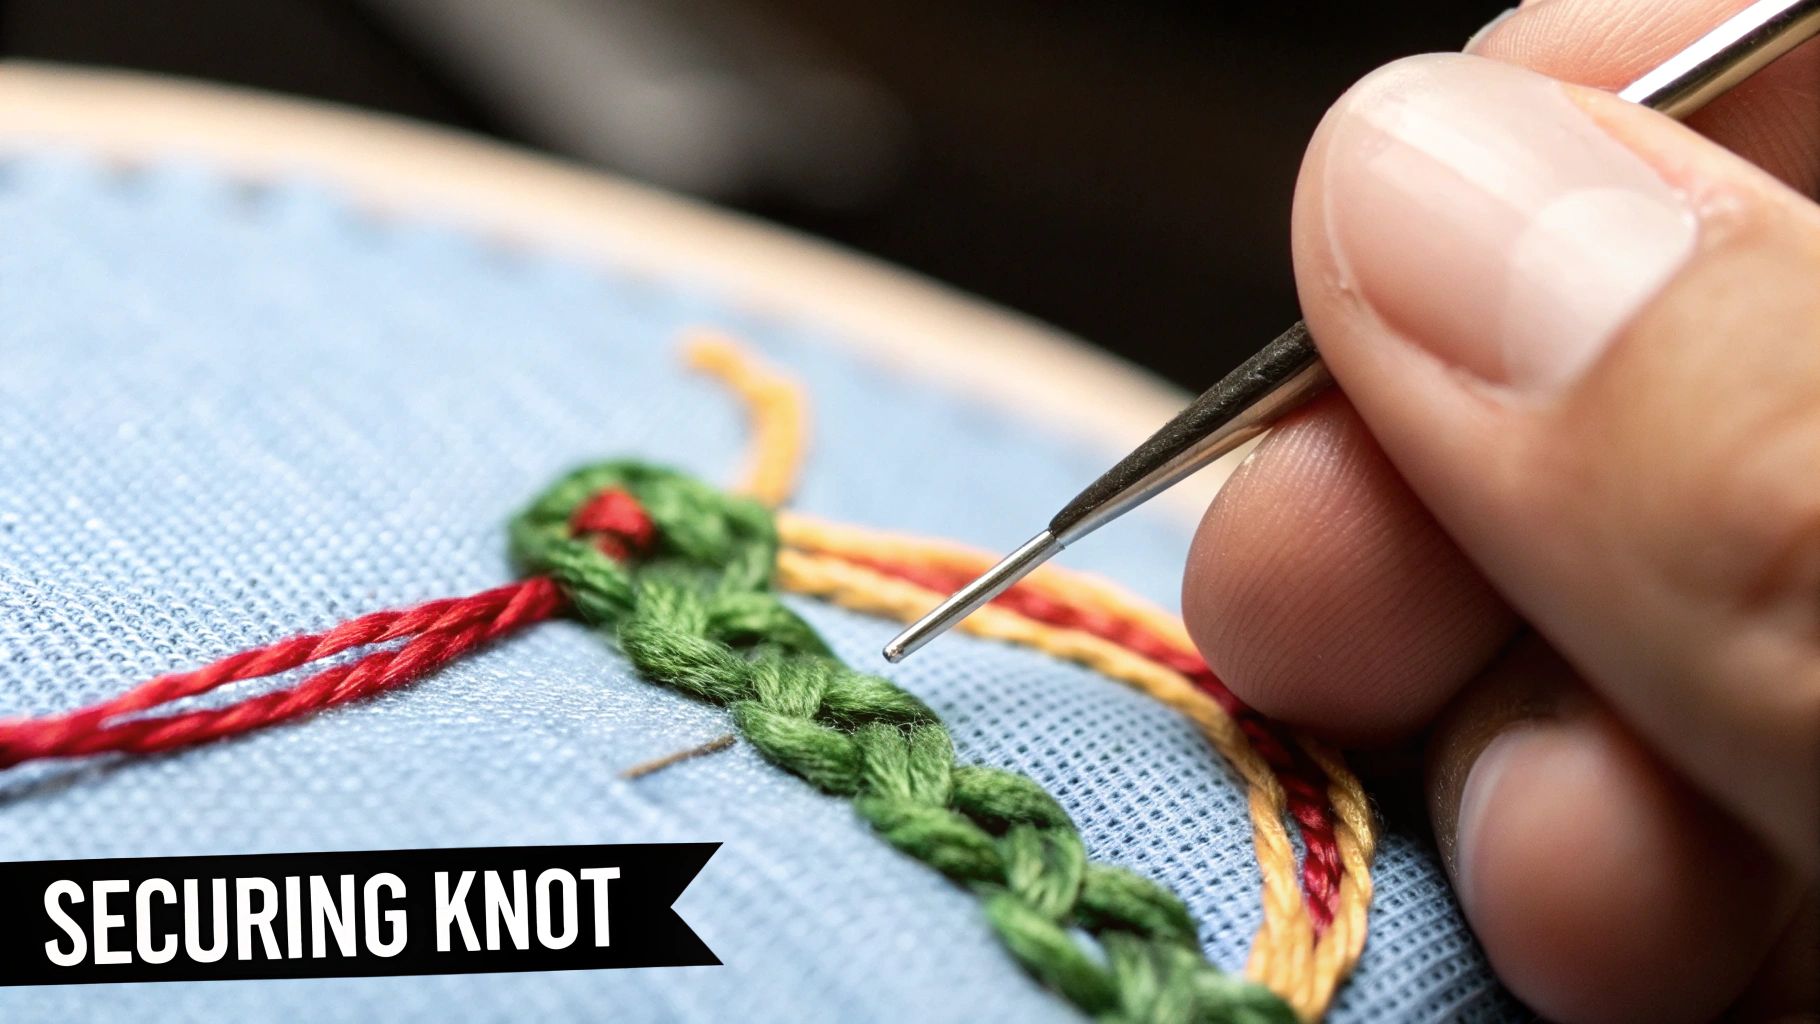
Securing Your Perfect Knot
While the floss is still wrapped snugly around the needle, it's time to finish the job. Guide the tip of your needle back into the fabric, but not into the exact same hole you came up from. This is critical. Aim for a spot just a fabric thread or two away. It’s the single most important trick to stop the knot from just pulling straight through to the back.
Crucial Tip: As you push the needle through, keep holding that working thread taut with your other hand. Seriously, don't let go until the needle is almost all the way through. This is what cinches the wraps down into that tight, neat little ball that sits so nicely on top of the fabric.
This hands-on technique is steeped in history. Even when machines like the chain stitch embroiderer came along in the 19th century, hand stitches like the French knot were still prized for the unique texture and artistry they brought to a piece. Needlework schools, established from the 1760s, taught these skills and ensured the craft survived right alongside industrial machines. You can dive deeper into the enduring legacy of needlework through history to see how it has evolved.
Your first few knots might feel clumsy—that's totally normal. Just keep practicing the sequence: up, wrap, and down. You’ll be making them flawlessly in no time.
Troubleshooting Common French Knot Problems
Even with the best instructions, your first few French knots might feel a bit rebellious. Don't worry, we've all been there! It's a completely normal part of the learning process. Let's walk through the most common frustrations and figure out how to fix them, turning those pesky mistakes into lightbulb moments.
The Vanishing Knot Trick
One of the most frequent complaints I hear is about the knot pulling straight through to the back of the fabric, disappearing entirely. It’s incredibly frustrating, but the fix is surprisingly simple.
This almost always happens when you re-insert the needle into the exact same hole you came up from. Think about it—there's nothing for the knot to grab onto, so it just slips right through.
The Golden Rule: Always re-insert your needle just a tiny bit away from the entry point. I'm talking one or two fabric threads over. This simple shift gives the knot a solid piece of fabric to sit on, anchoring it firmly on the front of your work where it belongs.
Why Your Knot Looks Loose or Messy
Is your knot looking less like a neat little bead and more like a tangled, loopy mess? The culprit here is almost always tension.
If you don't keep a firm, consistent hold on the working thread as you pull the needle through, the wraps around the needle will loosen and create an untidy shape. Remember to gently but firmly hold the floss taut with your non-dominant hand. You should feel a slight, satisfying resistance as you pull the needle through. Don't let go until the knot is fully formed and resting snugly against the fabric.
A Quick Troubleshooting Guide
Sometimes you just need a quick reference to figure out what's gone wrong. This little table covers the most common snags stitchers run into.
French Knot Troubleshooting Guide
| Common Problem | Likely Cause | Quick Solution |
|---|---|---|
| Knot pulls through | Re-inserting the needle in the same hole. | Move your needle over just one or two fabric threads for the exit point. |
| Knot is loose/messy | You're not holding consistent thread tension. | Keep the working floss pulled taut with your other hand until the knot is fully formed. |
| Thread tangles or knots | Your length of floss is too long or is twisting up. | Work with shorter lengths of floss—about the distance from your elbow to your fingertips is a good rule of thumb. |
Once you've gotten the hang of these fixes, you'll be tying perfect French knots with confidence. Mastering this little stitch opens up so many possibilities for adding texture and detail to your work.
When you're ready to take the next step, you can explore more ways to complete your projects. For some great ideas, check out our guide on pro cross-stitch finishing techniques. A beautiful finish really makes all the difference.
Pro Tips for Nailing the Perfect French Knot
Once you get the hang of the basic movement, you can really start dialing in your technique to get those perfect, uniform knots every single time. Here's a little secret many stitchers learn the hard way: the size of your French knot has very little to do with how tight you pull the thread.
It's all about your materials. If you want to change the size of your knots, you have two main levers to pull: the number of floss strands you're using or how many times you wrap the thread around your needle.
Getting the Size Just Right
-
Vary Your Strands: This is your primary tool for size control. A knot made with two strands of floss will be much daintier than a bold one made with four or even six strands. The difference is immediately noticeable.
-
Adjust Your Wraps: For a tiny, seed-like dot, a single wrap is perfect. The most common, versatile knot you'll see is made with two wraps. If you need something more pronounced and textured, three wraps will do it. I'd caution against going past three, as the knot can start to look a bit unruly and lose its neat shape.
A Quick Tip from Experience: If you find your thread is snagging as you pull the needle through, try switching to a Milliner's needle. The eye of these needles is the same thickness as the shaft, which lets it slide cleanly through the wraps without catching. It’s a small change that makes a huge difference in getting a smooth finish.
Building Speed and Consistency
When a pattern calls for what feels like a million tiny knots, speed and consistency become your best friends. The single best thing you can do is to use an embroidery stand. Seriously, it's a game-changer.
Having a stand frees up both of your hands. Now, one hand can guide the needle while the other is dedicated solely to keeping the perfect amount of tension on the thread. This two-handed method helps you fall into a natural rhythm, making your knots much more uniform and cutting your time way down.
If you're looking for more of those foundational skills that can elevate all of your stitching, checking out these cross-stitch tips for beginners is a great place to start.
One last thing to play with is the direction you wrap your thread. It might seem trivial, but whether you wrap clockwise or counter-clockwise can subtly change how the knot sits. Give both a try and see what feels most comfortable and gives you the result you like best. The key, as with everything in stitching, is to find what works for you and stick with it for a consistent look.
Got Questions About French Knots? We've Got Answers.
Even after you get the hang of the basic technique, a few little issues can pop up. Don't worry, that's completely normal! Working through these common sticking points is the fastest way to get your knots looking perfect every time.
Let's break down some of the most frequent questions I hear from fellow stitchers.
"Help! Why Does My Knot Keep Pulling Through to the Back?"
Ah, the disappearing knot. This is hands-down the most common frustration, but the fix is incredibly simple. It almost always happens because you’re putting the needle back into the exact same hole you came up through. There’s just nothing for the knot to grab onto, so it slips right through.
The trick is to re-insert your needle just a hair's breadth away from your starting point—literally one or two fabric threads over. That tiny shift gives the knot a solid anchor of fabric to sit on, keeping it securely on the front of your work where it belongs.
"How Do I Get All My Knots to Be the Same Size?"
This is a great question. You might think it's about how tightly you pull the thread, but uniform knots are actually all about consistency in your setup. The size of a French knot is determined by just two things: the thickness of your thread and the number of times you wrap it.
To keep them all looking like perfect little twins:
- Stick with the same number of floss strands for every knot in a given area.
- Use the exact same number of wraps around the needle for each one. Two wraps is a fantastic, reliable standard.
A word of advice from experience: try to avoid wrapping more than three times. When you do, the knot tends to get a bit loose and can look more like a loopy blob than a neat, tight dot. If you need a bigger knot, it’s always better to use more strands of floss rather than adding more wraps.
"What's the Difference Between a French Knot and a Colonial Knot?"
At a glance, they look almost identical, but how you make them is quite different. The French knot, as you know, is a simple wrap of the thread around the needle. The colonial knot, on the other hand, involves making a little figure-eight motion with the thread around the needle.
So why choose one over the other? Many stitchers find the colonial knot is a bit tougher and holds its shape a little better, almost like a tiny, sturdy ball. This makes it a great choice for things that might get handled a lot, like embellishments on a pillow or a piece of clothing.
The French knot is often considered a bit more delicate and is perfect for adding fine texture to wall art. Honestly, it often just comes down to personal preference. It's worth learning both to see which one feels more natural for you!
Ready to turn your favorite memories into beautiful, textured art? At Cross Stitched, you can transform any photo into a custom cross-stitch kit, complete with everything you need to get started. Create your personalized kit today!


