
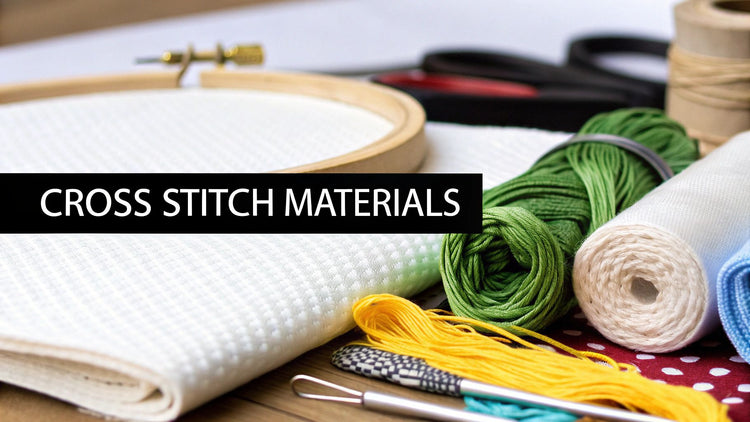
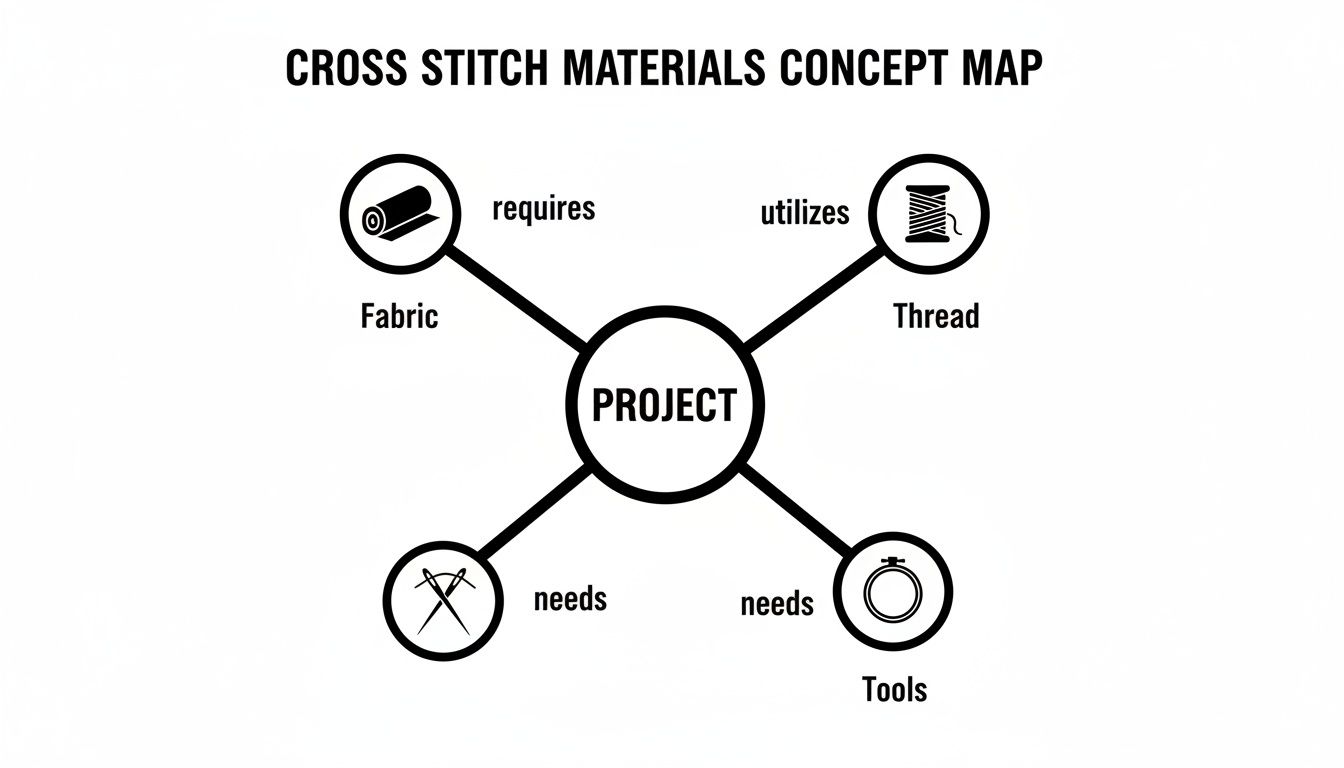
At its heart, cross stitch only requires four things: fabric, thread, a needle, and a hoop. I like to think of them as the artist's toolkit. The fabric is your canvas, the thread is your palette of paints, and the needle and hoop are your brush and easel. Everything works together to bring your masterpiece to life.
The Foundation of Your Craft
Jumping into your first cross stitch project is incredibly exciting, but walking into a craft store can feel a little intimidating with all the options available. The trick is understanding how all the pieces fit together.
It's actually a pretty simple system. The type of fabric you choose, for example, will determine the size of the needle and even how many strands of thread you'll need to use. Once you get the hang of this relationship, picking out your supplies becomes part of the fun. Having the right tools from the start is the key to creating something you're proud of, stitch by stitch.
And you're in good company! The global community of stitchers is growing all the time. The cross-stitch market was recently valued at around $150 million and is expected to grow to nearly $220 million by 2033. It's a craft with a dedicated following. If you're curious, you can dig into the market trends on Business Research Insights.
Your Core Toolkit
So, what do you really need to get started? Let's break down the absolute must-haves. Each piece of your cross stitch material has a special job to do, and getting the combination right makes the whole process smoother and more enjoyable.
Here’s what every stitcher needs:
- Fabric: This is the woven cloth that acts as your grid. The most common kind, especially for beginners, is Aida. It's a bit stiff and has a really clear, easy-to-see weave that makes finding your stitches a breeze.
- Thread: You'll also hear this called embroidery floss. It's what you use to create the colourful "X"s that form your design. The gold standard is DMC's six-strand cotton floss.
- Needle: You can't just use any old sewing needle. Cross stitch calls for a tapestry needle, which has a blunt tip designed to glide easily through the holes in the fabric without piercing the threads.
- Hoop or Frame: This handy tool is what keeps your fabric pulled tight while you work. A taut canvas is crucial for making your stitches look neat and even, and it keeps the fabric from puckering up.
Think of these materials like ingredients for a recipe. A baker knows you can't substitute salt for sugar and expect the same cake. In the same way, a stitcher carefully chooses the right fabric count, thread color, and needle size to get the exact look they're going for.
Choosing Your Canvas: A Deep Dive into Fabrics
The single most important decision you'll make for any cross-stitch project is choosing your fabric. Think of it like a painter picking out a canvas—the texture, colour, and weave are the foundation for your entire piece of art. The right fabric makes the whole process more enjoyable and gives your finished work that polished, professional look.
If you're just starting out, the sheer variety can feel a bit much. But don't worry, there's one fabric that's the undisputed champion for beginners: Aida cloth. It’s specifically designed for cross-stitch, with a brilliant, easy-to-see grid of squares that guides your needle exactly where it needs to go. This built-in structure takes all the guesswork out of placing your stitches, letting you focus on just getting into the rhythm of stitching.
As you can see, the fabric is the central pillar holding everything together, influencing your thread and tool choices.
Fabric Count Explained
When you start browsing for Aida, you'll immediately see numbers like "14-count" or "18-count." This number is the fabric count, and it simply tells you how many stitches (or squares) there are per inch. It’s a vital piece of information because it directly controls the size and detail of your finished design.
A great way to think about fabric count is to compare it to the resolution on a digital screen.
- Low Count (like 11-count or 14-count): This is your low-resolution screen. The "pixels," or in our case, the stitches, are bigger and more spread out. This is perfect for beginners because the holes are large and easy to see. The trade-off? A design stitched on 14-count Aida will come out physically larger than the same one on 18-count.
- High Count (like 18-count or 22-count): This is your 4K, high-definition display. The stitches are tiny and packed tightly together, which allows for stunningly fine detail. Experienced stitchers love high counts for intricate patterns because they create a smoother, less "pixelated" final image.
The gold standard for nearly every new stitcher is 14-count Aida. It hits that sweet spot between being easy to see and detailed enough for most patterns, making it the perfect fabric to learn on without frustration.
Graduating to Evenweave Fabrics
Once you've got a few Aida projects under your belt, you might be ready to explore evenweave fabrics. Unlike Aida's blocky grid, evenweaves like Linen and Lugana have a smooth, uniform weave with single threads running horizontally and vertically. This creates an elegant surface that gives projects a more traditional, heirloom feel.
The biggest change when working with evenweave is that you typically "stitch over two." Instead of making your 'X' in one Aida square, you'll make it over a 2x2 grid of the fabric's threads. This technique actually makes the stitch size equivalent to Aida of half the count. For example, stitching over two on 28-count linen creates stitches that are the exact same size as those on 14-count Aida!
Evenweaves are especially gorgeous for designs that leave parts of the background unstitched, allowing the beautiful texture of the fabric itself to shine through.
To help you decide, here’s a quick comparison of the most common fabrics you'll encounter. This table breaks down what each one is best for, so you can match the material to your skill level and project.
Cross Stitch Fabric Comparison
| Fabric Type | Best For | Common Counts | Key Characteristic |
|---|---|---|---|
| Aida | Beginners, full-coverage designs, kits | 11, 14, 16, 18 | Easy-to-see grid of squares for simple counting. |
| Linen | Intermediate/Advanced stitchers, heirloom pieces | 28, 32, 36, 40 | Natural, slightly irregular texture for a classic look. |
| Lugana | All skill levels, detailed work | 25, 28, 32 | A soft, smooth cotton/rayon blend with a very regular weave. |
| Waste Canvas | Stitching on non-grid items (clothing, bags) | 10, 14 | A temporary grid you remove after stitching. |
| Plastic Canvas | 3D projects, ornaments, bookmarks | 7, 10, 14 | Stiff, durable plastic that holds its shape. |
Ultimately, choosing a fabric comes down to personal preference and what your pattern calls for. Don't be afraid to experiment as you grow more confident! For a deeper dive, check out our guide on the best fabric for cross stitch to see what might work for your next piece.
Other Fabrics for Creative Stitching
Beyond the basics, there's a whole world of specialty fabrics that let you get really creative. These materials are your ticket to taking cross-stitch off the hoop and onto just about any surface you can imagine.
- Waste Canvas: Ever wanted to put a cool design on a denim jacket or a canvas tote bag? Waste canvas is your secret weapon. You tack this gridded canvas onto your item, stitch through it and the fabric underneath, and then—the magic part—you wet it and pull the threads out. All that's left is your perfect stitching.
- Plastic Canvas: This is a stiff, gridded sheet of plastic that's perfect for making 3D and functional items. Think sturdy Christmas ornaments, coasters, or bookmarks that won't fray or bend. It’s a fantastic choice for projects that need to be durable.
Painting with Thread: A Guide to Floss and Fibers
If your fabric is the canvas, then the thread is the paint. It’s what brings your design to life with color, texture, and personality. And just like a painter has a whole palette of options—oils, watercolors, acrylics—a stitcher has a fascinating world of fibers to explore.
By far, the most common thread you'll run into is six-strand cotton embroidery floss. Brands like DMC and Anchor are the gold standard, offering hundreds of colors that are used in patterns all over the world. This floss is designed to be split apart, so you can choose just how thick you want your stitches to be.

Mastering Six-Strand Cotton Floss
Each little bundle, or skein, of cotton floss is made of six tiny strands that are loosely twisted together. The number of strands you use depends entirely on your fabric and the look you’re going for. Getting this right is the key to achieving good coverage—that sweet spot where your stitches look full and solid, but not so bulky that they get distorted.
Here’s a simple cheat sheet for how many strands to use with Aida fabric:
- 11-Count Aida: Go with 3 strands for a really lush, full stitch.
- 14-Count Aida: Use 2 strands. This is the most popular combination for a reason—it’s just right.
- 16-Count Aida: Stick with 2 strands for a neat, classic finish.
- 18-Count Aida: You have a choice here. Use 1 strand for delicate, fine details, or 2 strands for a bolder look.
To separate your strands without creating a knotted mess, hold the end of the floss in one hand. With the other, pinch a single strand and pull it straight up and out. The other strands will bunch up for a second, but they won't tangle. Just repeat for each strand you need, then put them back together before threading your needle. It's a simple trick that keeps your stitches lying flat and smooth.
Think of it like combing hair before you braid it. You separate the strands first so they can come back together smoothly. Doing this with your floss prevents tangles and gives your finished stitches a much more uniform, professional look.
Exploring the World of Specialty Fibers
Once you've gotten the hang of standard cotton, a whole new world of creative possibility opens up with specialty fibers. These are the threads that add that extra "wow" factor, bringing in shimmer, unique textures, and cool color effects that you just can't get with cotton.
There are tons of different types out there, and you can dive deeper into the various kinds of embroidery floss for cross stitch in our other guide. For now, here are a few popular options to get your imagination going.
Satin and Rayon Floss
Want a brilliant, high-gloss shine? Grab some satin floss. It’s made from rayon and reflects light beautifully, making it perfect for stitching water, shiny metal, or silky clothes. A word of warning: it's slippery and can be a bit tricky to handle. To avoid frustration, use shorter lengths and consider a thread conditioner to tame it.
Metallic Threads
For that touch of holiday sparkle or a bit of magic in a fantasy piece, nothing beats metallic thread. It's fantastic for adding glamour and catching the eye. Like satin floss, it has a reputation for fraying and tangling. The secret is to stitch slowly and maybe even use a slightly larger needle to make things easier on yourself.
Variegated Floss
This stuff is so cool. Variegated floss is a single thread that’s been dyed with several different colors along its length. As you stitch, the colors shift and blend on their own, creating a gorgeous, organic effect without you having to change your thread. It works wonders on things like flower petals, autumn leaves, and water, where you want a natural flow of tones.
Silk Fibers
For the ultimate touch of luxury, stitchers often turn to silk. Silk fibers have a soft, natural luster that’s more subtle than satin, giving your work an unmatched elegance. It’s definitely more of an investment, but silk is surprisingly strong and an absolute joy to stitch with. It’s the perfect choice for those special, heirloom-quality projects you want to be treasured for years to come.
The Unsung Heroes: Needles, Hoops, and Other Essentials
It's easy to get excited about the rainbow of threads and the crisp feel of new fabric, but let's talk about the tools that do the real heavy lifting. Your needle, hoop, and other accessories are the unsung heroes of your cross-stitch project. They're the support crew working behind the scenes, and the right ones make the difference between a frustrating mess and a relaxing, rewarding experience.
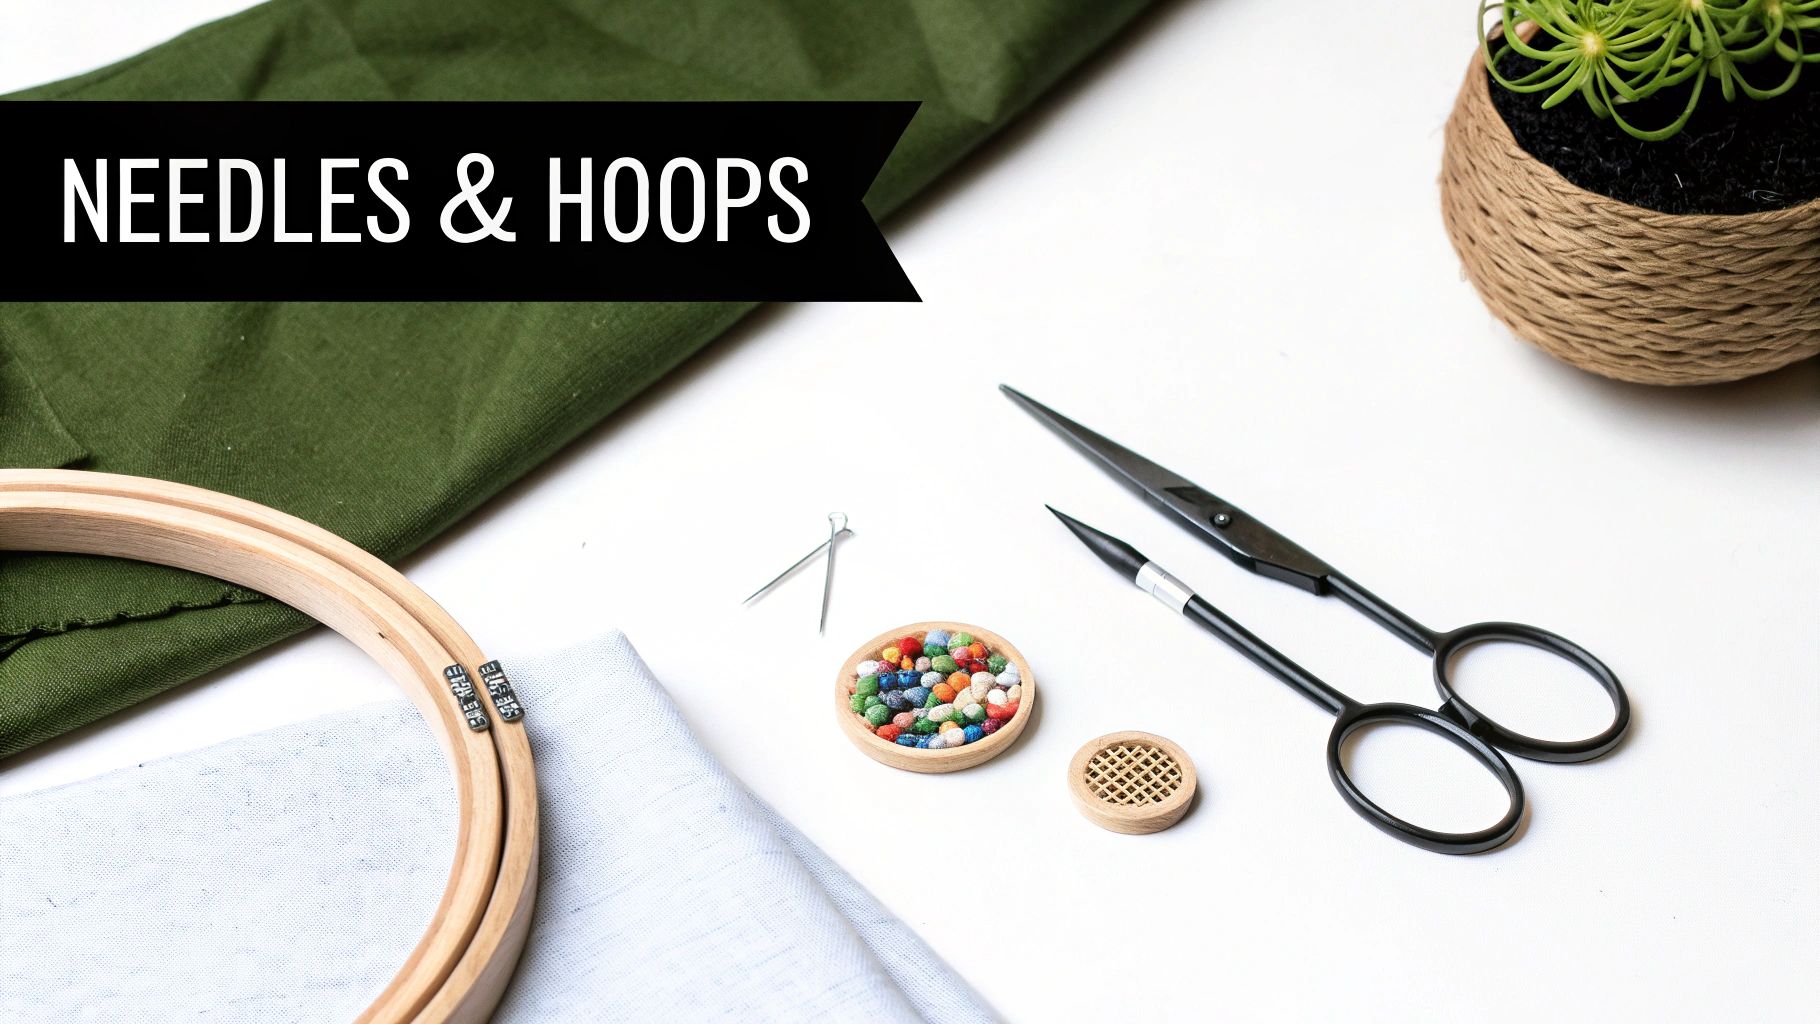
Honestly, having the right supporting gear is a game-changer. It helps you create those neat, plump stitches you're aiming for. Stitching without them is like trying to paint a masterpiece with a cheap, frayed brush—you might get there, but the journey will be a struggle and the result won't be as clean.
Choosing the Perfect Needle
Your needle is easily the most important tool in your kit. For cross stitch, you specifically want a tapestry needle. These are special for two reasons: they have a large eye that makes threading floss much less of a headache, and they have a blunt, rounded tip. That blunt tip is everything. It's designed to slip right through the existing holes in your fabric, not pierce the threads themselves.
Getting the needle size right for your fabric count is critical. It ensures the needle glides through smoothly, making a hole just big enough for the thread without stretching or distorting the fabric's weave.
- For 14-count Aida, a size 24 tapestry needle is your go-to.
- For 16-count and 18-count Aida, you'll want to size down to a 26 needle.
When you have the right needle, you barely feel it going through the fabric. If you find yourself pushing or pulling, your needle is probably too big for your fabric count. This can warp the weave and make your stitches look sloppy.
Keeping Your Fabric Taut
The secret to perfectly even stitches and a project that lies flat when you're done? Consistent tension. That's where hoops and frames come in. Think of them as a little easel for your fabric, holding it tight and secure so you can concentrate on stitching. Different types work better for different projects and stitchers.
A classic wooden or plastic embroidery hoop is what most people start with. They’re cheap, easy to find, and perfect for smaller projects. The only downside is that they can leave creases if you leave your project in them for too long between sessions.
For bigger pieces, many stitchers swear by Q-Snaps or scroll frames. A Q-Snap is a square frame made of PVC pipes with clamps that grip the fabric from all sides, providing fantastic tension without the creasing. Scroll frames are the best choice for massive, full-coverage projects. They keep the whole piece taut while letting you roll up finished sections to keep them clean. Want to see what else is out there? Check out our guide to essential cross stitch accessories.
Small Tools That Make a Big Impact
Beyond the basics, a few little gadgets can seriously improve your stitching flow. They might seem like novelties at first, but they solve some of the most common annoyances of the craft.
- Embroidery Scissors: A tiny, sharp pair of scissors with a fine point is non-negotiable for snipping threads cleanly right against the fabric.
- Needle Minder: This is a cute little magnet that sits on your fabric. It gives you a safe place to park your needle when you pause, saving you from the dreaded "lost needle in the sofa cushion" search.
- Floss Organizer: Whether you use simple cardboard bobbins or a fancy storage box, getting your floss organized prevents tangled nightmares and makes finding the next color a total breeze.
How to Select the Right Materials for Any Project
Understanding what Aida, linen, and DMC floss are is one thing, but knowing how to combine them for a specific project is where the real skill comes in. It can feel like you're a chef trying to find the perfect ingredients for a new recipe. Let's break down how to confidently assemble the perfect setup for any pattern you're excited to start.
Every cross stitch pattern worth its salt comes with a "shopping list." Think of it as the designer's notes, telling you exactly what they used. This key will specify the fabric type and count, list all the floss colors by their brand and number (like DMC 310 for classic black), and tell you how many strands of thread to use for your stitches. Learning to read this key is the first step toward a beautiful finished piece.
The demand for easy-to-follow patterns has skyrocketed, with the needlecraft pattern market ballooning to over $650 million recently. This boom is largely thanks to digital downloads and all-in-one kits that take the guesswork out of gathering supplies. For a deeper dive, you can check out a detailed market analysis from OpenPR.
Matching Materials to Your Project
Let's walk through a few common scenarios. The logic you'd use for a tiny beginner's ornament is completely different from what's needed for a massive, full-coverage tapestry.
Scenario 1: The Beginner Project
If you're just starting out with a simple, small design, the name of the game is ease and building confidence. You want a win, not a headache.
- Fabric: 14-count Aida is the gold standard for a reason. The grid is large and clear, making it easy to see the holes and count your stitches. Stick to a light color like white or oatmeal for the best visibility.
- Thread: Using 2 strands of DMC cotton floss will give your stitches a nice, full look without being too bulky on this fabric count. It's the default for most patterns.
- Hoop: A simple 5" or 6" wooden hoop is all you need. It's light enough to hold for long periods and keeps the small stitching area perfectly taut.
Scenario 2: The Large, Full-Coverage Piece
Now, picture a huge, photorealistic piece where every single square of the fabric will be covered in stitches. Here, your choices are all about detail and managing a massive project.
- Fabric: Most stitchers will opt for 18-count or even 22-count Aida. The higher the count, the smaller your stitches, which results in a much more detailed, less "pixelated" final image.
- Thread: With smaller squares, you need less thread. Often, just 1 strand of floss is used on these higher-count fabrics. Using two strands would create bulky, crowded stitches that could warp the fabric.
- Frame: A little handheld hoop just won't do. For a project this size, a scroll frame is practically essential. It helps you manage all that extra fabric, keeps the tension even across the entire piece, and protects the stitches you've already completed.
Scenario 3: Stitching on Dark Fabric
There's something so striking about bright colors stitched on a black or navy background. But this dramatic effect requires a few clever adjustments.
- Fabric: Black 14-count Aida is a popular choice for this style. The biggest challenge? Seeing those tiny holes.
- Lighting: This isn't technically a material, but it's non-negotiable. A good craft light or, even better, a light pad that you can place behind your fabric will make the holes magically appear.
- Needle: A slightly larger needle, or one with a gold-plated eye, can be a lifesaver. It’s simply easier to see and thread against the dark fabric.
The main takeaway here is that your material selection is a strategic choice. The fabric count directly impacts the final size and detail of your work, while your tools should match the project's scale to keep you stitching comfortably.
To make things even clearer, here’s a quick-reference table to guide your choices.
Material Selection Guide by Project Type
This table helps you quickly match the right materials to what you're stitching.
| Project Type / Skill Level | Recommended Fabric | Recommended Thread Count | Best Hoop/Frame |
|---|---|---|---|
| Beginner Project | 14-count Aida | 2 strands | 5"- 6" Wooden Hoop |
| Small Ornaments | 16-count Aida | 2 strands | 4" Hoop |
| Pillows/Tote Bags | 11 or 14-count Aida | 2-3 strands | 8" Hoop or Q-Snap |
| Detailed Heirloom | 28 or 32-count Linen | 1 or 2 strands (over 2 threads) | Q-Snap or Scroll Frame |
| Full-Coverage Art | 18 or 22-count Aida | 1 strand | Scroll Frame |
Think of this table as a starting point. As you gain more experience, you'll develop your own preferences, but this is a solid foundation to build on.
The Ultimate Shortcut: Cross Stitch Kits
Feeling a bit overwhelmed by all the options? That's completely normal, and it's precisely why cross stitch kits are so popular. They are the perfect, stress-free way to dive into a project because an expert has already made all the tough decisions for you.
A good kit completely removes the guesswork. It comes with the right-sized piece of fabric, all the floss pre-sorted and labeled, and the correct type of needle. For anyone new to the craft, it’s a fantastic way to start stitching right away without ever setting foot in a craft store.
Even seasoned stitchers love kits for a quick and relaxing project between larger pieces. Here at Cross Stitched, our personalized kits take that convenience one step further. We turn your own photos into a complete package with every cross stitch material you need, guaranteeing you have everything on hand for a flawless start to a truly meaningful project.
Answering Your Top Cross Stitch Questions
As you get deeper into the world of cross stitch, you'll naturally start to have questions. This is a great sign! It means you're really thinking about your craft and are ready to take your skills to the next level. I've gathered some of the most common questions I hear from both new and experienced stitchers, with practical answers to help you out.
Think of this as your go-to reference. Whether you're wondering how to care for a finished masterpiece or trying to make sense of a tricky instruction, these answers should give you the confidence to keep your project moving forward smoothly.
How Do I Wash My Finished Cross Stitch Piece?
It’s completely normal to feel a little nervous about washing your project after you've poured so many hours into it. But don't worry—it’s a simple and safe process if you're gentle. Washing gets rid of any oils from your hands, dust, and those pesky hoop marks, leaving your work looking bright, fresh, and professional.
Here's how to do it right:
- Find a clean sink or basin and fill it with cool or lukewarm water. Add just a few drops of a very mild, clear soap. A gentle dish soap or a dedicated quilt wash works perfectly.
- Gently place your cross stitch in the water and let it soak for about 15-20 minutes. Whatever you do, don't scrub or wring it out! That’s a surefire way to damage the stitches.
- Rinse it thoroughly under cool, running water until all the soap is gone and the water runs clear.
- Lay the wet piece flat on a thick, clean towel. Roll the towel up with your project nestled inside and press gently to soak up the excess water.
- Finally, unroll it and lay it flat on a fresh, dry towel to air dry completely. To get rid of any stubborn creases, you can iron it on a low setting from the back while it's still slightly damp. Just be sure to place another clean cloth between the iron and your stitches to protect them.
What Does "Stitching Over Two" Mean?
When you graduate from Aida to evenweave fabrics like linen or Lugana, you'll almost certainly see the instruction "stitch over two." It might sound complicated, but it's a straightforward technique that gives these fabrics their famously delicate, refined look.
On Aida, you simply make your 'X' inside one of the clearly defined squares. Evenweave, on the other hand, doesn't have those squares—just a grid of single threads. "Stitching over two" just means you create your 'X' over a 2x2 block of these threads. You'll go over two threads horizontally and two threads vertically.
The key takeaway here is that this creates a stitch that’s the exact same size as one on Aida of half the count. For example, stitching over two on 28-count linen gives you a finished design that's identical in size to one stitched on 14-count Aida. This handy trick lets you use all your favorite patterns on more elegant fabrics without doing any complicated math.
How Many Strands of Floss Should I Use?
This is probably the most-asked question in the entire cross stitch universe! The answer always comes down to two things: your fabric count and the "coverage" you're after (basically, how full you want your stitches to look). Using the wrong number of strands can make your stitches look thin and gappy or, on the flip side, bulky and crowded.
Here's a reliable guide for the most common fabric counts:
- 14-Count Aida / 28-Count Linen (over two): 2 strands is the gold standard. It provides beautiful, full coverage without being too thick.
- 16-Count Aida / 32-Count Linen (over two): Again, 2 strands is the most popular choice for a neat, classic finish.
- 18-Count Aida: You have a choice here. 2 strands will give you very full, bold coverage, while using just 1 strand creates a much more delicate, detailed effect, almost like petit point.
- 11-Count Aida: You'll want to use 3 strands here to make sure the stitches look lush and don't show too much fabric through the gaps.
If you're ever in doubt, just stitch a tiny test patch in the corner of your fabric. It’s the best way to see which look you prefer before you commit to the whole project.
Can I Substitute Floss Colors or Brands?
Absolutely! Making a project your own is one of the best parts of cross stitch. That said, it’s best to do it with a little planning. Most patterns are designed using DMC floss, which has long been the industry standard.
If you want to use a different brand like Anchor, you'll need a conversion chart. You can find plenty of them online, and they'll give you the closest possible color match. Just keep in mind that dye lots can vary between brands, so the match might not be 100% perfect.
If you're swapping out colors to match your home decor or just because you feel like it, the best approach is to pull all your chosen skeins and lay them out together. This lets you see how they all look in natural light and make sure you've created a color palette you love before you start a single stitch.
We've covered some of the most common hurdles stitchers face, but you might still have a few more questions. Here are some quick answers to other frequent queries.
| Frequently Asked Questions | |
|---|---|
| Question | Answer |
| Why is my thread twisting and knotting? | This usually happens because of the natural twist of the floss. Try letting your needle and thread dangle freely every few stitches to let it unwind. Using a thread conditioner like Thread Heaven or beeswax can also work wonders. |
| What's the best way to start and end my thread? | Many stitchers prefer the "loop start" for an ultra-neat beginning when using an even number of strands. To finish, run your needle under the back of the last few stitches to secure the thread before snipping it. Avoid using knots, as they can create bumps on the front of your work. |
| How do I read a cross stitch chart? | Each square on the chart's grid corresponds to one cross stitch on your fabric. The symbol inside the square tells you which color floss to use. The chart will have a key or legend that matches each symbol to a specific floss number (e.g., DMC 310). |
| My fabric is fraying at the edges. How can I stop it? | Fraying is super common! You can run a line of masking tape along the edges, use a sewing machine to do a simple zig-zag stitch, or apply a liquid seam sealant like Fray Check. |
Hopefully, these tips help you feel even more confident as you continue your cross stitch journey.
Ready to skip the material selection process and dive straight into creating a masterpiece? Cross Stitched transforms your favorite photos into beautiful, personalized cross stitch kits. We provide every piece of high-quality cross stitch material you need—from the perfectly sized Aida fabric to all the pre-sorted DMC threads—so you can start stitching your cherished memories right away. Create your custom kit today.


