
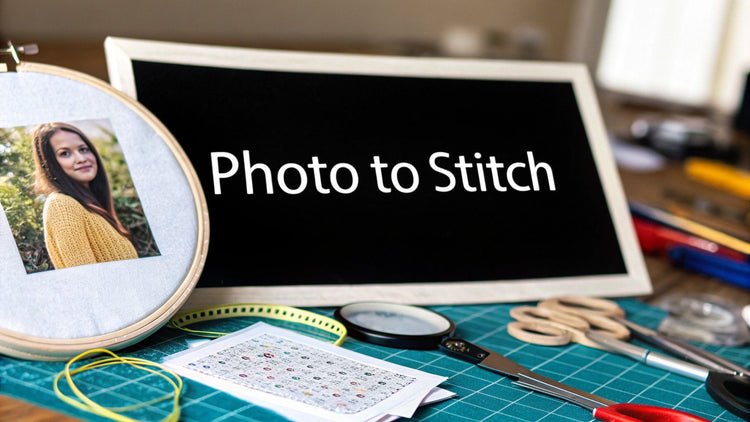
Have you ever looked at a favorite photo and wished you could capture that memory in a more tangible, lasting way? That's exactly what this guide is all about: transforming your treasured digital images into beautiful, hand-stitched cross stitch from photographs. We'll walk through the entire process, from choosing the perfect picture to making that very last stitch.
Turn Cherished Memories Into Timeless Art
Creating a cross-stitch piece from a photograph is an incredibly personal way to bring your favorite moments to life. You're not just copying a pattern; you're immortalizing a memory, turning a simple digital file into a true family heirloom. It's a fantastic blend of modern tech and traditional handicraft, letting you stitch anything from a beloved pet's goofy grin to a breathtaking vacation landscape.
This guide is designed to give you the confidence to dive into your first photo-based project. We'll cover what makes a good candidate for a pattern, how software makes the conversion process a breeze, and the essential supplies you'll need to get started.
From Grids to Grand Portraits
The idea of stitching a photograph is a fairly new development in the long history of this craft. For centuries, stitchers followed pre-made patterns, but today's technology has completely changed the game. Think back to the early 1800s—the introduction of Berlin wool work, with its colored patterns printed on grids, was a huge leap forward for artistic needlework.
Now, anyone can create a personal masterpiece right from their own camera roll. The process is more accessible than ever, giving you full creative control over the final piece.
This craft is about more than just stitching; it's about preserving a feeling. Each thread you pull through the fabric is a connection to the memory captured in the original photograph, making the finished piece uniquely meaningful.
This personal touch makes for truly one-of-a-kind gifts and home decor. Just like you can find meaningful personalized family jewelry ideas, a custom cross-stitch portrait offers a tangible way to celebrate family and friendship. You can even take it a step further by adding a name or date. If you're new to lettering, check out our guide on how to embroider a name for some helpful tips.
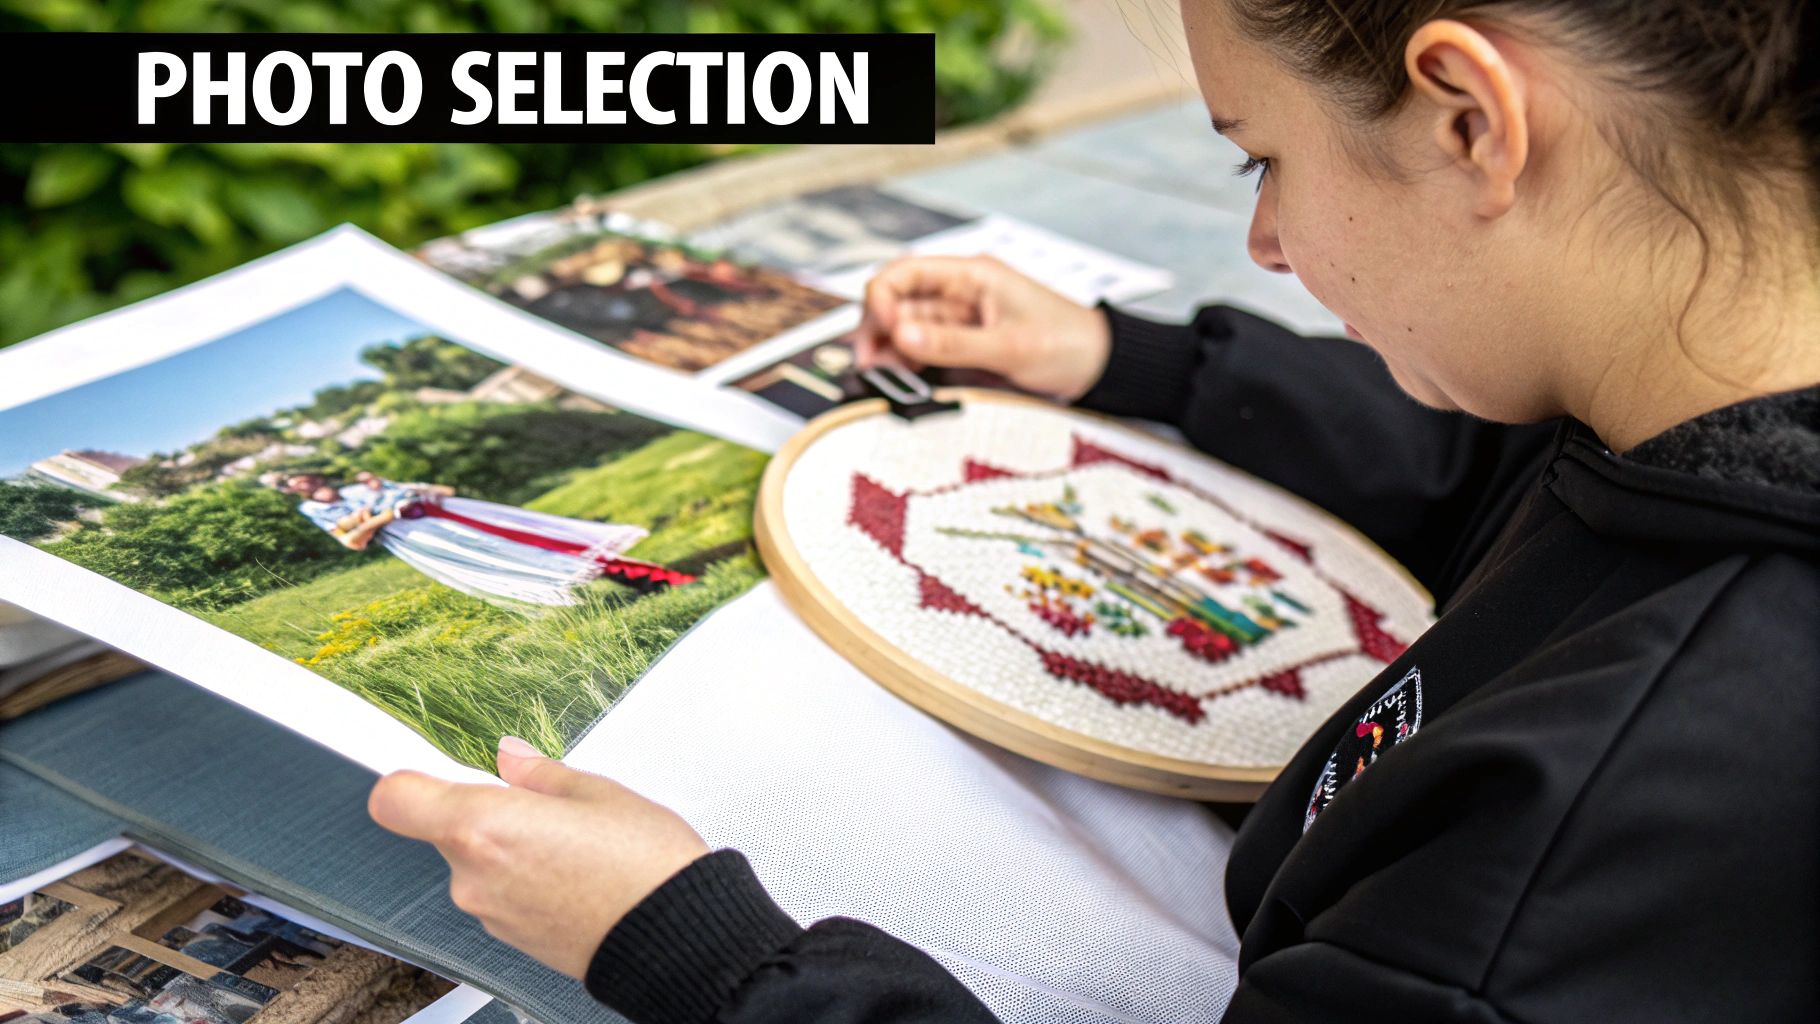
Choosing a Photo That Will Translate Beautifully
Let's be honest, not every snapshot is destined to become a great cross-stitch pattern. The secret to a stunning cross stitch from photographs starts way before you even think about threading a needle—it's all in the photo you choose. A fantastic picture doesn't always make for a fantastic stitchable design, so learning to see your photos with a stitcher's eye is the most important first step.
Think of it this way: every single stitch you make is like a tiny pixel. If the details in your original photo are fuzzy or muddled, your finished piece will look that way, too. This is why working with high-resolution digital files is non-negotiable. Grabbing a low-quality, pixelated image from social media just won't give the software enough information to create a crisp, detailed chart.
Focus on Contrast and Clarity
The best patterns almost always come from photos with really strong contrast—obvious differences between the light and dark areas. It's this contrast that defines shapes and brings out features, which is critical when a limited palette of thread has to do all the work.
For instance, a portrait with dramatic lighting hitting one side of the face will convert much better than a photo taken in the flat, harsh light of midday. Those natural shadows and highlights create contours that the pattern-making software can easily map to different thread colors.
A common pitfall is picking a photo purely for its emotional value and ignoring its technical quality. That cherished but blurry group photo might seem like a great idea, but it will likely turn into a frustrating project full of indistinct "blobs" of color. Always put clarity first for a project you'll actually enjoy stitching.
Simplify the Subject and Background
Especially when you're just starting, simple compositions are your best friend. A single, clear subject against an uncomplicated or out-of-focus background is the gold standard. A classic pet portrait is a perfect example: your furry friend is the star, not the cluttered living room behind them.
Here are a few things I always look for in a good candidate photo:
- A Clear Focal Point: Does your eye know exactly where to land? The main subject—be it a person, a pet, or a building—needs to be sharp and well-defined.
- Uncomplicated Backgrounds: Busy backgrounds packed with little details, like a dense forest or a crowd of people, are notorious for creating "confetti" stitches. These are single, scattered stitches of color that are a real pain to work. A simple sky, a plain wall, or a blurred field is a much better choice.
- Good Lighting: Steer clear of photos that are too dark (underexposed) or blown out (overexposed). If detail is lost in the shadows or highlights of the original photo, there's no way to get it back in the pattern.
Let's say you have two photos of your dog. One is of him sitting on a green lawn, and the other is him playing in a huge pile of colorful autumn leaves. The first photo is a much stronger choice. The distinct shapes and simple fields of color will produce a cleaner, more satisfying pattern to stitch. Taking a moment to evaluate your photos with this critical eye is the best way to make sure you're pouring your time into a project that's set up for success from the very beginning.
Converting Your Image Into a Stitchable Pattern
This is where the magic really starts to happen. You’ve got your perfect photo, and now it’s time to transform it from a digital file into a chart you can actually stitch. Thankfully, there are some fantastic software programs and online tools that do the heavy lifting, translating pixels into a grid of colored symbols. Think of this software as your personal pattern designer.
Let's imagine you're working with a treasured photo—maybe a candid shot of your dog playing in a field of wildflowers. The image is full of life, with your dog's multi-toned fur, bright green grass, and pops of yellow and purple from the flowers. It’s a complex image, but a good pattern generator can handle it with your guidance.
Dialing in the Perfect Settings
Once you upload your image, you'll be presented with a few crucial choices. These aren't just technical settings; they're the creative levers you pull to define the final look, complexity, and even the size of your project. Getting these right is key to creating a pattern you'll love stitching.
You’ll want to pay close attention to a few things:
- Final Dimensions: How big do you want the finished piece to be? You can usually set this in either inches or stitch count. A larger piece will capture more detail from your photo, but be realistic about the time commitment.
- Fabric Count: This setting works hand-in-hand with the dimensions. If you stitch the same pattern on 14-count Aida (which has 14 stitches per inch), it will turn out much larger than on 18-count Aida. Higher-count fabrics give you a more detailed, less "pixelated" look.
- Number of Colors: This one is a real balancing act. Using more colors will give you a photorealistic finish with smooth gradients, but it also means buying a lot more floss and constantly changing your needle. A detailed photo pattern can easily require 50 or more colors.
Going back to our dog photo, if you cut the color count too drastically, the subtle shading in his fur might disappear, leaving you with flat, blocky patches. On the other hand, using 100 colors might introduce five shades of brown that are almost indistinguishable, adding a ton of extra work for very little visual payoff. I usually start with around 40-50 colors and see how the preview looks, then tweak from there. If you want to get really good at this, brushing up on a practical guide to color theory for artists can make a world of difference.
There are many great tools out there to help you generate a pattern. Here’s a quick look at a few popular options to help you decide which one might be right for your project.
Software and Online Tool Comparison
| Tool Name | Type (Software/Online) | Key Features | Best For |
|---|---|---|---|
| PCStitch | Software (PC) | Advanced editing, custom symbols, multiple chart formats. | Serious stitchers wanting maximum control and customization. |
| MacStitch/WinStitch | Software (Mac/PC) | Similar to PCStitch with a strong feature set for detailed editing. | Mac users or those looking for a robust PCStitch alternative. |
| Pixel-Stitch.net | Online Tool | Free, easy to use, quick conversion process. | Beginners or anyone wanting a fast, no-frills pattern generation. |
| Thread-Bare.com | Online Tool | Highly customizable, good confetti control, multiple floss brands. | Stitchers who want more control than basic online tools offer. |
Each of these tools can get the job done, but the paid software options generally offer more power to fine-tune the final pattern. For a first project, a free online tool is a great way to get started without any commitment.
Managing Confetti and Creating a Clean Chart
A common headache when you cross stitch from photographs is something stitchers call "confetti." These are single, isolated stitches of one color surrounded by totally different colors, like tiny sprinkles. While they can add a bit of detail, a chart full of them is a nightmare to stitch and can make the back of your work very messy.
Most pattern-making software has a feature to reduce or "smooth out" these confetti stitches. This function intelligently groups similar colors, creating larger, more manageable blocks of color. It's a small adjustment that can dramatically improve your stitching experience without sacrificing much detail.

This image gives you a great visual of how the software thinks, mapping your photo onto the fabric grid and translating each color into a specific floss code.
Once you’re happy with all your settings, the program will generate your pattern. You’ll typically get a downloadable PDF with a multi-page symbol chart, a color key listing the exact DMC or Anchor thread numbers you need, and often an estimate of how much floss to buy. If you want a more detailed breakdown of this whole process, you can find out more about how to turn a picture into a cross stitch pattern on our blog.
Gathering the Right Cross Stitch Supplies

Alright, you've got your custom pattern in hand. Now for the fun part: pulling together all the materials you'll need to bring it to life. When you’re working on a cross stitch from photographs, you’re often dealing with a huge piece of fabric and tons of different colors. The right supplies won’t just make the process smoother; they’ll make it genuinely enjoyable.
Think of the fabric as your canvas. The two main players here are Aida cloth and evenweave. Aida is a fantastic starting point for most people because its grid of holes is so easy to see, which helps you get those stitches nice and uniform. If you’re a bit more experienced or want a less “blocky” look for your finished piece, evenweave is a beautiful choice with a smoother finish. Your pattern should tell you what fabric count to use (like 14-count or 18-count), which directly affects the final size of your project.
Wrangling Your Mountain of Floss
A detailed photo pattern can easily call for 50+ different shades of embroidery floss. Trust me, organization is your best friend here. There’s nothing more frustrating than stopping your flow to dig through a tangled nest of thread for one specific color.
My personal system? I wind every skein onto a plastic or cardboard bobbin and write the DMC or Anchor number right on it. Then, they all go into a clear organizer box, lined up by number. It makes grabbing the next color a breeze.
Pro Tip: When you buy your floss, get all of it for the entire project at once. Floss is dyed in batches, or "dye lots," and the colors can vary slightly from one batch to the next. Buying it all upfront is the only way to guarantee your colors will be perfectly consistent.
The Tools That Make a Real Difference
Beyond just fabric and floss, a few other items can be lifesavers, especially on a big, complex project. You don't need everything, but these tools can seriously upgrade your stitching experience.
- Needles: You'll want tapestry needles. I always keep a few different sizes in my kit. A size 24 is my go-to for 14-count Aida, but for higher-count fabrics, I’ll switch to a smaller size 26 or 28 to avoid stretching the holes.
- Hoops or Frames: Keeping your fabric pulled tight is the secret to even, neat stitches. A good hoop is fine for smaller pieces, but for a really large project, I highly recommend a Q-Snap frame. They hold a ton of fabric securely and don't leave those stubborn "hoop burn" marks.
- Good Lighting: This is non-negotiable. A decent task lamp or a magnifying light makes a world of difference, especially if you’re stitching on dark fabric or late at night. Your eyes will thank you.
It's amazing to think about how this craft has evolved. The earliest known British sampler, stitched by Jane Bostocke way back in 1598, wasn't just simple X's. It featured complex backstitching and French knots, showing just how artistic the craft was even then. If you’re a history nerd like me, you can explore more about the history of cross stitch and its evolution and see just how far things have come. Getting your supplies ready is just the first step in a very old and beautiful tradition.
Stitching Strategies for Complex Photo Patterns
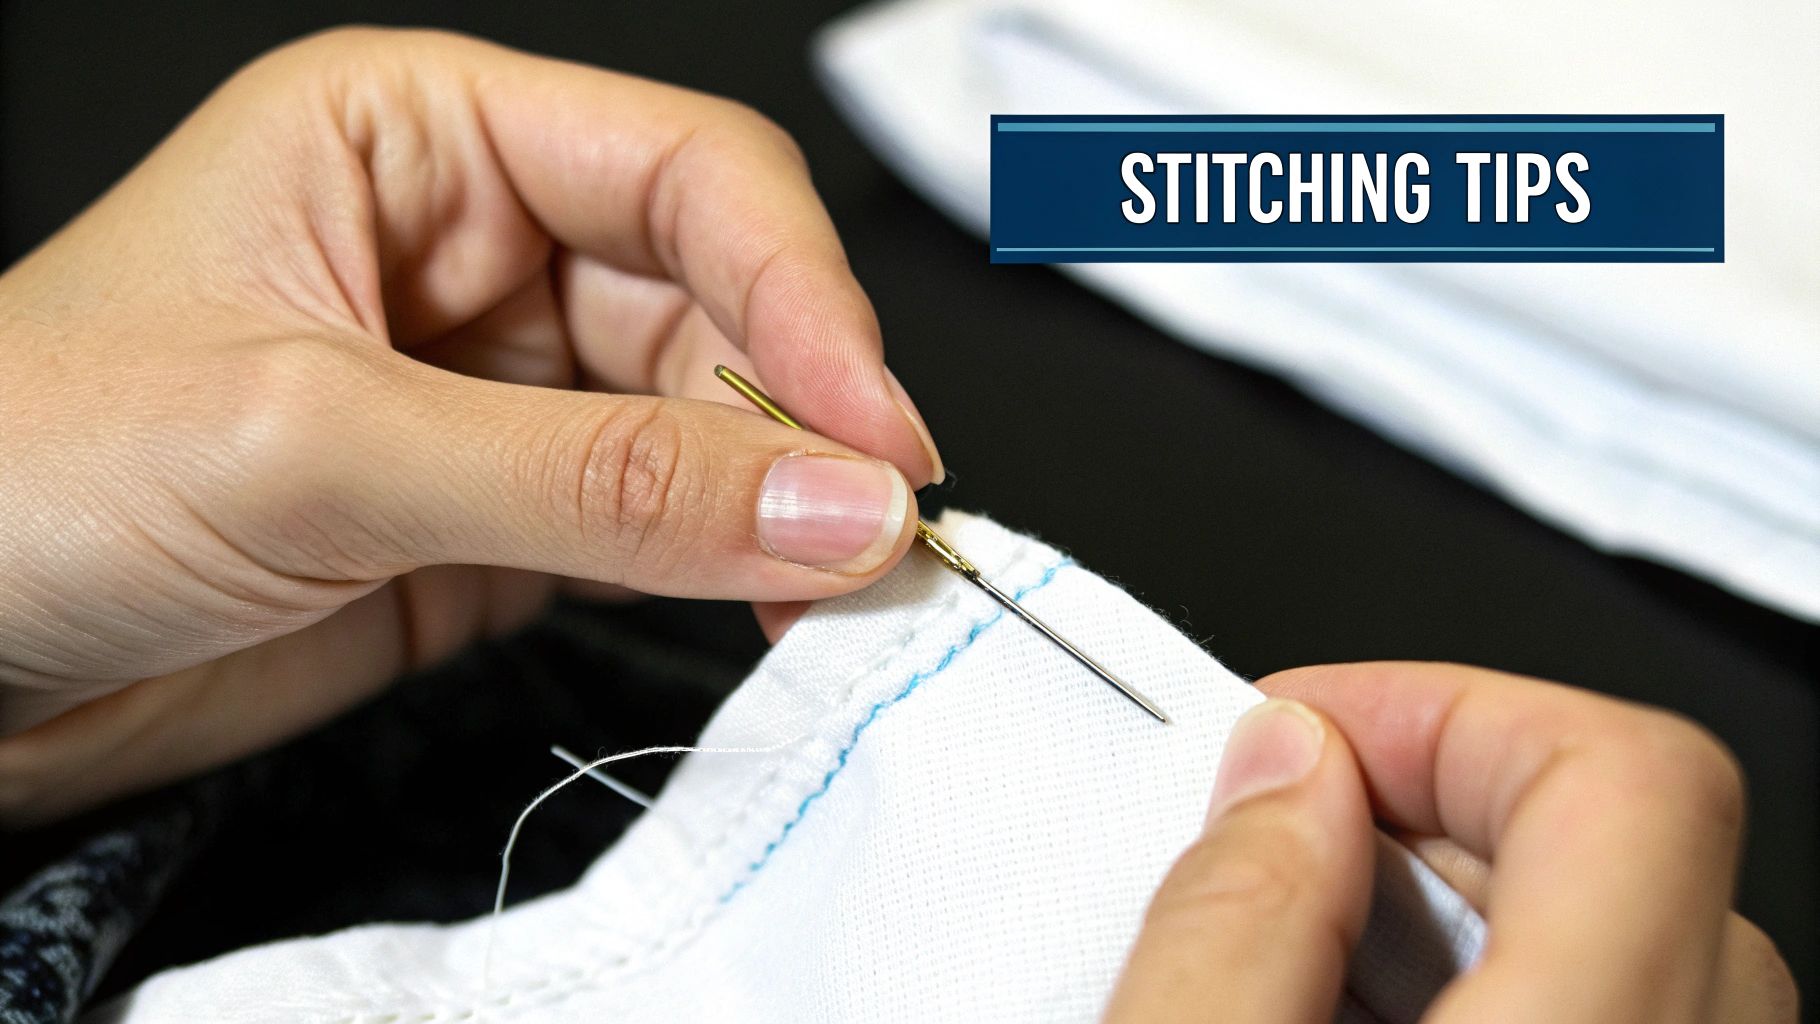
Alright, you’ve got your supplies laid out and your freshly printed pattern in hand. This is where the magic really starts. Looking at a huge, detailed chart from a photo can feel a little intimidating, but don't worry. A couple of smart strategies can make the whole process feel manageable and, most importantly, fun.
The first thing you need to figure out is where to even begin. For any project you want to frame, starting in the dead center is non-negotiable. It’s the only way to guarantee your design won’t be lopsided. Just fold your fabric in half one way, then fold it in half the other way. The point where those creases intersect is your exact center. I usually mark it with a pin or a little dot from a water-soluble marker. Now, find the center on your pattern—most designers mark it with arrows—and that’s your starting block.
Finding Your Stitching Rhythm
When you cross stitch from photographs, you’ll notice the patterns are full of what we call "confetti"—scattered, single stitches of different colors. The way you decide to tackle these areas will make or break your stitching experience. Most stitchers fall into one of two camps.
Some people swear by the "cross-country" method. This is where you stitch all of one color within a large section before switching to the next. It works beautifully for designs with big, solid blocks of color because you see progress quickly. But for a photo pattern? It can lead to a ton of tedious counting and a higher chance of making a mistake.
For photo conversions, my go-to is the "parking" method. With this technique, you focus on a small section at a time, usually a 10x10 grid. You complete every stitch of every color within that tiny square. When you're done with a color, you don’t cut the floss. Instead, you bring the needle up in the next spot where that same color appears and just let it hang, or "park" it, on the front of your work until you need it again.
The parking method can look like total chaos at first with all the threads dangling, but it’s a lifesaver. It seriously cuts down on counting errors and keeps the back of your project from turning into a tangled mess of "thread spaghetti." For patterns with a lot of color changes, it’s a game-changer.
Taming Your Thread and Conquering Confetti
Photographic patterns are notorious for confetti stitches. These are the single, isolated stitches that give your piece incredible detail but can be a real pain to work. If you stitch them one at a time, you’ll spend half your life starting and stopping threads, and the back of your fabric will get lumpy and prone to knots.
A much better approach is to tackle them in small groups. Look at a single 10x10 grid on your chart and find all the stitches of one specific color. Do all of those before moving on to the next color in that same small area. This way, you’re grouping your starts and stops together, which keeps the back of your work much neater.
Here are a few more tips I’ve learned over the years to keep things running smoothly:
- Thread Length: Stick to a manageable length of thread—about 18 inches is perfect. Go any longer, and you're just asking for frustrating tangles.
- Knot Prevention: Every few stitches, just let your needle and thread dangle. This allows the floss to untwist itself, which is the main reason knots form in the first place.
- Even Tension: This is the secret to a professional-looking finish. Your goal is consistent tension on every single stitch. Don't pull so tight that the fabric puckers, but don't leave them so loose that they look sloppy. You want each "X" to lie flat and smooth, creating a beautiful, uniform texture.
At the end of the day, stitching a complex photo pattern is a marathon, not a sprint. By finding your starting point, picking a stitching method that clicks for you, and managing your thread like a pro, you can turn a huge, overwhelming chart into a series of small, satisfying wins.
Getting Your Custom Artwork Ready for Its Debut
https://www.youtube.com/embed/F_lEk-sa9qg
That final stitch is in, the last thread is tied off, and it's time to take a step back and admire what you've created. Seriously, give yourself a pat on the back! You've taken a cherished photograph and transformed it into a real, tangible piece of art, which is no small feat.
But hold on just a second before you race to hang it on the wall. A few simple finishing touches are all that stand between a nice project and a stunning, polished masterpiece.
First things first: your piece needs a gentle bath. Think about it—over all those hours of stitching, natural oils from your hands, a bit of dust, and maybe even a stray pet hair or two have found their way onto the fabric. A quick, careful wash will not only clean it but will also work wonders on any stubborn hoop marks or creases.
Prepping for Display: The Wash and Press
To start, grab a clean sink or basin and fill it with lukewarm water. Add just a tiny bit of a gentle, dye-free soap or a specially-formulated quilt wash. Let your cross stitch take a little soak for about 15-20 minutes. You can gently swish it around, but whatever you do, don't scrub or wring it out. That's a surefire way to distort your beautiful, even stitches.
Once it's soaked, rinse it completely under cool, running water until every last bubble is gone. Lay your piece flat on a thick, clean towel, pop another towel on top, and roll the whole thing up like a jelly roll. A gentle press will squeeze out most of the water without damaging your work.
Here's the most important tip I can give you for this whole process: never iron the front of your cross stitch. The direct heat and pressure will absolutely crush those lovely, plump stitches you spent so much time creating, leaving them flat and lifeless.
Instead, lay your project face-down on a fresh, fluffy towel while it's still slightly damp. Set your iron to a medium heat (no steam!) and press the back of the fabric. The towel provides a soft cushion, protecting your stitches and giving your entire piece a crisp, professional look.
Finding the Perfect Frame
Now that your artwork is clean, pressed, and looking its best, the fun part begins: deciding how to show it off. Framing is the go-to choice, especially for a cross stitch from photographs, because it offers the best protection and a classic, timeless feel.
Here are a few ways I've seen this done beautifully:
- Traditional Frame with a Mat: I almost always recommend using a mat. It creates a small air gap between your fabric and the glass, which is critical for preventing moisture and potential mildew down the road. Plus, it just gives the art a professional, gallery-worthy look.
- Stretched on Canvas: For a more modern, frameless vibe, try stretching your finished piece over an artist's canvas or a foam core board. This approach really makes the texture of the Aida cloth and the stitches themselves the star of the show.
- Framed in an Embroidery Hoop: This is a fantastic option for smaller pieces. Framing the art right in a nice wooden hoop is charming, affordable, and adds a wonderfully rustic touch.
Each method brings out a different personality in your work, so pick the one that fits your style and the room where it will live. If you want to dive deeper into mounting options, our guide on cross stitch finishing techniques is packed with more detailed tutorials.


