
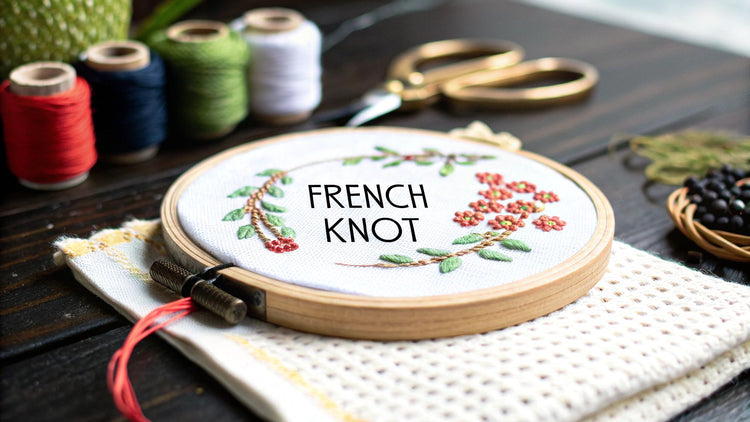
The French knot is one of those stitches that can really elevate a cross stitch project, adding beautiful texture and tiny, three-dimensional details. It’s essentially a small, raised dot you create by wrapping thread around your needle before pulling it through the fabric. I love using them for details like eyes, distant stars, or the centers of flowers.
Why the French Knot Is Worth Mastering
Let's be honest, a lot of stitchers find the French knot a bit intimidating at first. But trust me, it's one of the most rewarding skills you can add to your toolkit. This single stitch can take a flat design and turn it into something dynamic and tactile. Once you get the hang of the basic motion, you'll start seeing opportunities to use it everywhere.
It's a foundational stitch that opens up so many creative doors. Learning how to do a French knot in your cross stitch projects means you can:
- Add tiny, precise details like the pupils of an eye or miniature buttons on a doll's dress.
- Create wonderfully realistic textures, like the fluffy wool on a sheep or the fuzzy center of a sunflower.
- Embellish your patterns with sparkling stars, delicate snowflakes, or fun, confetti-like sprinkles.
A Stitch with a Rich History
The French knot belongs to a big family of knotted stitches that have been around for centuries. While it really took off in 16th-century France, some believe its origins go all the way back to ancient China.
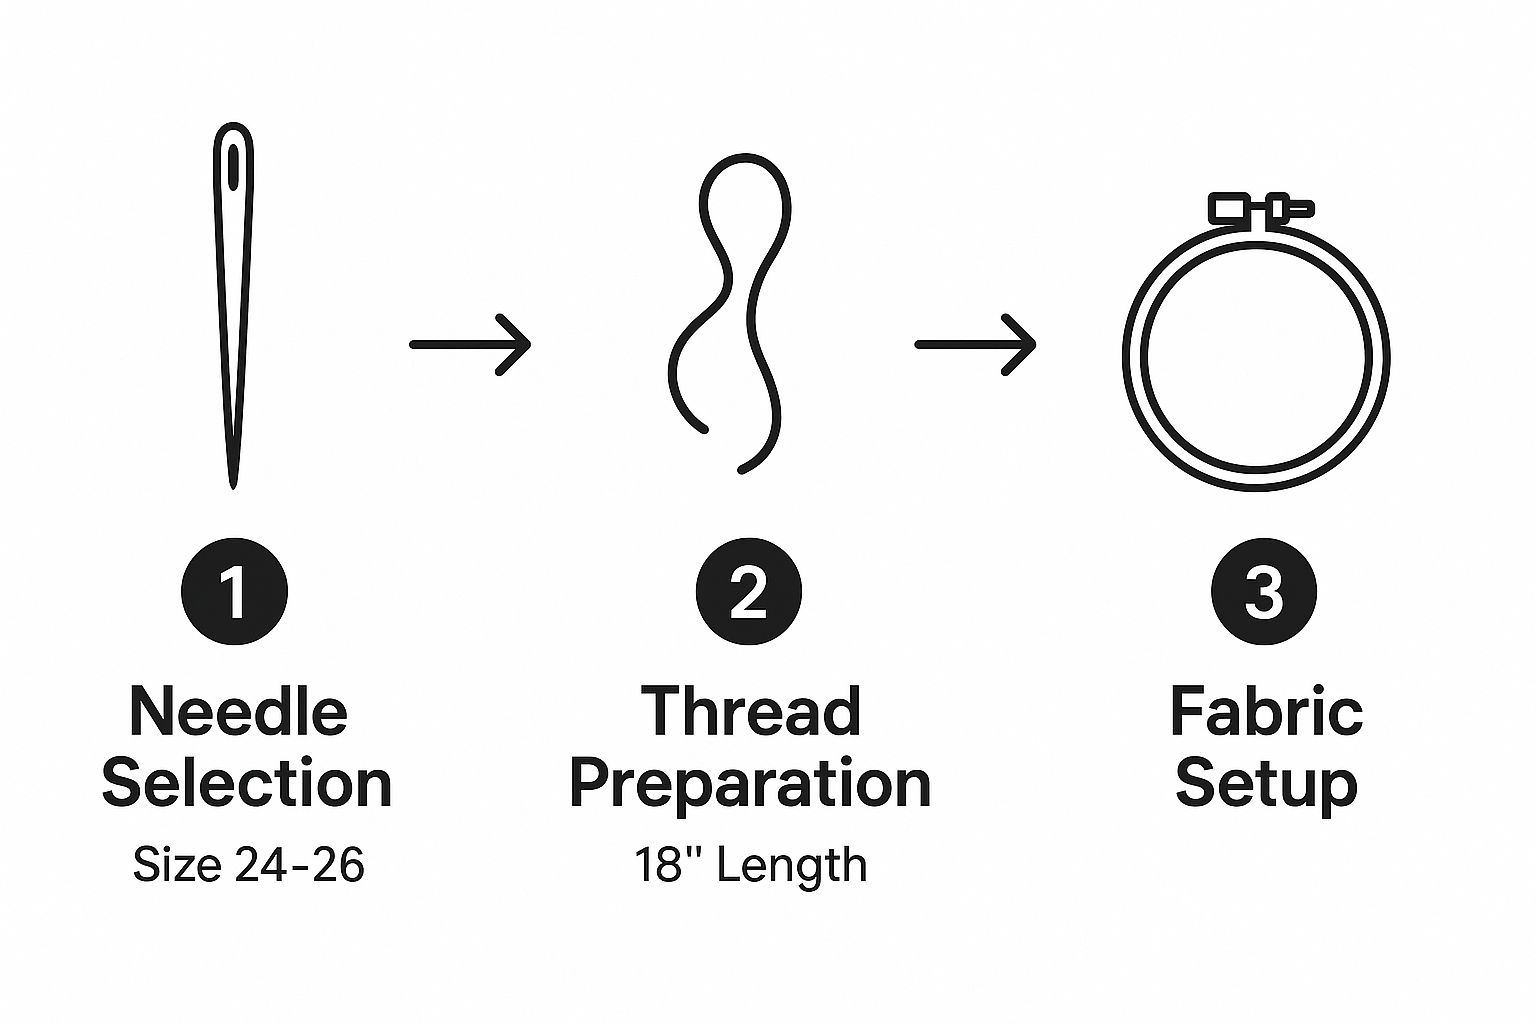
It’s one of those different types of embroidery stitches that truly stands out for its decorative punch. Before we jump into the "how-to," let's make sure you have the right tools ready to go.
Essential Tools for Perfect French Knots
Getting your supplies in order before you start makes the whole process so much smoother. It really helps in getting those knots looking neat and consistent right from the get-go.
| Tool | Purpose & Recommendation |
|---|---|
| Embroidery Hoop | Keeps your fabric taut, which is crucial for controlling tension and preventing knots from pulling through to the back. A 5-inch or 6-inch hoop is a good, manageable size. |
| Tapestry Needle | You'll want a needle with a large eye for your embroidery floss but a blunt tip that can slide between the fabric threads without splitting them. Sizes 24-26 are standard for most Aida cloth. |
| Embroidery Floss | Standard 6-strand cotton floss is perfect. The number of strands you use will determine the size of your knot. I recommend starting with 2 or 3 strands. |
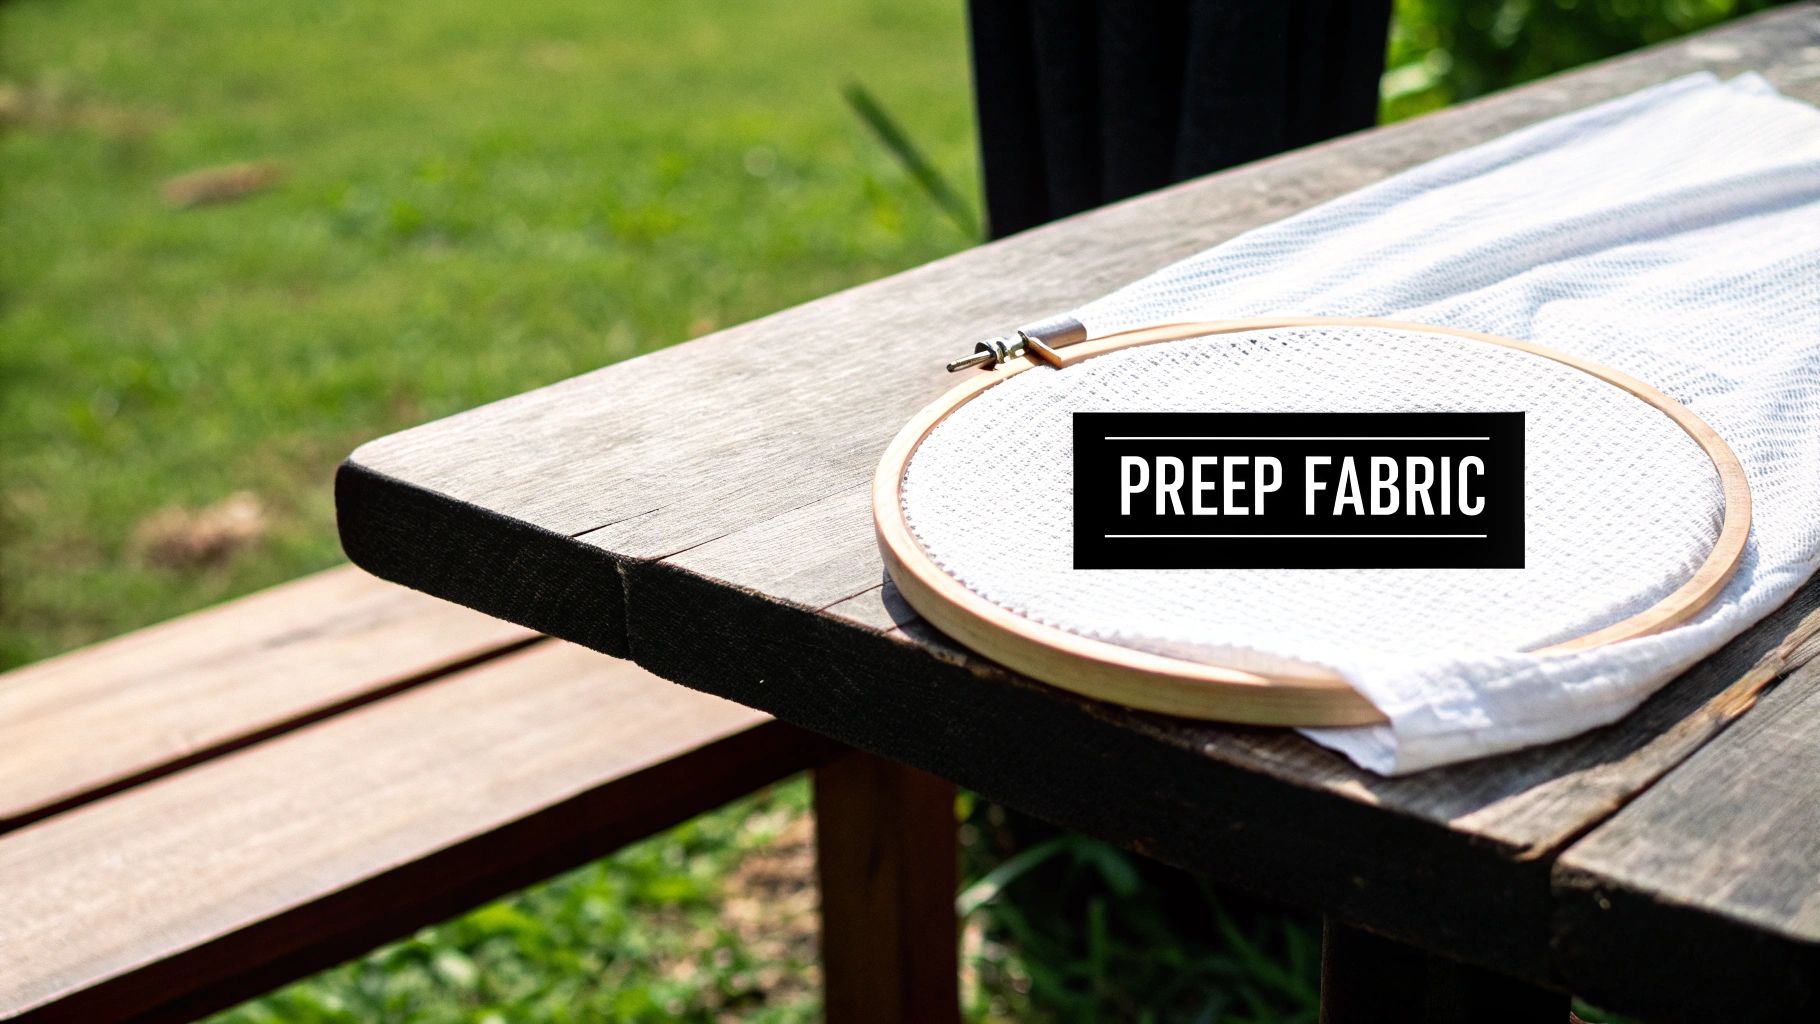
| Fabric | Aida cloth or evenweave linen are ideal for beginners. Their clear weave makes it easy to see where your needle needs to go. |
| Scissors | A small, sharp pair of embroidery scissors will give you clean cuts and prevent fraying. |
With these tools in hand, you're all set to tackle the technique and start adding beautiful, textured details to your work.
The Anatomy of a Perfect French Knot
Mastering the French knot is all about getting the feel for it. It's less about rigid steps and more about a smooth, continuous motion. Once you get the rhythm down, your hands will just know what to do.
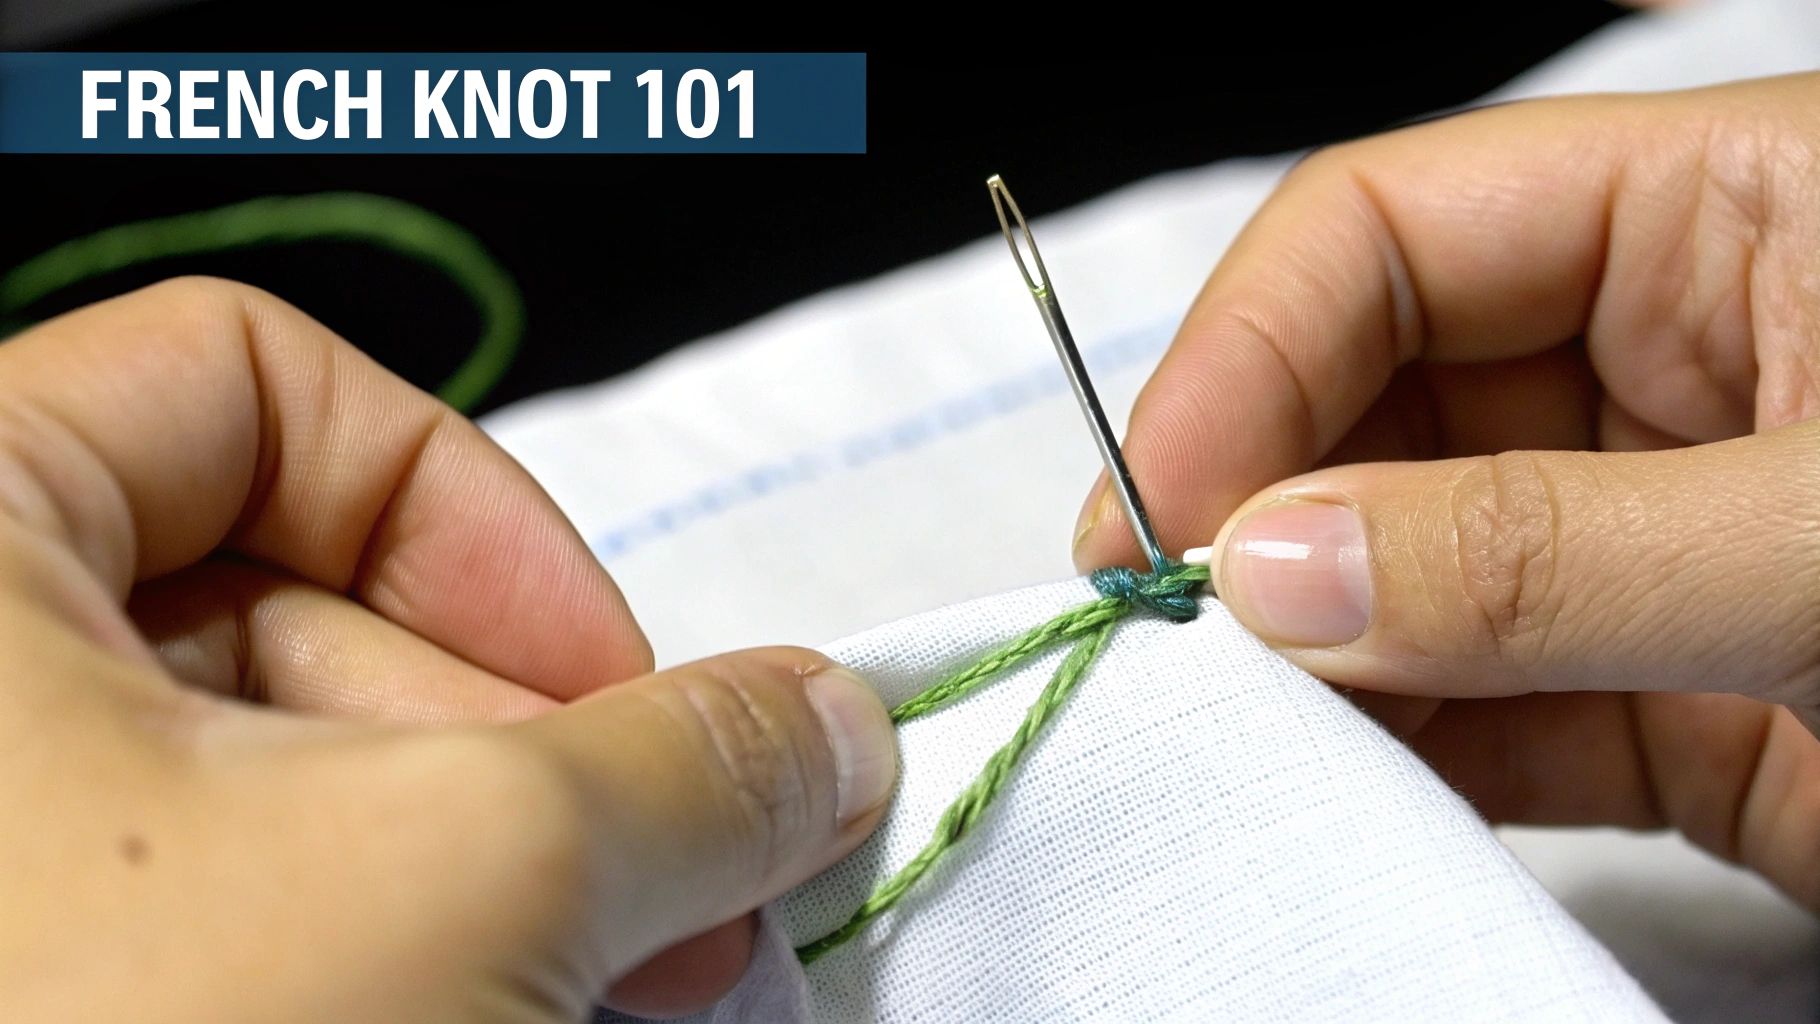
First things first, bring your needle up from the back of the fabric, right where you want that little knot to live. Pull the thread all the way through so it’s snug against the fabric. This spot is your anchor.
Now for the magic part: the wrap. Hold the thread taut with your non-dominant hand, keeping it away from the fabric. Take your needle in your dominant hand, place it in front of the taut thread, and wrap the thread around it. For a standard knot, one or two wraps is usually all you need.
This visual gives you a great overview of the whole process.
As the image shows, getting your tools and setup right from the start makes a huge difference and prevents a lot of headaches later on.
Needle Placement and Tension Control
Alright, you’ve got your wraps. Now, where does the needle go? This is where a lot of people get tripped up. Whatever you do, do not go back down the exact same hole you came up from. If you do, your beautiful new knot will just pop right through to the back of your fabric. So frustrating!
Instead, slide the tip of your needle into the fabric right next to the original hole, just a single fabric thread away. Push the tip through, but don't pull it all the way yet. This tiny shift is what locks the knot securely on the surface.
Let's talk about tension. As you're guiding the needle back into the fabric, gently pull on the working thread with your other hand. You'll feel the wraps slide down the needle until they sit neatly against the fabric. You're aiming for taut, not tight.
A common mistake is yanking the wraps so tight that the needle gets stuck. The thread should hug the needle, but you still need to be able to slide the needle through smoothly.
Finishing the Stitch
With your wraps resting snugly on the fabric, it's time to pull the needle and the rest of the thread all the way through to the back. For the best results, keep a gentle hold on that working thread on the front until the very last second. This maintains that perfect tension. As the last bit of thread slips through, a neat little knot will pop into place.
Getting a consistently good-looking knot really comes down to practice. If your tension is too loose, you get floppy, messy knots. Too tight, and you risk distorting the fabric. Don't forget that the right tool for the job matters, too! The correct needle size makes a world of difference in how easily the thread passes through. If you're not sure which to use, check out our guide on selecting the right cross stitch needle.
Getting Your Thread and Tension Just Right
Have you ever wondered why some French knots look so perfectly round and tidy, while others end up looking a little… messy? More often than not, the secret lies in two key elements: your choice of thread and how you handle the tension. Mastering these is what separates a good French knot from a great one.
The size of your knot is a simple equation. It all depends on how many strands of thread you use and how many times you wrap the thread around the needle. Think of it this way: more strands or more wraps will give you a bigger, bolder knot. It’s that straightforward.
How Many Strands Should You Use?
The strand count really depends on the effect you're going for.
- For those tiny, delicate details—like the glint in an animal's eye or the center of a tiny flower—using just one or two strands of floss with a single wrap works beautifully. It creates a subtle, pinpoint of texture.
- But if you're stitching something that needs a bit more substance, like berries on a bush or the fluffy texture of a sheep's wool, bumping it up to three or four strands will create a much plumper, more noticeable knot.
The type of thread you use matters, too. Most of the time, you'll be working with standard six-strand cotton floss. If you want to dive deeper, our guide to cotton embroidery thread is a great resource. My best advice? Always do a few practice knots on a scrap of fabric first to see how different strand counts look before you commit to your main project.
A Little Tip From Experience: If you want a bigger knot, it's tempting to just add more wraps. Resist the urge! Anything more than two wraps tends to create a wobbly, cone-shaped knot instead of a neat, round one. The best way to get a larger knot is to use more strands of thread.
The Art of Perfect Tension
Tension is the unseen hero of a perfect French knot. Your goal is to keep the thread taut—not so tight that you're strangling it, but firm enough to stay in control. This steady tension is what helps the thread form that beautiful, secure little sphere on the surface of your fabric as you pull the needle through.
What happens if the tension is off? If it’s too loose, you’ll end up with a floppy knot, maybe even with a little loop sticking out. If it’s too tight, you could pucker the fabric or, in a stitcher's worst-case scenario, pull the entire knot straight through to the back of your work.
A gentle, steady pull is all it takes. Once you get the feel for it, you'll be making beautiful knots every single time.
Troubleshooting Common French Knot Problems
Even with plenty of practice, sometimes a French knot just decides to misbehave. It’s a completely normal (and yes, frustrating) part of mastering this stitch. Let's break down the most common issues I see and how to get them sorted out.
The Knot That Vanishes
This is the big one. You create what looks like a perfect knot, pull the needle through, and... it's gone. It's been yanked straight through to the back of your fabric.
The culprit is almost always the same: you put the needle back into the exact same hole it came up from. To fix this, simply make sure you re-insert your needle just one fabric thread away from your starting point. That tiny shift gives the knot a solid anchor on the front, preventing it from slipping through.
Messy, Loose, or "Floppy" Knots
Another classic problem is a knot that looks a bit sad and loose, maybe with a little loop of thread sticking out the side. This is purely a tension issue. It's a dead giveaway that you weren't holding the working thread taut enough while you pulled the needle through to the back.
The solution? As you pull your needle through, keep a firm but gentle grip on the working thread with your non-dominant hand. Hold that tension steady until the very last moment the thread is pulled through. This simple action forces the wraps to form a tight, tidy little ball.
Pro Tip: Consistent tension is the real secret to beautiful, uniform French knots. By holding the working thread taut as you finalize the stitch, you guide the wraps into a perfect sphere every time.
Inconsistent Knot Sizes
What if your knots are technically fine, but they're all different sizes? If you're aiming for uniformity, the problem usually comes down to one of two things: your wraps or your strand count.
- Uneven Wraps: Make sure you're wrapping the thread around the needle the exact same number of times for each knot. If you're doing one wrap for small knots, stick to one. If it's two wraps, do two every time.
- Varying Strands: Did you accidentally use two strands of floss for one knot and three for the next? It happens! Just double-check that your strand count is consistent for the area you're working on.
Getting these little details right will make a huge difference in the final look of your project.
To make things even easier, here's a quick cheat sheet for diagnosing and fixing your French knot woes.
French Knot Problem-Solving Guide
| Common Problem | The Likely Cause | How to Fix It |
|---|---|---|
| The knot pulls through to the back. | You re-inserted the needle into the exact same hole it came out of. | Re-insert the needle one fabric thread away from the starting hole to anchor the knot. |
| The knot is loose or has a loop. | You didn't maintain tension on the working thread. | Hold the working thread taut with your non-stitching hand until the knot is fully formed. |
| Knots are different sizes. | Inconsistent wraps or number of floss strands. | Count your wraps carefully (1-2 is standard) and ensure you're using the same number of strands for each knot. |
| The knot looks more like a line. | You pulled the working thread too tightly, pulling the wraps out of shape. | Ease up on the tension just a bit. It should be firm, not a stranglehold. |
Once you know what to look for, you can quickly spot the cause of a misbehaving knot and get back to stitching beautiful, consistent results. It really just comes down to a little practice and muscle memory.
Creative Ways to Use French Knots in Your Projects
Once you've mastered the basic French knot, you can start treating it less like a single stitch and more like a creative tool. It's your secret weapon for adding texture, dimension, and that special handmade touch to any cross stitch piece. Thinking beyond simple dots is where the magic really happens.
Try grouping knots together to build up interesting textures. You could fill the center of a sunflower with dense clusters of yellow and brown knots for that classic, bumpy seed head look. Another favorite of mine is to scatter them across dark blue Aida to create a starry night sky—use 1 strand for distant stars and 2 or 3 for the brighter ones.
Adding Depth and Detail
French knots are fantastic for making flat designs feel more dynamic. Imagine a simple tree outline. Now, imagine its branches covered in a flurry of pink and white knots to look like cherry blossoms. Suddenly, that flat tree has a beautiful 3D quality that makes the whole design pop right off the fabric.
You can also work them into smaller, more subtle details to really elevate your project:
- Animal Fur: A patch of French knots is the perfect way to create the fluffy wool on a sheep or the fuzzy texture of a teddy bear.
- Clothing Embellishments: Use them as tiny buttons on a stitched shirt or to mimic delicate beading on an elegant gown.
- Eyes: Sometimes, a single, perfectly placed black knot is all it takes to give a stitched animal or person a spark of life.
This simple but powerful stitch has deep roots in needlework. Techniques like the French knot were crucial for adding intricate detail to surface embroidery, especially as samplers became popular in Europe back in the 16th century. You can explore more of this rich past with The Cross Stitch Guild's history of embroidery.
Don't be afraid to play around with how you place your knots and how close together you pack them. That's how you'll discover all the amazing effects this one little stitch can create.
Troubleshooting Your French Knots
Once you start stitching French knots regularly, you're bound to run into a few tricky situations. Let's walk through some of the most common questions I hear from fellow stitchers, so you can tackle them with confidence.
How Do I Change the Size of My Knot?
This is probably the number one question people ask, and the answer is surprisingly simple. The size of your knot really comes down to two things: how many strands of floss you're using and how many times you wrap the thread around your needle.
- For smaller, delicate knots: Try using just 1 or 2 strands of floss and wrapping the needle only once. This is perfect for tiny details like the pupils of an eye or flower stamens.
- For larger, bolder knots: Bump up your strand count to 3 or even 4. My personal advice? Stick to just one or two wraps, even for bigger knots. Wrapping more than that often creates a messy, cone-shaped stitch that doesn't sit flat, rather than the tight, round knot you're aiming for.
What If I Make a Mistake?
It happens to all of us, even experienced stitchers. If a knot comes out looking wonky or you pull it through the fabric, don't panic. The best approach is to fix it right away.
Turn your work over and use the tip of your needle to gently pick the knot apart from the back. If it pulled all the way through, just snip it off close to the fabric and try again.
Don’t let a messy knot frustrate you. Every single one is a mini-lesson in getting your tension just right. Think of it as practice, not a failure.
Should I Use a Colonial Knot Instead?
Ah, the classic debate! A colonial knot is a fantastic alternative. It's formed with a figure-eight wrap, which creates a slightly tighter and more compact dot.
Some people find the wrapping motion for colonial knots more intuitive and less prone to slipping. They're also incredibly durable, so they're a great option if you find your French knots tend to loosen up. There's no right or wrong answer here; experiment with both to see which feels more comfortable and gives you the look you want for your project.
Ready to turn your favorite memories into a beautiful work of art? At Cross Stitched, we transform your photos into custom, all-in-one cross stitch kits. Start creating your personalized masterpiece today by visiting the Cross Stitched website.


