

Choosing your cross stitch Christmas ornament patterns is where all the holiday magic begins. It’s the first, and arguably most fun, step in creating little heirlooms for your tree. Whether you’re a fan of classic Santas and reindeer or lean towards more modern, geometric snowflakes, picking the right pattern makes the whole process a joy from the very first stitch.
How to Find the Perfect Ornament Pattern
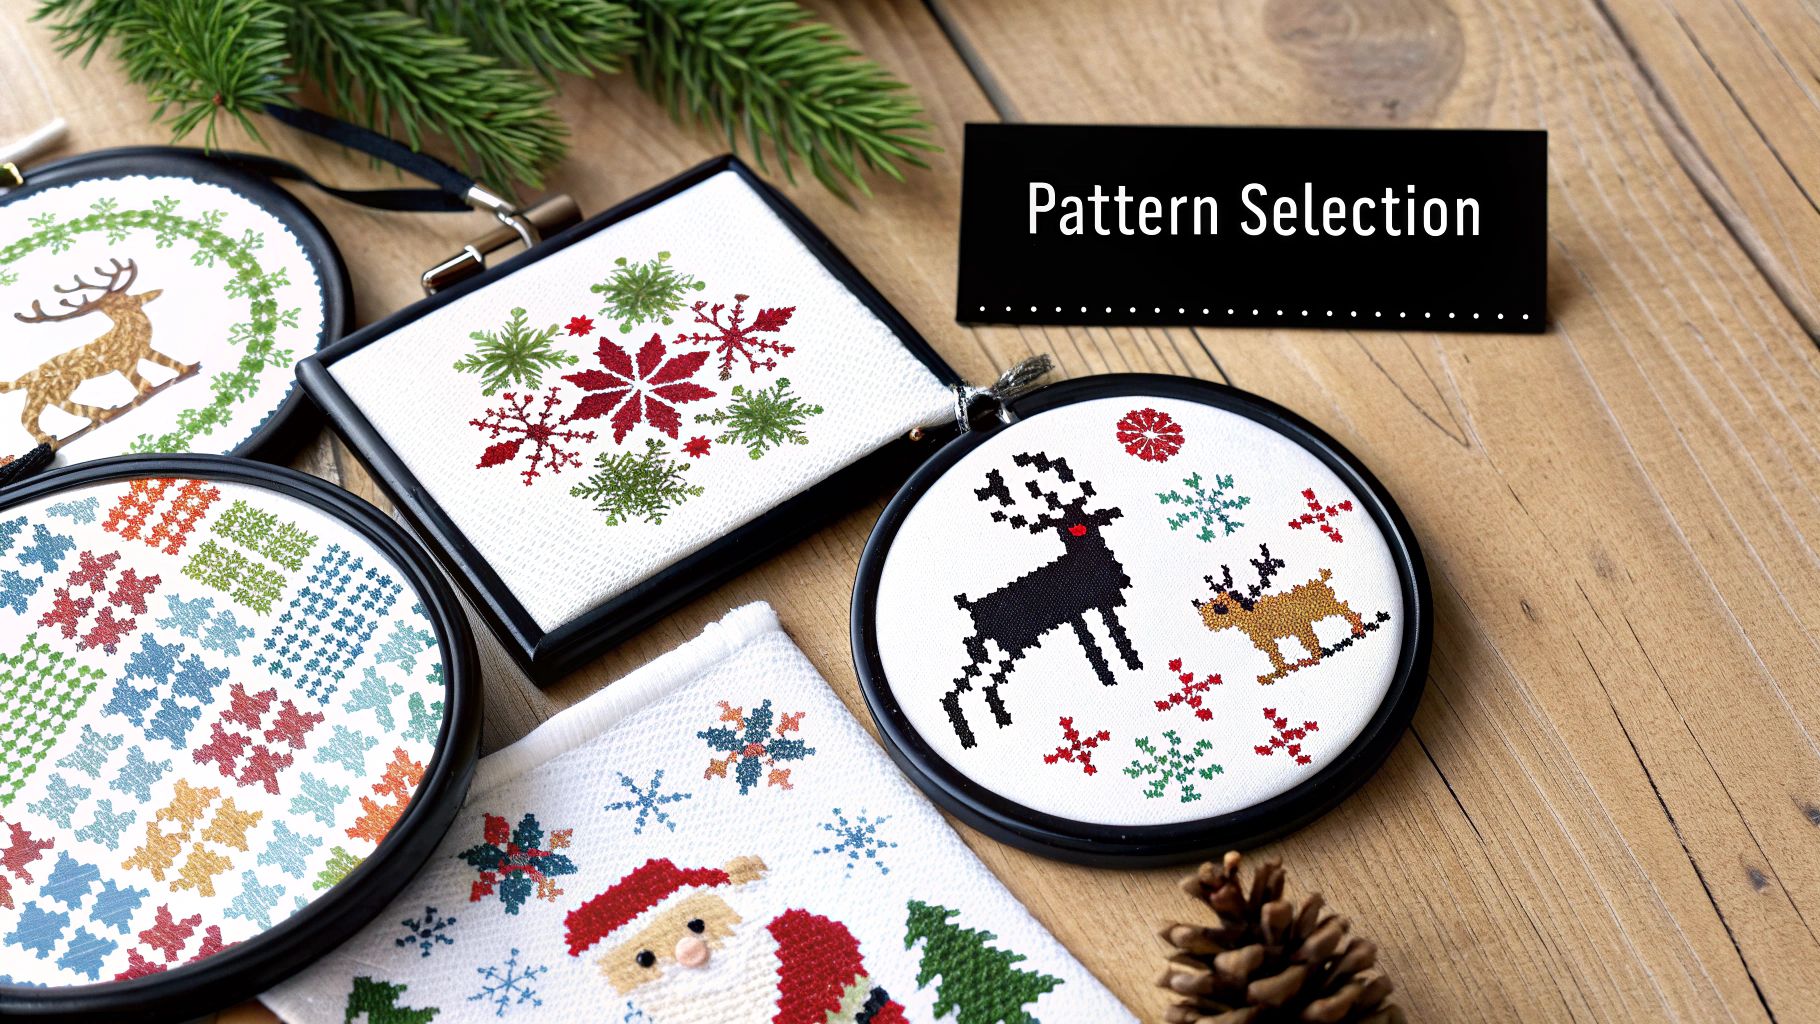
Hunting for the perfect design is exciting, but let's be honest—the number of options out there can be a little much. The first big choice you'll likely face is whether to go with an all-in-one kit or a digital PDF pattern. They both have their perks, and the best one for you really depends on your stitching style and what you have on hand.
Kits vs. Digital Patterns
If you’re just starting out or simply love convenience, a kit is a fantastic choice. These little bundles take all the guesswork out of the equation by packing everything you need into one neat package.
- Convenience: Kits usually come with the pattern, Aida fabric, pre-sorted floss, and a needle. No running around for supplies.
- Simplicity: You don't have to stress about sourcing all the right materials or matching dozens of thread colors. It's all done for you.
- Great for Gifting: They make wonderful presents for crafty friends who want to try a new project.
You can often find commercial kits sold in value sets, which is a great way to ease into the hobby. For example, it’s common to see bundles with several ornament projects—think cute snow globes or vintage holiday trucks—that include 14-count Aida, cotton floss, needles, and clear instructions.
On the flip side, digital PDF patterns give you unmatched flexibility and instant gratification. You buy it, you download it, and you can be stitching within minutes. This is my go-to route when I already have a mountain of floss and fabric, or if I want to play around with the color scheme.
One of the best things about digital patterns is that you can just print another copy if your first one gets crumpled or covered in coffee stains. You can also zoom in on tricky sections using a tablet, which is a real lifesaver for your eyes.
Decoding Pattern Details
As you browse, you’ll see patterns listed with a bunch of details. Knowing what they mean is key to picking a project that fits your skill level and the final look you're going for.
Keep an eye out for these key specs:
- Stitch Count: This tells you the design's size in stitches (for example, 55w x 55h). It's the raw measurement of the pattern grid.
- Finished Size: The designer will usually list the final size based on a suggested fabric count (like 3.4 inches on 16-count Aida).
- Fabric Type: While most ornaments are stitched on Aida or linen, some cool patterns use perforated paper or plastic canvas to create a more rigid, durable ornament.
And don't forget to look for inspiration in unexpected places! Sometimes, browsing other crafts can spark an idea. I love looking through collections of festive Christmas drawing ideas for motifs and color palettes that I can translate into a unique cross-stitch design.
If you're new to stitching, our guide with essential https://cross-stitched.com/blogs/what-is-cross-stitch/cross-stitch-tips-for-beginners will give you the confidence to get started on the right foot.
Getting Your Stitching Station Ready
So, you've found the perfect cross stitch Christmas ornament pattern! Now comes the fun part: creating your stitching sanctuary. Setting up your workspace is more than just grabbing a needle and floss. Think of it as a little ritual that sets the stage for a smooth, comfortable, and genuinely enjoyable project. A little preparation now saves a ton of headaches later.
Your first big choice is the fabric. Most ornament kits will include 14-count Aida cloth, which is fantastic for beginners thanks to its clear, easy-to-see weave. If you're working from a digital pattern, though, you get to play around a bit more.
For a classic, traditional vibe, sticking with Aida is a great bet. But if your chosen design has lots of fine detail, you might want to try a higher-count fabric like 16-count Aida or even a 32-count linen. These fabrics create a more delicate, polished look that can make your ornament feel extra special.
How Fabric Count Affects Ornament Size
It's important to remember that the fabric count dramatically changes the final size of your ornament. A higher count means more stitches per inch, resulting in a smaller finished piece.
Here's a quick look at how the same pattern (a common 42x42 stitch design) would measure up on different fabrics:
| Fabric Count | Stitches Per Inch | Approximate Finished Size (inches) |
|---|---|---|
| 11-count Aida | 11 | 3.8" x 3.8" |
| 14-count Aida | 14 | 3.0" x 3.0" |
| 16-count Aida | 16 | 2.6" x 2.6" |
| 18-count Aida | 18 | 2.3" x 2.3" |
| 32-count Linen | 16 (over two threads) | 2.6" x 2.6" |
As you can see, simply switching from 14-count to 18-count can make a noticeable difference, which is something to keep in mind when planning your tree's display!
Getting Your Fabric Prepped and Ready
Once you’ve settled on a fabric, don't just dive in. A few minutes of prep will make a world of difference. First, make sure your fabric piece is big enough. My go-to rule is to add a three-inch margin to every side of the design's finished dimensions. This extra space is a lifesaver for hooping and is absolutely essential for the final finishing process.
Next up is preventing those pesky frayed edges. As you handle the fabric, the edges can start to unravel, which is a real pain. Here are a few easy ways to stop it:
- Masking Tape: Just fold a piece of tape over the raw edges. It's fast, simple, and gets the job done.
- Fray Check: You can find this liquid sealant at most craft stores. A thin line along the edges is all you need.
- Serger or Zigzag Stitch: If you have a sewing machine handy, a quick stitch around the border is a fantastic, permanent fix.
Prepping your fabric might feel like an unnecessary step, but trust me, it’s a game-changer. There's nothing worse than seeing your hard work threatened by unraveling threads, especially on a small, detailed ornament.
The Tools You Need for a Comfy Setup
Your comfort is key, especially when you settle in for a long, cozy evening of stitching. The right tools can turn a potential chore into a relaxing escape. A good quality hoop or frame is non-negotiable—it keeps your fabric tension even, which is the secret to beautifully neat stitches.
While classic wooden hoops are fine, many stitchers (myself included) have fallen in love with Q-Snaps or scroll frames. They hold the fabric taut without leaving those stubborn creases.
Good lighting is another must-have. A dedicated craft lamp, especially one with a magnifier, can seriously reduce eye strain. This is a huge help when you're working with dark fabrics or those glittery metallic threads often found in festive cross stitch Christmas ornament patterns. Finally, taking a moment to wind your floss onto bobbins or use a floss organizer will save you from the dreaded "thread nest" and keep your colors perfectly tidy and ready to go.
Bringing Your Ornament Design to Life

This is where the magic really happens. Your cross stitch Christmas ornament patterns are about to go from a chart on a page to a little piece of holiday art you can actually hold. Now that you've got all your materials prepped and ready to go, it’s time to settle in and focus on the stitching itself. Getting these fundamental techniques right from the start is what separates a good ornament from a great one.
One of the first habits you'll want to get into for a truly clean finish is starting and ending your threads without knots. Knots create annoying little bumps that can show through to the front, and they make the back of your work a mess—something you really notice on a small, two-sided ornament.
Mastering the Basics for Flawless Stitches
The loop start is an absolute game-changer for this. It's a neat little trick that works anytime you're using an even number of strands (which, for ornaments, is almost always). Instead of cutting two separate strands of floss, just cut one strand that’s twice as long. Fold it in half, thread the two cut ends through your needle, and you'll be left with a loop at the other end.
When you make the first half of your first stitch, come up from the back of the fabric, and before you pull the thread all the way through, just pass your needle through that loop on the back. Pull it taut, and you've got a secure, perfectly flat start. No knots, no fuss.
When it's time to end a thread, just weave your needle under a few completed stitches on the back before snipping the tail. We call this "burying" the thread, and it keeps everything tidy and flat.
Here's the golden rule for making your stitches look uniform and professional: consistency. Always make the top leg of your 'X' cross in the same direction. Every single time. Whether you prefer bottom-left to top-right (////) or bottom-right to top-left (\\), stick with it. This simple discipline creates that smooth, gorgeous texture that catches the light so beautifully.
Adding Detail and Dimension
Once you've got the basic cross stitch down, you'll see that most cross stitch Christmas ornament patterns use a few special stitches to create curves, outlines, and delicate details. These are the techniques that take a design from simple to stunning.
You'll most often run into two types:
- Fractional Stitches: This just means quarter stitches (¼) and three-quarter stitches (¾). They are absolutely essential for creating smooth, rounded edges on things like a snowman's belly or the gentle curve of a candy cane. Instead of making a full 'X', you'll just stitch one "leg" of it, often by pushing the needle right through the center of an Aida square.
- Backstitching: This is how you make your details pop. It’s used for outlining shapes, adding lettering, or creating fine lines like the arms of a snowflake. Backstitching is really just a simple running stitch that follows the grid on your pattern, and it gives your ornament a crisp, defined, and polished look.
Most ornament patterns are a fun blend of these techniques. They tend to be small, detailed designs, which makes them perfect projects for stitchers of all skill levels. You’ll find that popular holiday motifs like snowmen or Christmas trees usually finish up at around 3 to 4 inches square on 28 to 32-count fabric.
For example, a common pattern might have a stitch count of 55 by 55. On 32-count fabric, that works out to a finished piece that's roughly 3.44 inches square—the perfect size for a tree. You can see some beautiful examples of these kinds of designs and find similar patterns over on 123Stitch.
Don't let these special stitches intimidate you! They're much easier than they sound and are completely worth the tiny bit of extra effort. Once you have these skills in your back pocket, you’re well on your way to stitching a truly beautiful ornament.
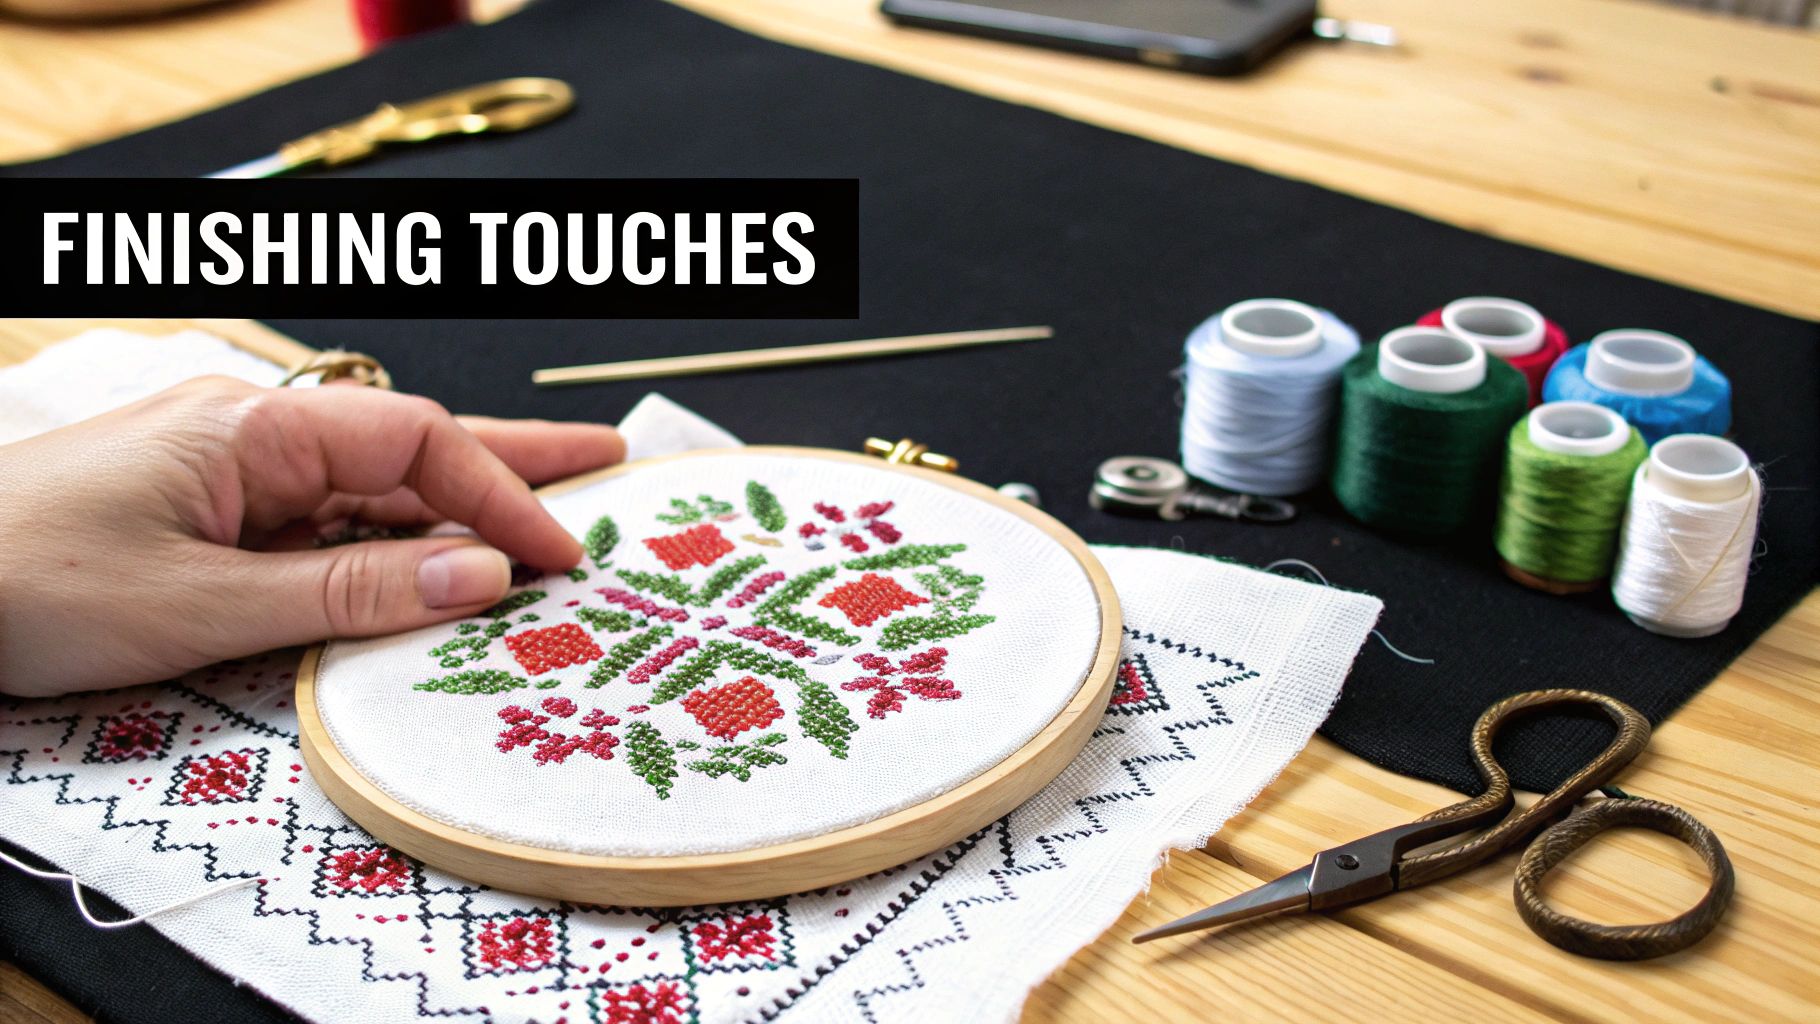
Bringing Your Ornament to Life: Finishing Touches
This is the magic moment. The final finishing is what turns that beautiful piece of stitched fabric into a real, hang-on-the-tree ornament. We're going to move beyond just trimming the edges and explore a few of my favorite ways to give your cross stitch Christmas ornament patterns a polished, professional look. With just a few extra supplies, you can create a little work of art that will last for years.
The whole process, from that very first stitch to the final knot, relies on good preparation. This quick graphic breaks down the workflow before you even think about finishing.
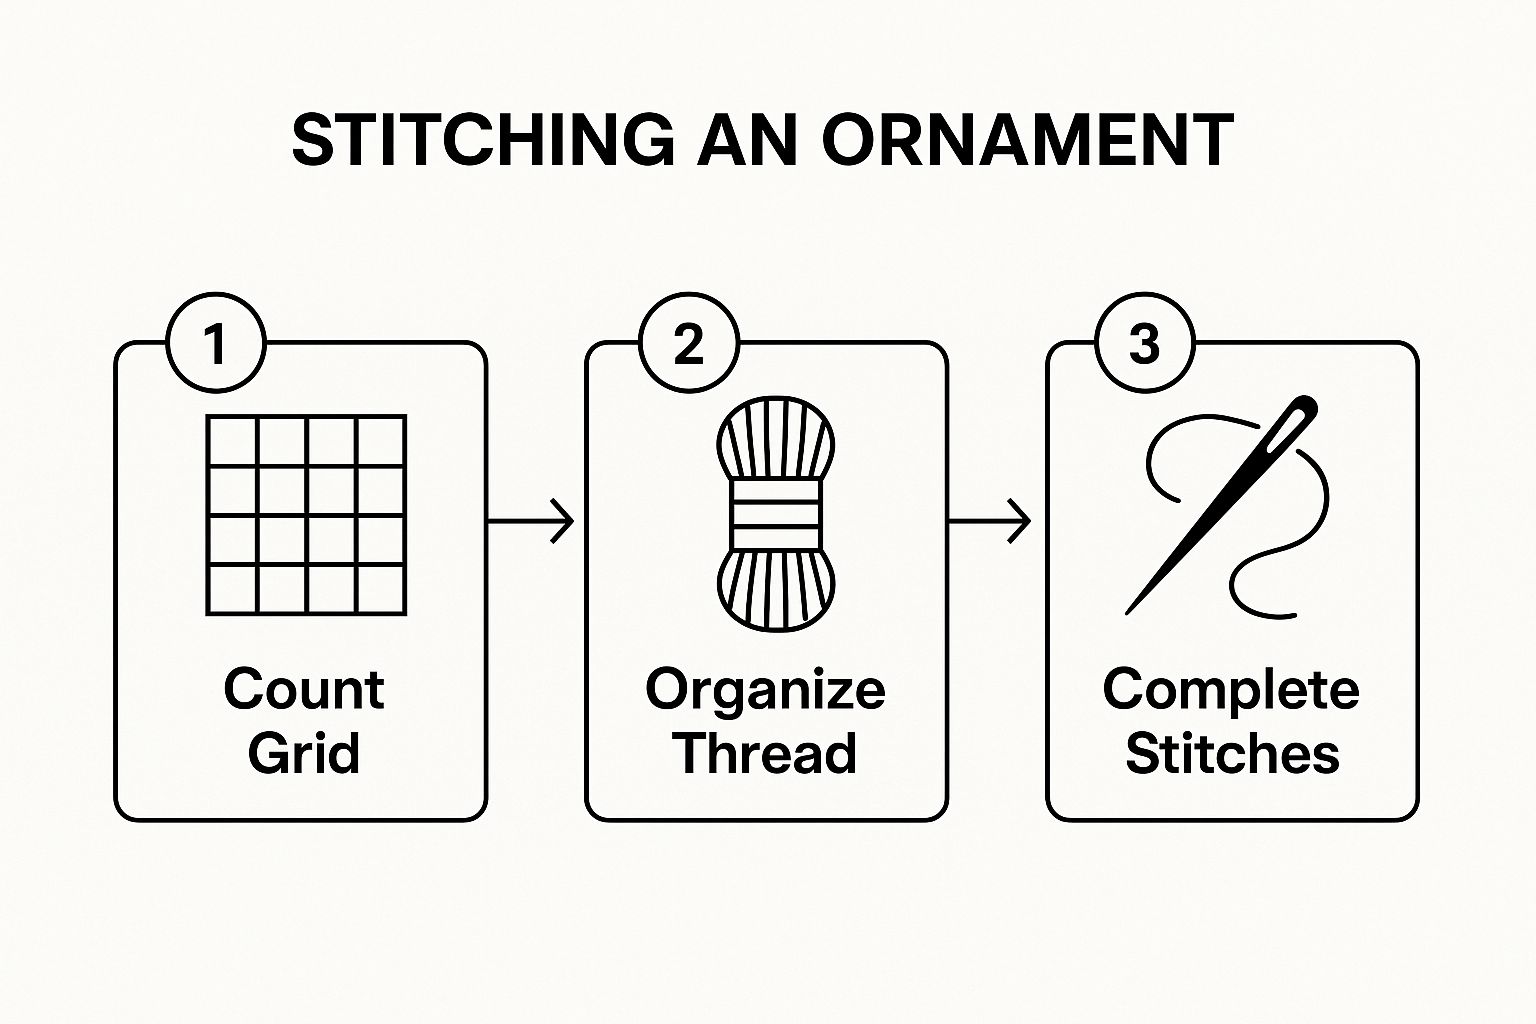
As you can see, getting everything organized from the start makes for a much smoother ride, especially when it's time to assemble your ornament.
The Classic Flat-Felt Backed Ornament
This is one of the cleanest and simplest methods out there. I love using a felt backing for ornaments with funky, irregular shapes because it gives a really neat, sturdy finish without adding a lot of bulk.
First things first, give your completed stitchery a good press. Lay it face down on a soft towel and iron it. Then, trim the fabric down, leaving about a one-inch border all the way around your design. Now, find some stiff backing—comic book board or even thin cardboard works great—and cut it just a little bit smaller than your stitched area.
Here's a little trick I've picked up: use a light-tack basting spray to temporarily stick your fabric to the board. It holds everything perfectly still while you fold the edges to the back and secure them, either with a quick running stitch or a dab of fabric glue.
With your stitched piece mounted, grab some craft felt and cut it to the exact same shape as your ornament. Use a whip stitch or a blanket stitch (a coordinating floss color looks best!) to sew the felt backing on. Don't forget to sandwich a ribbon loop for the hanger at the top as you go.
The Puffy Pillow-Style Ornament
If you want something with a more dimensional, plush feel, the puffy pillow style is a fantastic choice. This one works best for simple shapes like circles, squares, or hearts where the seams are easy to manage.
You’ll need a piece of backing fabric—a festive cotton print is a lovely touch—cut to the same size and shape as your cross-stitch piece.
- Place the two pieces right-sides together.
- Sew around the edge, but be sure to leave a small gap for turning it.
- Clip any curves and trim the corners to get a crisp shape.
- Turn the ornament right-side out.
Now for the fun part. Gently stuff it with polyester fiberfill until it's got a nice, plump shape. To close it up, use a ladder stitch, which is basically invisible. Just before you pull that last stitch tight, tuck your ribbon or cording hanger into the opening.
Using Mounting Boards for a Perfect Shape
For an absolutely flawless round or a super precise shape, pre-cut mounting boards are your best friend. They're usually made from acid-free mat board or chipboard and give you an incredibly crisp result that looks store-bought.
The process is a lot like the flat-felt method, but the rigid board gives you that perfect structure.
- Prep Your Pieces: You'll need two mounting boards of the same size, your stitched piece, and your chosen backing fabric.
- Mount the Front: Center your stitched design over one of the boards. Carefully pull the fabric edges around to the back and lace them up tightly with a strong thread. You're aiming for a smooth, taut front with no wrinkles.
- Mount the Back: Do the exact same thing with your backing fabric and the second board.
- Assemble: Place the two mounted pieces back-to-back and whip stitch them together around the entire edge. For a truly beautiful final touch, you can glue or sew a decorative cording around the seam.
If you're looking to explore even more creative ways to finish your work, our guide to cross-stitch finishing techniques is packed with ideas.
Solving Common Stitching Problems
Even after years of stitching, I still run into a snag every now and then. It just happens! Think of this as your go-to troubleshooting guide for the little hiccups that pop up, especially with detailed cross stitch Christmas ornament patterns. Knowing how to handle these small fixes makes the whole process more enjoyable and keeps the frustration at bay.
Tangled floss is probably the number one issue for everyone. Nine times out of ten, the culprit is a piece of thread that’s just too long. My personal rule of thumb? Never work with a length longer than your forearm, from elbow to fingertips. If you notice your thread starting to twist up on you, just stop for a second. Let your needle and floss dangle freely, and you’ll see it magically unwind itself.
Another common challenge is keeping your tension even so all your little "X's" look like perfect, uniform siblings. If some stitches look tighter or puffier than others, your fabric tension is likely the cause. A simple hoop or a Q-snap frame can be a game-changer here, keeping the fabric taut so you can pull each stitch through with consistent pressure.
Handling Tricky Threads and Stitches
So many festive patterns get their sparkle from metallic or specialty threads. While they look gorgeous, they can be a real pain to work with—they love to fray and tangle. To keep them under control, I always use a much shorter length than I would for regular cotton floss. A little bit of thread conditioner also works wonders, helping it glide through the fabric much more smoothly.
You'll also run into what stitchers call "confetti stitches"—those single, isolated stitches of color sprinkled across a design. They add fantastic detail, but securing them can be a headache.
Don't bother trying to start and stop each tiny stitch the traditional way. Instead, learn the pin stitch. It's a tiny, nearly invisible anchoring stitch you make on the back of your work. It secures the thread without adding any bulk, making it perfect for those little pops of color.
The Art of Frogging
Let's be honest: mistakes are going to happen. In the stitching world, we have a cute name for ripping out stitches: "frogging" (because you "rip-it, rip-it"). When you spot an error and need to undo some work, the key is to be gentle.
- Try using the eye of a spare needle, not the sharp point, to gently lift the stitches you need to remove.
- Pull the floss out slowly and carefully. If you yank it, you can distort the holes in the fabric.
- If a stitch is being particularly stubborn, flip your work over and try tackling it from the back.
Fixing mistakes is just part of the craft. If you ever feel like you've forgotten a basic technique or just need a confidence boost, our comprehensive guide on learning cross stitch is a great resource. Having these simple solutions ready will ensure you can handle whatever your ornament pattern throws at you.
Your Cross Stitch Ornament Questions Answered
As you get ready to stitch, a few questions always seem to pop up. It doesn't matter if you've made dozens of ornaments or if this is your very first one; getting a few common queries sorted out can make the whole process feel much more relaxed. Let's dig into some of the things people ask most often when making these little holiday treasures.
Fabric choice is a big one. Most kits come with 14-count Aida, and it's a fantastic, reliable option. But is it the best for ornaments? I often find that a higher count, like 16-count or even 18-count Aida, gives a more delicate, polished look. The stitches are smaller and tighter, which makes the final image look incredibly detailed and sharp when it's hanging on the tree.
Then there's the great debate: to wash or not to wash? My answer is always a resounding yes! A quick, gentle wash is your secret weapon for a professional finish. It gets rid of any oils from your hands, dust, or those stubborn hoop marks. All you need is a bit of lukewarm water and a mild soap. Rinse it well, then press it between a couple of clean, dry towels.
How Long Does an Ornament Take to Stitch?
This is the classic "how long is a piece of string?" question, but I can give you a pretty good ballpark. For a standard 3x3 inch ornament with a decent amount of detail, an experienced stitcher can probably knock it out in 8 to 12 hours. If you're new to the craft, it's totally normal for it to take closer to 15 or 20 hours.
A few different things will affect how long it takes you:
- Pattern Complexity: A design packed with frequent color changes or lots of "confetti" stitches (those little single stitches scattered about) will naturally take more time than one with big, solid blocks of color.
- Specialty Threads: Are you using metallics or fuzzy threads? They look amazing but can be a bit trickier to work with, which often slows down your rhythm.
- Your Personal Pace: Everyone stitches at their own speed. The goal isn't to race, but to enjoy the process!
The best part about ornament projects is how quickly you get that satisfying feeling of a finished piece. Unlike a huge sampler that takes months, you can complete an ornament in a weekend, making it perfect for that pre-holiday crafting buzz.
The love for cross stitch Christmas ornament patterns isn't just a niche hobby; it's part of a huge global movement. These little projects are a beautiful mix of time-honored tradition and modern making. Believe it or not, the global cross-stitch market was valued at around USD 0.15 billion in 2024, and it's expected to keep growing. It just goes to show how much these small, festive projects contribute to the handmade economy. If you're curious, you can explore more about these market trends and see just how beloved this craft is around the world.


