How to Frame your own Cross Stitch
How to Frame your own Cross Stitch
Is there a way to create a beautifully framed cross stitch yourself? Yes! Here is a nice, easy way to frame your own cross stitch piece, using a standard store-bought photo frame.
Material List:
Your finished design
Photo Frame (to fit your design)
Fabric Scissors
Straight Pins
Masking Tape
1/4" acid-free Foam core (you can purchase large sheets from framing area in Michael's)
Sharp Box Cutter or Exacto blade
Cutting Mat
Ok, let's get started!
Step 1 - Purchase a frame that will fit your piece nicely - the amount of space around the design is up to you, but choose a common frame size that allows for about 1- 3" or more around your work. (I remove the mat most of the time - or if the mat is the right size to use, that's perfect!).
Step 2 - Clean your finished piece (read more about that here)
Step 3 - Remove the glass, backing, and any cardboard/stock photo paper that is inside the frame.
Step 4 - Place your foam core on a large cutting mat. Trace the outline of the glass onto the foam core. Using your box cutter or exacto blade, cut the foam core 1/8" smaller on each side.
Step 5 - Center your design on the foam core, and trim edges to about 3" around the foam core.
Step 6 - Pin your design in place. Using straight pins, begin placing pins through the your fabric into the edges of the foam core. I start by placing a pin in the middle of all 4 sides, then work out towards the 4 corners. Place a pin every 1" or so.
NOTE: This is a critical step, so take your time. As you are placing pins, make sure to gently pull your fabric so is begins to stay nice and tight along the foam core, but doesn't begin to stretch the design. One tip is to try and place each pin along the same square line all the way across your fabric.
Step 7 - Make sure your working area is clean, and flip your design over. Begin taping the excess fabric to the foam core. I start with each of the 4 corners. Then tape each side down until the back is nice and flat.
Step 10 - Time for assembly! Gently place your stretched piece into the frame. (If you are using a mat - place this inside the frame first, then your stretched piece.)
Step 14 - Close the frame, snap into place, or put the little metal tabs back into place...et voila, you're done!
The nice thing about framing your work at home is that you can switch out the cross stitch pieces seasonally and sometimes use the same frames! When they are not in a frame, I store my stretched designs in large plastic bags in a sealed bin.
Happy Stitching!
Custom Cross Stitch Kits
-
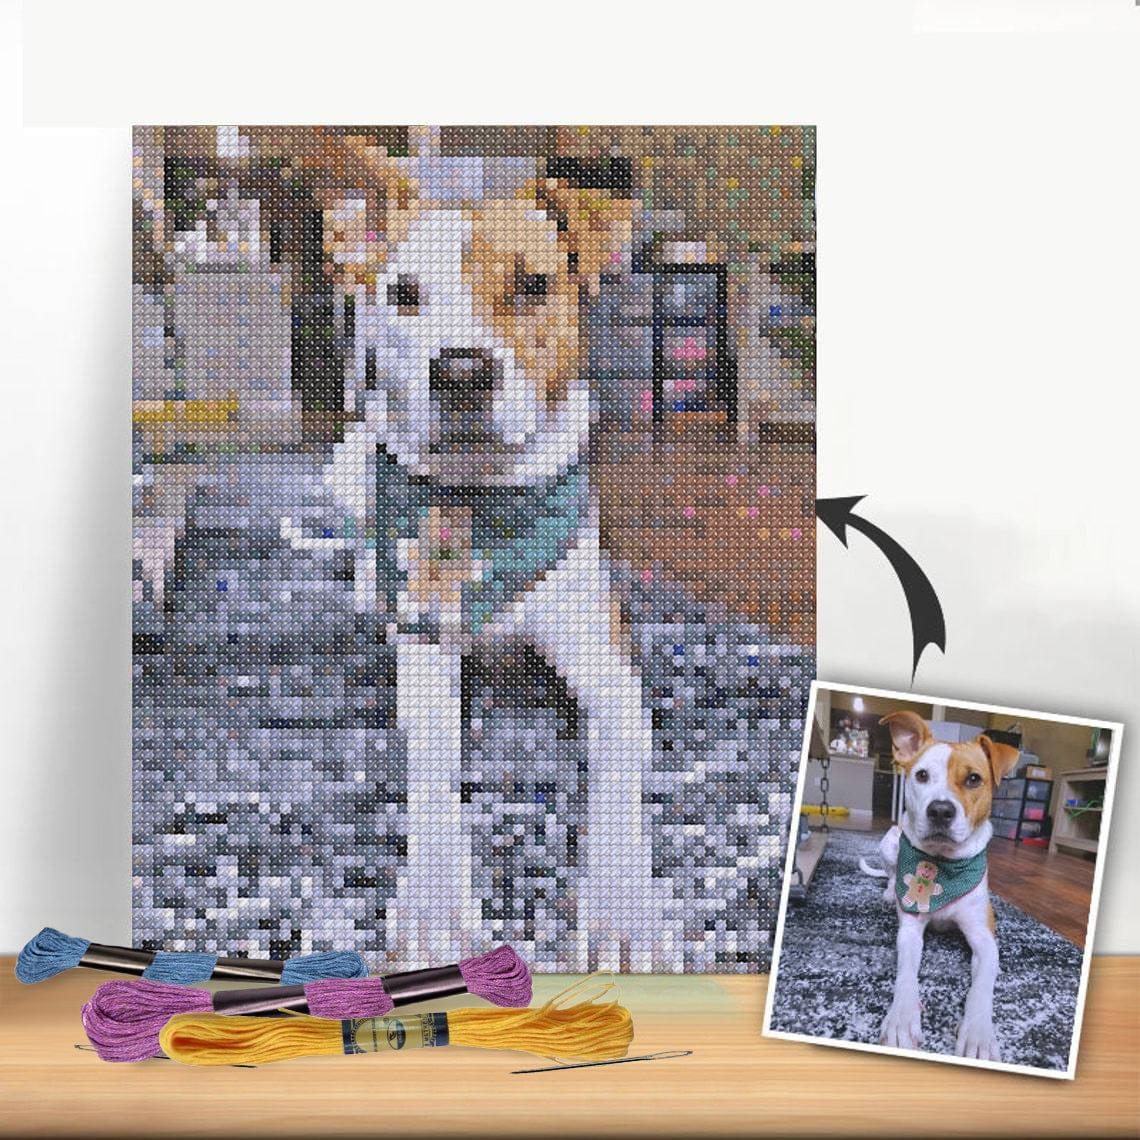
Custom Cross Stitch Tapestry Kit | Just Upload Your Photo!
Regular price From ¥6,100 JPYRegular priceUnit price per¥13,100 JPYSale price From ¥6,100 JPYSale -
Custom Couple Cross Stitch Tapestry Kit | Just Upload Your Photo!
Regular price From ¥6,100 JPYRegular priceUnit price per¥13,100 JPYSale price From ¥6,100 JPYSale -
Custom Pet Cross Stitch Tapestry Kit | Just Upload Your Own Photo!
Regular price From ¥6,100 JPYRegular priceUnit price per¥13,100 JPYSale price From ¥6,100 JPYSale


