

Have you ever looked at a finished cross-stitch piece and felt like something was missing? Sometimes, the detail that takes a project from lovely to a true heirloom is a beautifully stitched cross stitch floral border. It's more than just a pretty frame; a thoughtful border can add structure, tie your theme together, and give your work a polished, professional look.
How Floral Borders Transform Your Cross Stitch
A good floral border is one of the best ways to bring a whole design together. Think of it as the frame for your stitched art—it contains the main subject, focuses the viewer's eye, and makes the entire piece feel complete. Without that defining edge, some designs can look a bit lost or like they're just floating on the fabric.
I remember stitching a piece with several small, scattered motifs. They were sweet on their own, but the overall project felt disjointed. As soon as I added a simple, winding vine border, everything clicked. It tied all the separate elements into one cohesive scene. The border wasn't just decoration; it gave the piece a narrative.
Adding Thematic Depth and Style
Floral borders are also a fantastic tool for reinforcing the theme of your work. A delicate border of lavender and sage can perfectly complement a rustic kitchen sampler. For a wedding or anniversary piece, a lush frame of roses and peonies adds a touch of romance. The style of the border really sets the mood.
Just think about the different vibes you can create:
- Minimalist Vines: A simple green vine with tiny leaves gives a clean, modern feel that won't compete with your central design.
- Full Blooms: Big, colorful flowers like sunflowers or poppies make for a bold, eye-catching frame that turns your project into a real statement piece.
- Wildflower Meadow: A mix of smaller, varied flowers creates that charming, cottage-core aesthetic, which is perfect for nature-themed projects.
The right border does more than just decorate—it becomes a core part of the artwork. It can elevate a simple pattern into a personalized piece that truly shows off your creative flair.
Ultimately, designing and stitching your own floral border is a chance to put your personal stamp on a project. It’s how you can make a pattern uniquely yours, transforming it into a keepsake that will be treasured for years.
Designing Your Perfect Floral Border
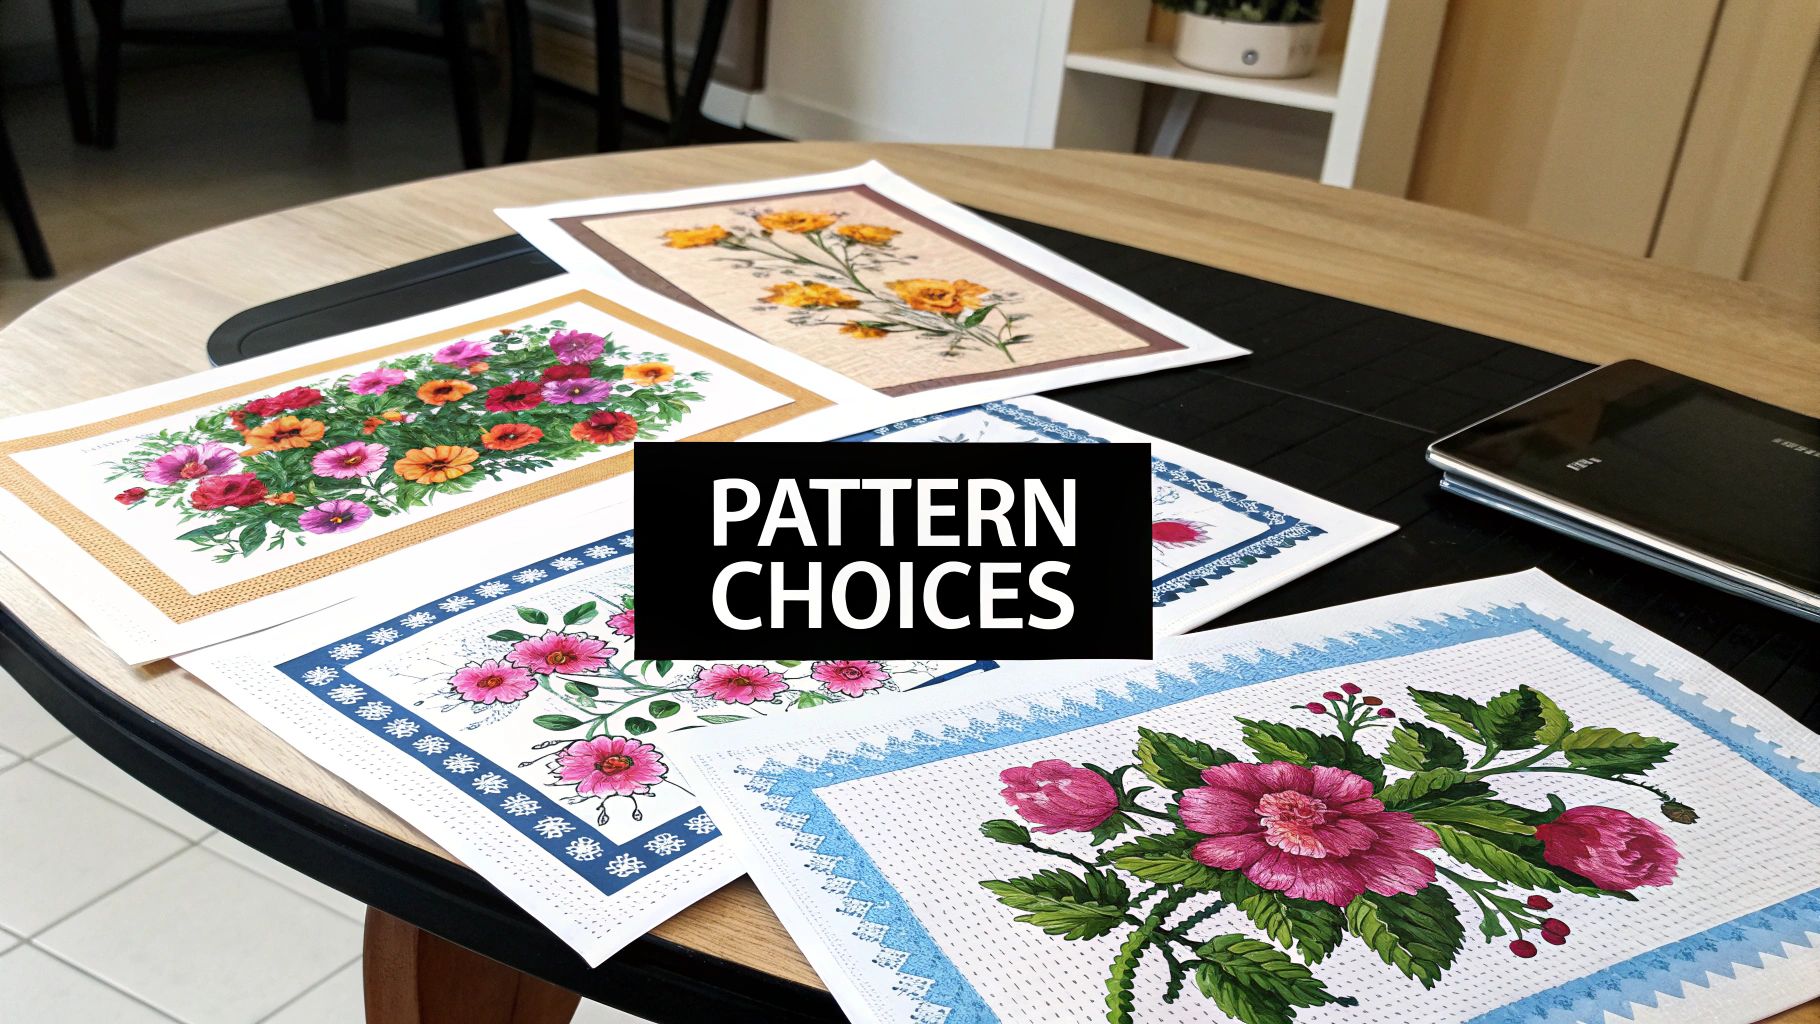
The very best cross stitch floral borders don’t just happen; they start as a spark of an idea, long before you even think about threading a needle. This is the fun part, where your creativity gets to run wild.
Inspiration is everywhere. I get some of my favorite ideas from scrolling through vintage botanical prints on Pinterest or even just snapping photos of the flowers blooming in my backyard. The key is to find a style that truly complements your main design. A rustic, farmhouse-style piece might look perfect framed by a simple wildflower vine. On the other hand, a more traditional sampler often calls for something grander, like a lush, symmetrical border of roses and peonies.
Key Design Principles
Once you’ve settled on a general vibe, it’s time to think about the building blocks of a great design. Balance is everything. You never want your border to scream for attention and overpower the main event. Think about the scale of your flowers and leaves—are they in proportion to the central image?
You also want to create a sense of rhythm and flow, which usually comes down to repetition and symmetry. A simple repeating motif of a single flower and a few leaves can look incredibly elegant. For a more classic, formal feel, a symmetrical design where the left and right sides are perfect mirror images always works beautifully.
A well-designed border should feel like it belongs to the central artwork, not like it was tacked on as an afterthought. Give your corners special attention! They're a fantastic opportunity to add a flourish, maybe with a larger bloom or a graceful curve in a vine.
Charting Your Floral Pattern
With your ideas bubbling, the next step is to get them down on a grid. This is where your vision becomes a concrete, stitchable pattern. If you love a hands-on approach like I do, nothing beats good old-fashioned graph paper and colored pencils for sketching out motifs and seeing how they fit together.
Of course, cross stitch software or even simple digital art programs can speed things up. These tools make it easy to play with color palettes, tweak the size of a flower, and make sure your corners turn smoothly without any awkward gaps.
Whether you go digital or stick to paper, a clear chart is your non-negotiable roadmap. It ensures every single stitch works toward creating that beautiful, cohesive piece you pictured in your head. Seeing how other stitchers handle intricate details can also be a huge help; you can learn a lot by studying complex cross stitch patterns and getting inspired by their techniques.
Choosing Your Fabric, Thread, And Tools
The materials you gather are the true foundation of your cross-stitch floral border. I've learned over the years that taking a little extra time to choose the right fabric, floss, and tools makes all the difference. It's the key to a project that not only looks beautiful but is also a genuine joy to stitch.
Your fabric choice is probably the single most important decision you'll make. It dictates the entire feel and detail level of your finished border.
- Aida Cloth: If you're just starting out or simply want a straightforward project, you can't go wrong with Aida. Its grid-like weave makes finding the holes a breeze, ensuring your stitches stay neat and even. For delicate flowers, I recommend a higher count like 18-count to get that finer, more detailed look.
- Linen or Evenweave: When I'm aiming for something with an heirloom quality, I reach for linen. It has a wonderfully soft drape but the threads aren't perfectly uniform, so it requires a bit more focus. Evenweave fabric is a fantastic alternative, giving you a similar elegant look to linen but with a much more regular weave.
Selecting Your Floss And Palette
Now for the best part—choosing your colors! Think of your embroidery floss as your paint palette. You can go for a soft, harmonious feel by sticking to one color family, like layering different pinks and reds to stitch a classic rose border. Or, you can make a bold statement with high-contrast, complementary colors, like deep purple irises with vibrant yellow centers.
I find the most successful floral palettes are the ones that mimic nature. Try pulling inspiration from a real bouquet or a photo from your garden. Notice how many different greens there are in the leaves and stems—blending those shades is what creates that incredible sense of depth.
Getting The Right Tools For The Job
Beyond your fabric and floss, a few basic tools will make your life so much easier. A good embroidery hoop is an absolute must-have. It holds the fabric taut, which is crucial for preventing your stitches from puckering or looking distorted. I suggest using a hoop that's small enough to let you comfortably work on one section of your border at a time.
A quality set of tapestry needles is also essential. Make sure the needle size matches your fabric count; a smaller needle for a higher-count fabric makes passing through the holes much smoother. With these basics and a good handle on a few basic cross stitch stitches, you're perfectly set up for success.
It's an exciting time to be a stitcher. The demand for unique, personalized crafts is booming, and this is reflected in the market itself. In fact, the global embroidery market is projected to hit USD 2.62 billion by 2033, a trend largely driven by people wanting custom decorative pieces just like these floral borders. You can see more details on this growth in this market report.
From Vine to Petal: Bringing Your Border to Life
Alright, you've done the hard work of planning and gathering your supplies. Now comes the best part: watching your cross stitch floral border actually bloom on the fabric. I've found that a rigid, step-by-step approach can sometimes kill the joy of stitching. Instead, let's think of this as a more organic process, where your careful planning finally becomes a beautiful piece of art.
First things first, we need to get the placement just right. This is where a little precision goes a long way. Find the exact center of your fabric and carefully mark the starting points for the main vines or corners of your border. This simple action is your foundation, ensuring everything is perfectly centered and symmetrical before you even thread your needle.
This little guide breaks down the prep work that makes for a much smoother stitching session.

As you can see, a little method to the madness—from pre-washing fabric to sorting your floss—helps you sidestep common headaches so you can just enjoy the stitching.
Build the Framework First
My go-to method is to stitch the main structural elements before anything else. This means getting all the primary vines and stems in place. Think of it as building the trellis for your garden. Laying down these lines first gives you a solid framework that makes placing every leaf and flower so much easier.
With the "skeleton" of your border complete, it's time to add the foliage. I like to stitch all the leaves next. This lets you play with the different shades of green you've chosen to build depth and see how the overall composition is shaping up before you add the star attractions.
Now, for the Flowers and Finesse
This is where the magic really happens. Stitching the blooms is often the most satisfying part, as your design finally bursts with color and character. Just work your way around the border, filling in each flower according to your chart.
Once all the cross stitches are in, it's time for the little details that truly make a piece shine. These finishing touches have a huge impact.
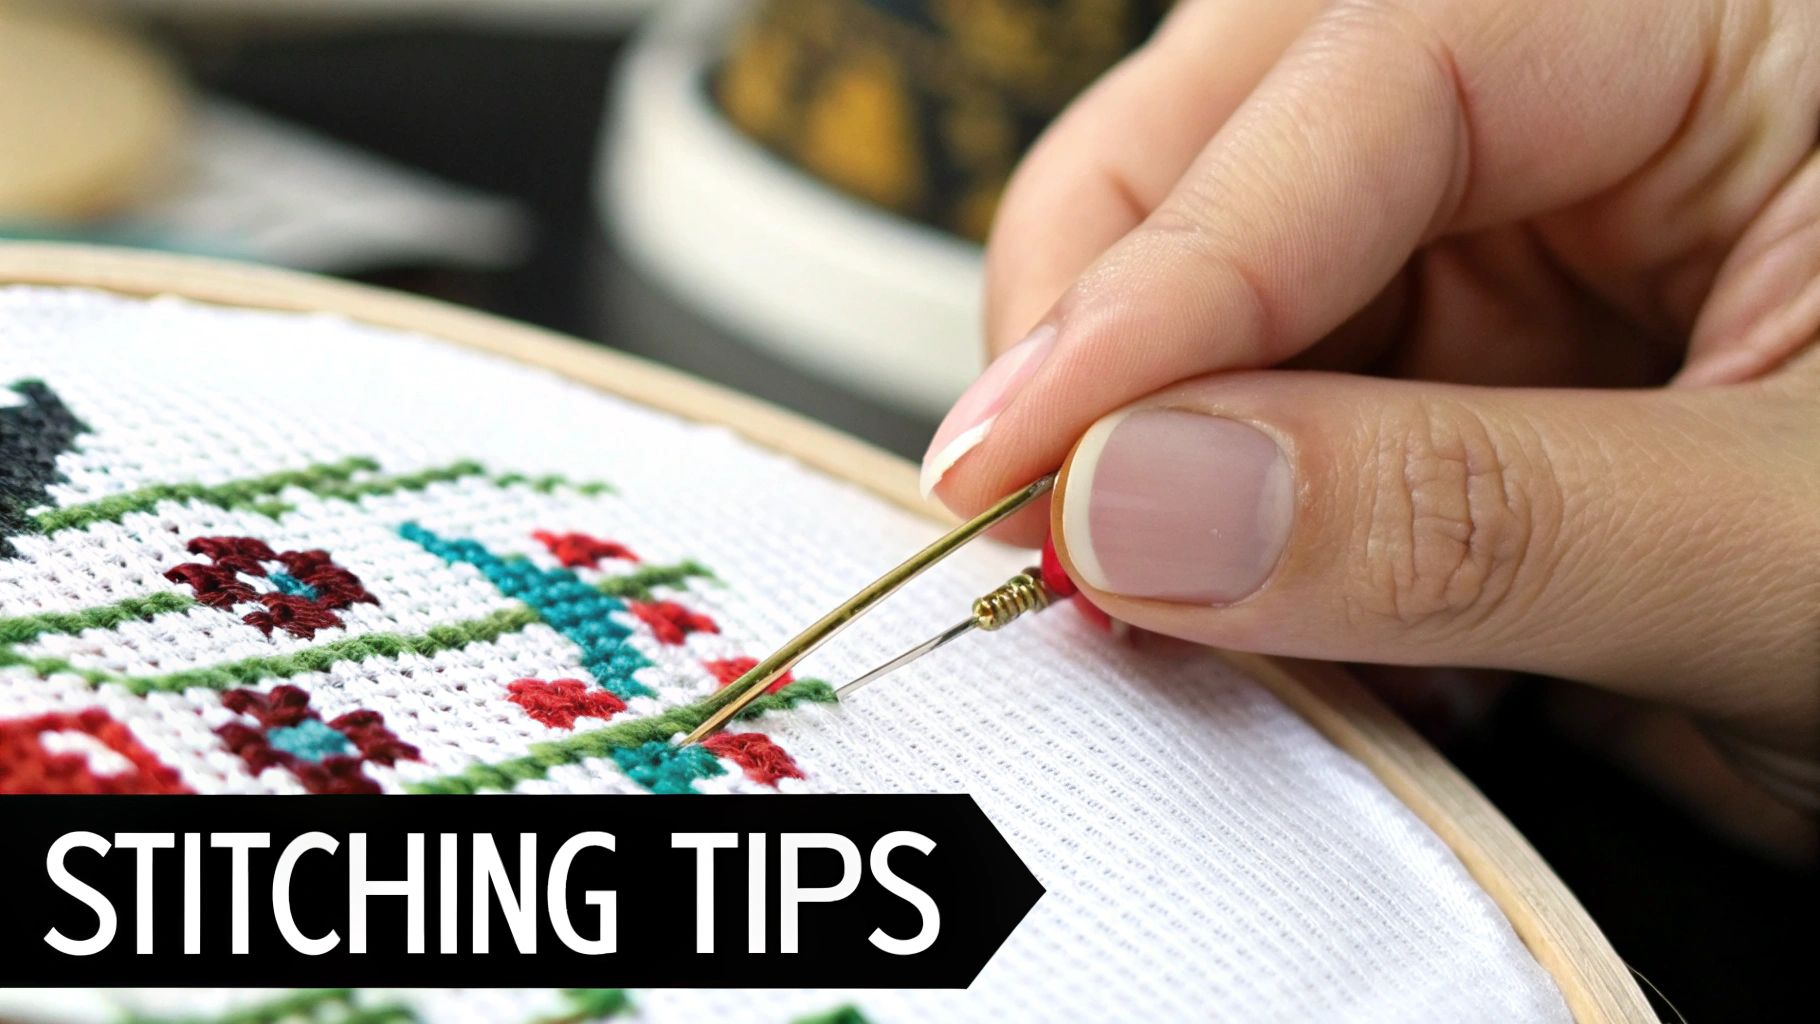
- French Knots: Perfect for creating textured flower centers (think daisies or black-eyed Susans) or adding tiny little berries to a vine.
- Backstitching: This is your secret weapon for defining the delicate edges of petals, adding wispy tendrils, or creating realistic veins on leaves.
Tangled floss is the bane of every stitcher's existence. My tried-and-true tip? Work with shorter lengths of thread—no longer than your forearm. Every few stitches, just let your needle dangle and the floss will untwist itself. It saves you from a world of headaches and knots.
Finishing And Displaying Your Creation
You’ve placed that final stitch, and your gorgeous cross stitch floral border is finally complete! But the journey isn't quite over. Now comes the part that transforms your hand-stitched piece into a polished, heirloom-quality treasure.
First things first, let's give your project a gentle bath. Even if you've been meticulous, natural oils from your hands and a bit of dust can settle on the fabric over time. A quick wash in lukewarm water with a mild soap is all it takes. Just swish it around gently—never wring it out! To dry, roll it up in a clean, fluffy towel and press firmly to soak up the excess water.
Next up is pressing. This is the secret to a perfectly flat, professional-looking finish. Place your still-damp fabric face-down on a thick towel and iron the back of it with a medium-hot iron. Pressing from the back protects your stitches, ensuring they stay plump and beautiful instead of getting flattened.
Creative Display Options
With your piece all clean and pressed, the fun really begins. Deciding how to show off your work is a creative act in itself.
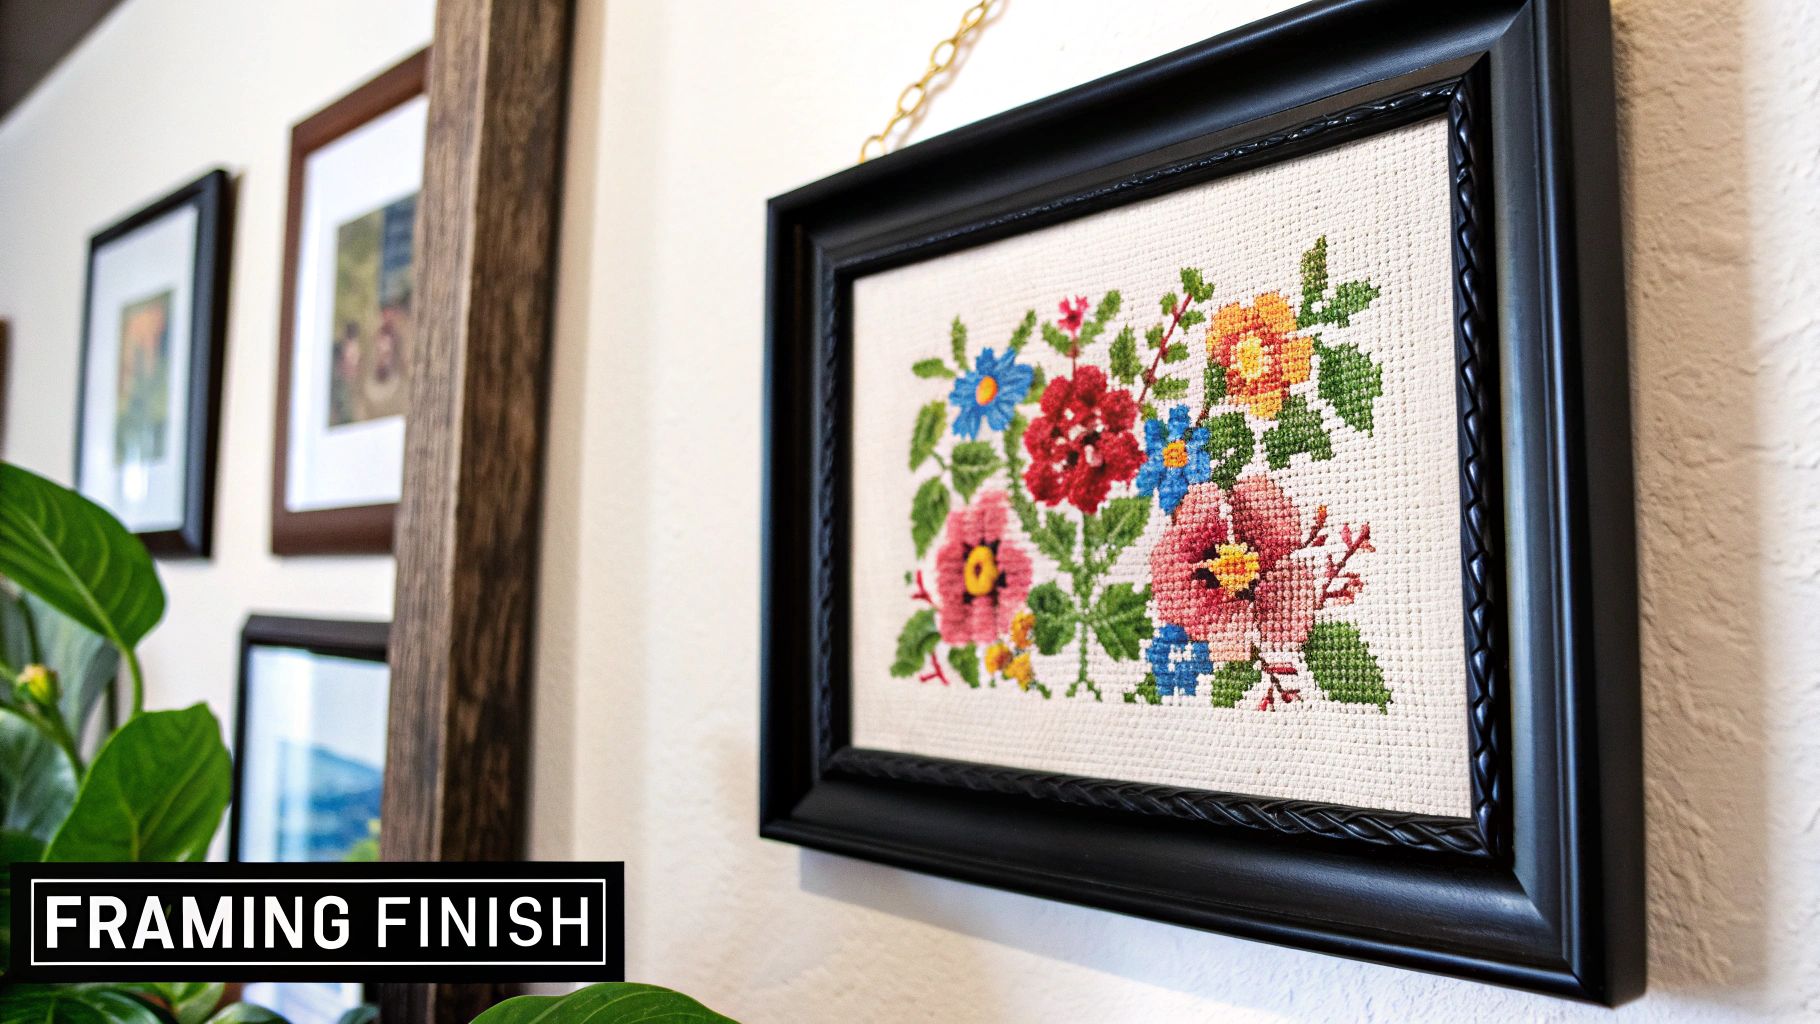
- Classic Framing: You can never go wrong with a traditional frame. It’s the perfect way to protect your stitching for years to come. I always recommend picking a frame and mat that pull out some of the subtle colors from your floral border.
- Modern Hoop Art: For a more rustic, contemporary vibe, why not display it right in a clean wooden embroidery hoop? It’s simple, charming, and lets the stitching be the star.
- Functional Decor: Think beyond the wall! A small design with a beautiful border makes an incredible accent on a throw pillow, a custom pouch, or even the front of a tote bag.
A well-finished piece is a testament to your skill and patience. Taking the time to wash, press, and thoughtfully display your creation ensures it will be admired for years to come.
These final touches really bring your project full circle, from a simple piece of fabric to a work of art. If you want to explore more advanced methods like mounting on sticky boards or lacing your work for framing, check out our guide on cross stitch finishing techniques for more detailed tutorials.
A Few Common Questions About Floral Borders
When you start dreaming up a custom cross-stitch floral border, a few questions almost always come up. I've seen these same sticking points trip up new and experienced stitchers alike, but they're easy to navigate once you know the tricks. Let's walk through some of the most frequent challenges you might run into.
One of the biggest hurdles, without a doubt, is just trying to figure out how much fabric to buy. The math can seem intimidating at first, but it’s actually pretty straightforward.
How Do I Calculate My Fabric Size?
First, you'll need the total stitch count for your design's width and height—that includes your main pattern and the floral border you've designed. Once you have that, add a generous margin of at least 3 inches to each side. This extra space is a lifesaver for handling the fabric while you stitch and makes framing so much easier later on.
Here’s the simple formula:
- Divide the total stitch width by your fabric count (e.g., 14-count, 16-count).
- Add 6 inches to that number (for the 3-inch margin on both sides).
So, for a design that’s 140 stitches wide on 14-count Aida, the math is 140 / 14 = 10 inches. Then, you add your 6-inch margin, giving you a total required fabric width of 16 inches. Just repeat the same process for the height, and you're good to go.
Pro Tip: When in doubt, always buy a little extra fabric. It's so much better to have more than you need than to get to the end and realize you don't have enough room to frame your gorgeous work.
Can I Mix Different Flower Types?
Absolutely! This is one of my favorite ways to add personality to a project. A mixed-flower or "wildflower" border can look stunning and truly unique. The secret to making it work is to create a sense of harmony.
To keep it from looking chaotic, focus on two things: a consistent artistic style and a cohesive color palette. For example, you could pair bold, stylized roses with delicate lavender sprigs and some simple greenery. The key is to balance the visual weight so one flower doesn't completely overpower the others. I always recommend sketching your ideas on paper first—it helps you see how the elements flow together before you ever make a stitch.
Ready to turn your favorite photos into timeless keepsakes? At Cross Stitched, we provide custom, all-in-one kits to help you create beautiful, personalized cross-stitch art. Explore our pattern collections and design your next masterpiece today.


