

Welcome to the wonderfully calming and creative world of cross stitch! If you're new to this craft, don't be intimidated. At its heart, it's just a series of simple 'X' stitches that you repeat to build a beautiful picture. It's a timeless skill that's become a surprisingly accessible and rewarding modern hobby.
Why Cross Stitch Is the Perfect Creative Hobby
If you're on the hunt for a new creative outlet, cross stitch is a fantastic choice that perfectly blends artistry with mindfulness. It’s so much more than just putting a needle to fabric; it’s about the simple joy of watching an image emerge one stitch at a time. The gentle, repetitive motion can be incredibly soothing.
In fact, many stitchers I know treat it as a form of meditation. It offers one of the most effective ways to relax and de-stress, much like lighting a scented candle after a long day. You get to slow down and create something tangible and beautiful, which brings a real sense of accomplishment.
Cross stitch is my go-to activity for quiet evenings or lazy weekends. It’s a screen-free way to unwind that still engages my mind and lets my creativity flow.
A Modern Craft With a Rich History
While it feels completely current with all the trendy kits and vibrant online communities, cross stitch has a deep and fascinating history. It saw a massive revival in the 1960s, transforming from a domestic necessity into a beloved leisure activity.
Companies like DMC, which was founded way back in 1746, were instrumental in this shift. By making high-quality materials widely available, they helped turn it into the hobby we love today. Now, they offer over 500 thread colors in more than 125 countries.
This easy access to supplies is a huge advantage for anyone starting out now. You really don't need a lot of expensive equipment to get going. Here are the absolute basics:
- Fabric: Aida cloth is a beginner's best friend. Its woven grid makes counting stitches a breeze.
- Thread: Also called embroidery floss, it comes in every color imaginable.
- Needles: You'll want tapestry needles, which have a blunt tip that's perfect for slipping through the holes in Aida fabric without splitting the threads.
- A Pattern: This is your map—it tells you exactly where to place each stitch to create your design.
Picking Out Your First Cross Stitch Supplies
Alright, before you dive in and make that very first stitch, you'll need to gather a few tools. It can feel a bit overwhelming walking into a craft store or scrolling online, but honestly, you only need a handful of key items to get started. You've got two main options: grabbing a pre-made kit or picking out your supplies one by one.
The Great Debate: Kit vs. DIY
A good cross stitch kit is, without a doubt, the simplest way for a beginner to jump in. It's got everything bundled together for you—the pattern, the right fabric, pre-cut thread, and a needle. It just takes all the guesswork out of the equation and guarantees you have what you need for that specific design.
On the flip side, choosing your own supplies gives you total creative control right from day one. You can pick any pattern that catches your eye, select your favorite colors, and even play around with different types of fabric. It’s a bit more hands-on, but very rewarding.
To help you decide what's best for you, let's break down the pros and cons of each approach.
Starting Your Cross Stitch Journey: Kit vs. DIY Supplies
| Factor | Cross Stitch Kit | Buying Individual Supplies (DIY) |
|---|---|---|
| Convenience | High. Everything is included in one package. | Lower. Requires selecting each item separately. |
| Cost | Often more cost-effective for a single project. | Can be more expensive initially but cheaper long-term. |
| Customization | Low. Limited to the specific design and colors provided. | High. Complete freedom to choose patterns, fabric, and threads. |
| Ease of Start | Excellent for beginners. No decision-making needed. | Can be overwhelming without knowing what to look for. |
| Learning Curve | Gentle. Focus on stitching, not supply selection. | Steeper. You learn about materials right away. |
Ultimately, the best path is the one that excites you the most. A kit is perfect if you value simplicity, while the DIY route is fantastic for those who want to customize every detail from the get-go.
Getting to Know Your Fabric
The go-to fabric for nearly every cross stitcher starting out is Aida cloth. What makes it so great is its design—it's woven with a very clear grid of holes, which makes creating those neat, even stitches a breeze. You'll see Aida sold by its "count," like 14-count or 16-count.
My Two Cents: The "count" just means how many stitches fit into one inch of fabric. A lower count, like 11, gives you bigger squares and is easier to see. A higher count, like 18, means smaller stitches for a more detailed look. For your first project, 14-count Aida is the absolute sweet spot.
The Must-Have Tools
Beyond the fabric, you just need a few more things to complete your setup.
- Embroidery Floss: This is the colorful thread you’ll use. DMC is the industry standard for a reason—the quality is top-notch and they have a massive range of colors.
- Tapestry Needles: Don't grab a regular sewing needle! Tapestry needles have a blunt tip and a larger eye. They're designed to glide through the holes in your Aida without piercing the fabric threads. A size 24 tapestry needle works perfectly with 14-count Aida.
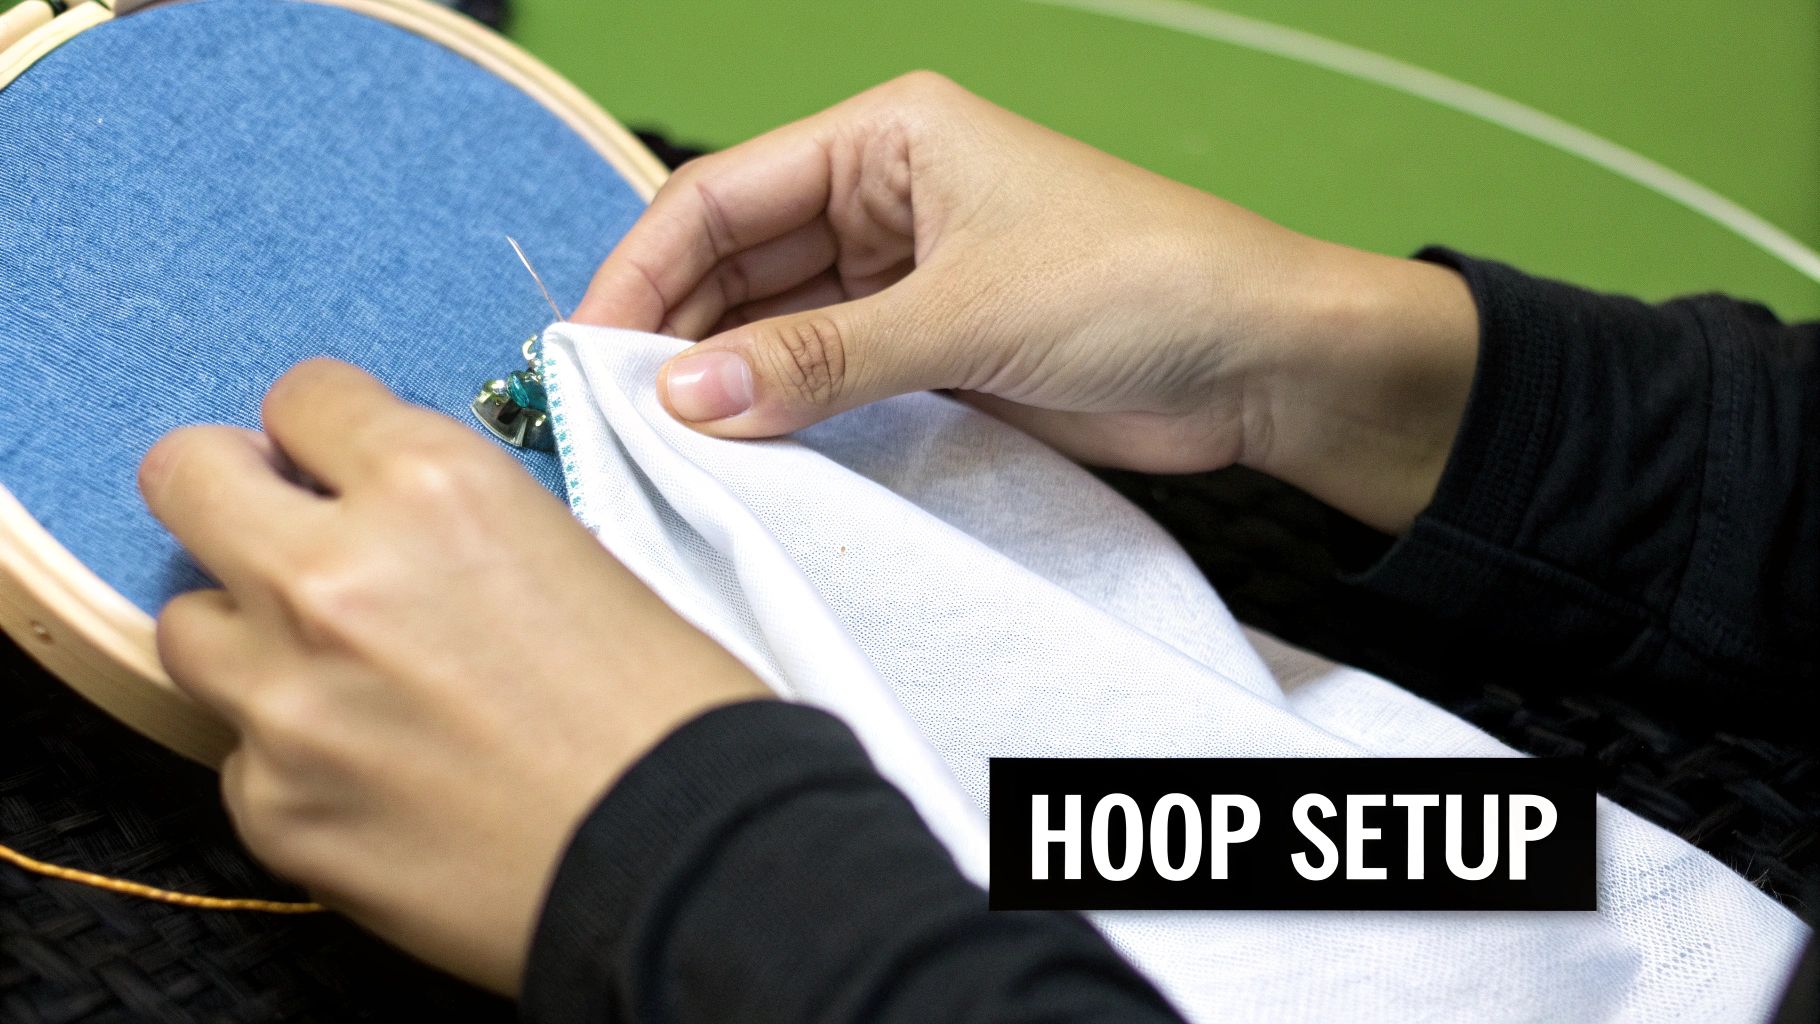
- Embroidery Hoop: While you can stitch without one, I'd highly recommend it. A hoop keeps your fabric tight, which is the secret to getting nice, even tension in your stitches. A simple 5 or 6-inch plastic or wooden hoop is all you need.
Once you've got your gear, you'll be ready to stitch. If you want to see what a finished piece looks like or just need some ideas, take a look at our collection of free cross stitch patterns for beginners. They’re a great way to practice with your new supplies
How to Prepare Your Fabric and Thread
Want to know the real secret to a project that looks polished and professional? It all happens before you even make a single stitch. Taking a few moments to get your materials ready can save you from a lot of common headaches and makes the whole experience so much more relaxing. Trust me, these are habits worth building from day one.
First things first, you absolutely have to find the center of your fabric. This is non-negotiable. Just fold your Aida cloth in half lengthwise, then fold it in half again the other way. The point where the two creases intersect is your exact center. I like to give it a little pinch or pop a pin in there so I don't lose my spot.
Starting from the center guarantees your design will be perfectly framed, and you won’t get halfway through only to discover you're about to stitch right off the edge.
Managing Your Materials
With your fabric prepped, it's time to sort out your thread and protect those fabric edges. These little steps prevent massive tangles and fraying down the line. For instance, embroidery floss usually comes as a thick thread made of six individual strands, but most cross-stitch patterns only require you to use two strands at a time.
- Separating Your Floss: The best way to do this is to cut a piece of floss about 18 inches long—roughly the distance from your fingertips to your elbow. Pinch one end, and with your other hand, gently pull a single strand straight up and out. Keep doing this one by one for as many strands as you need. It’s the only surefire way to avoid a knotted mess.
- Securing Your Fabric Edges: Aida cloth loves to fray. As you handle the fabric, the edges will start to unravel, which is incredibly annoying. A simple roll of masking tape is your best friend here. Just run a line of tape along all four sides of your fabric to create a clean border that holds everything together.
My Personal Tip: Whatever you do, don't skip the prep. I learned this the hard way when I rushed into a new project, eyeballed the center, and ended up with a hopelessly lopsided design. Those two minutes it would have taken to fold the fabric would have saved me hours of frustration and a lot of pulling out stitches.
This image breaks down the simple, two-step motion of creating a single cross stitch.
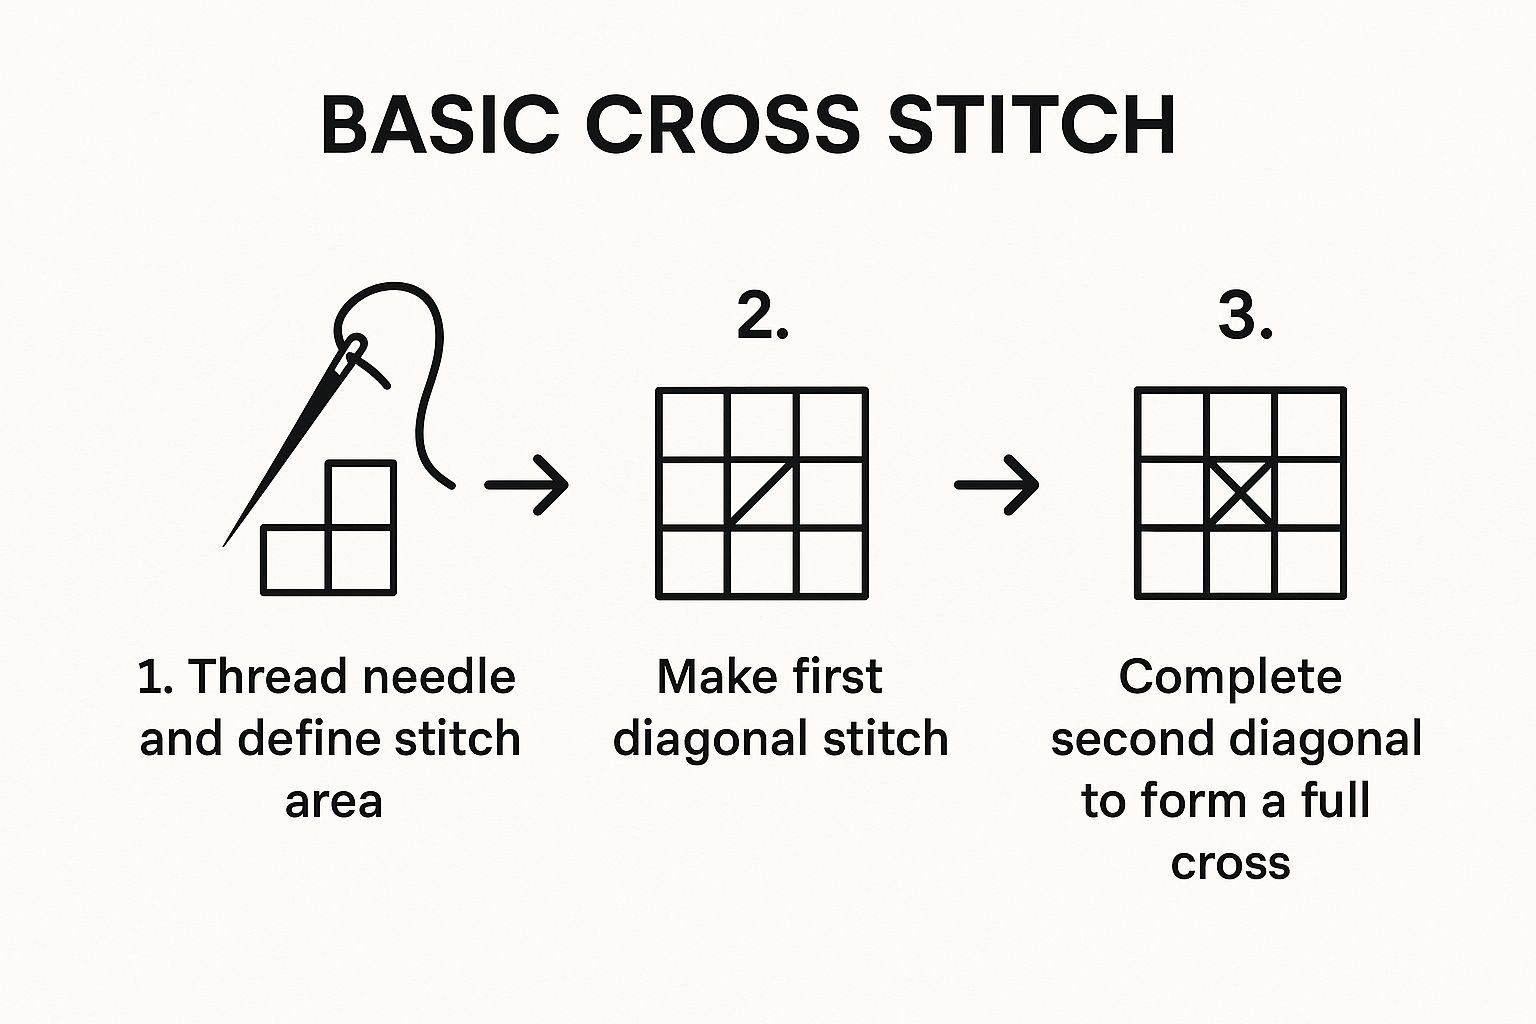
You can see how the first diagonal lays the groundwork, and the second one crosses over it to complete that classic "X." This foundational stitch is at the heart of the craft's comeback. It’s no surprise that the needlecraft patterns market is booming, valued at approximately USD 34 billion in 2025. You can discover more about this industry's growth on futuremarketinsights.com.
Alright, let's get down to the fun part—actually making some stitches.
Everything in cross-stitch comes down to one simple thing: the 'X'. It’s just two little diagonal stitches that cross over each other in one of the squares of your fabric. Getting the hang of this basic stitch is probably the most important thing you'll learn.
First, you'll make the bottom leg of the 'X', say from the bottom-left hole to the top-right. Then, you'll make the top leg, crossing over it from the bottom-right to the top-left. Honestly, the exact direction you go in doesn't matter, but consistency is everything.
The Golden Rule of Cross Stitch: Always make your top stitches lie in the same direction. It doesn't matter if they all slant like /// or \, as long as they are all the same. This one habit is what separates a good-looking project from a truly professional, polished piece.
How Should You Build Your Stitches?
Once you start following a pattern, you’ll find there are two main ways to tackle the stitches. Neither one is inherently better than the other, but knowing which one to use in different situations will save you a lot of time and thread.
The English Method: One by One
This is pretty straightforward: you complete an entire 'X' before moving on to the next one. Simple as that.
- Best For: Those random, isolated stitches often called "confetti" stitches, where you have single dots of color spread far apart.
- Why it works: Think of a single yellow stitch for a tiny star in a big blue sky. The English method lets you complete that one stitch without dragging a long, messy thread across the back of your fabric. It keeps the back much cleaner for those one-off stitches.
The Danish Method: Working in Rows
This is my go-to method for most projects. You first create a whole row of the bottom legs (like this: /////). Then, you come back along the row, stitching all the top legs (like this: \\) to finish all the 'X's at once.
- Best For: Any time you have blocks or long rows of the same color.
- Why it works: It is so much faster! You get into a really nice, steady rhythm. If your pattern has a solid block of red that's 10 stitches wide, the Danish method is your new best friend. I find it also helps keep my stitch tension even and leaves the back of my work looking surprisingly neat.
How to Read a Cross Stitch Pattern (Without Tearing Your Hair Out)
When you first unfold a cross stitch pattern, it can look a bit like a secret code. Don't let it intimidate you! Just think of it as a map. It’s a grid where every single square stands for one cross stitch on your fabric, and each symbol inside that square tells you which color to use.
Your most important tool here is the symbol key, sometimes called a legend. This little chart is your decoder ring. It connects every symbol on the grid to a specific floss number, like showing you that a star symbol means you need to use DMC 310 (the classic black). This key is your guide to picking the right thread every single time.
Keeping Track of Where You Are
It's one of the most common frustrations for any stitcher, new or old: losing your place on the chart. My go-to, tried-and-true method is beautifully low-tech. I always work from a paper copy of the pattern and keep a highlighter handy. Once I finish a stitch on the fabric, I color in that square on my paper chart. Simple, satisfying, and it gives you a fantastic visual of how far you’ve come.
If you want something a bit more advanced, a magnetic board is a lifesaver. You can lay your chart on the board and use a magnetic ruler to mark the exact row you're working on. Just slide it down as you complete each line. It’s a huge help for staying focused and avoiding miscounts, especially in big blocks of similar colors. If you want to see what these charts look like in the wild, check out some of these easy cross stitch patterns for beginners.
My personal tip: Don't be shy about writing all over your pattern (the paper copy, of course!). I’m always circling tricky areas or jotting down the floss number next to a symbol I keep forgetting. Make it work for you.
A Savvy Way to Handle Color Changes
What do you do when a pattern has you jumping between colors every few stitches? Constantly cutting your thread, securing it, and starting a new one is a real drag. This is where a brilliant little method called the "parking" technique comes into play.
Instead of snipping your thread when you finish a small color block, you just bring your needle up through the first stitch of the next area where that same color appears. You then let the thread "park" there on the front of your fabric, waiting patiently until you need it again.
This trick not only makes your stitching sessions flow so much faster, but it also helps keep the back of your work surprisingly neat. As more people discover the joy of DIY crafts, techniques like this are what help turn a curious beginner into a confident stitcher. In fact, the global embroidery market is seeing a lot of growth, even if getting started can feel a bit overwhelming at first. You can read up on the embroidery market trends at businessresearchinsights.com.
Finishing and Displaying Your Creation
You’ve placed that final, satisfying stitch. Congratulations! After all those hours of patient work, your cross-stitch project is finally complete. Now comes the part that transforms it from a simple piece of fabric into a real work of art.
First things first, let's give it a gentle wash. Even with the cleanest hands, oils and hoop marks can find their way onto your fabric. A quick bath makes all the difference. Just fill a clean sink or basin with lukewarm water and add a single, tiny drop of a mild, clear dish soap.
Let it soak for about 15 minutes, then give it a gentle swish. Rinse it carefully under cool, running water until you're sure all the soap is gone. Whatever you do, don't wring it out! The best way to dry it is to lay the piece flat on a clean, thick towel, roll it up like a burrito, and press down to squeeze out the extra water.
Getting It Perfectly Flat
Once it's damp but not sopping wet, it's time to iron. Lay your cross-stitch face down on another clean, thick towel. Using a medium setting on your iron (and no steam!), press the back of the fabric until it’s completely dry and smooth.
That towel is your secret weapon. Pressing the piece face-down into its soft surface protects your stitches, keeping them plump and defined instead of squashing them flat.
Creative Ways to Show Off Your Work
Now for the fun part: deciding how to display your masterpiece! You've earned the right to show it off, so let's explore some options.
- Classic Framing: You can never go wrong with a traditional frame. It’s a timeless way to elevate your stitchery into a piece of art ready for any wall.
- Modern Hoop Display: For a more casual, modern vibe, simply mount your finished work in a nice wooden or decorative hoop. It's a simple, stylish look that's incredibly popular right now.
- Functional Crafts: Why not make your art useful? Smaller designs can be turned into beautiful bookmarks, unique pincushions, or even a one-of-a-kind patch for a denim jacket.
There's no right or wrong way to display your work. The goal is to celebrate the time and care you invested. Choose a method that brings you joy every time you see it.
For a closer look at these methods and some more advanced ideas, be sure to check out our detailed guide on cross stitch finishing techniques.
Your Top Questions Answered
Starting a new hobby always comes with a few questions, and that’s a good thing! It means you're engaged and thinking about the process. I've heard them all over the years, so let's tackle some of the most common ones right off the bat. Getting these sorted will help you stitch with more confidence from day one.
"Help! I Messed Up a Stitch!"
First thing's first: take a deep breath. Mistakes happen. They happen to me, they happen to stitchers with decades of experience, and they will happen to you. It's just part of the craft.
If you spot the error right after you've made it, the fix is easy. Just use the blunt end of your needle to gently nudge the stitch loose and carefully pull out the floss.
But what if you don't see it for another fifty stitches? Take a good look. Is it a single wrong color in a really detailed, "busy" area? Honestly, you might just leave it. No one will ever notice, and it adds a little handmade character. For a more glaring mistake, you'll need to do some minor "stitch surgery." Flip your work over, carefully snip the offending floss with small, sharp scissors (like embroidery scissors), and gently pull the threads out from the back. Just be extra careful not to snip the fabric itself!
"How Do I Keep the Back of My Project from Looking Like a Mess?"
Ah, the neat back. It's the white whale for many a stitcher. The biggest secret? Avoid knots like the plague. Instead of tying a knot to anchor your thread, leave a one-inch tail on the back when you make your first stitch. Then, as you make the next few stitches, just make sure you catch that tail underneath them to lock it in place. It's a game-changer.
When you finish a section of color and need to jump to another spot with the same color, try not to "carry" your thread across a long distance on the back. A good rule of thumb is to keep these jumps to 1-3 stitches maximum. Any longer and the thread can snag or, even worse, show through to the front.
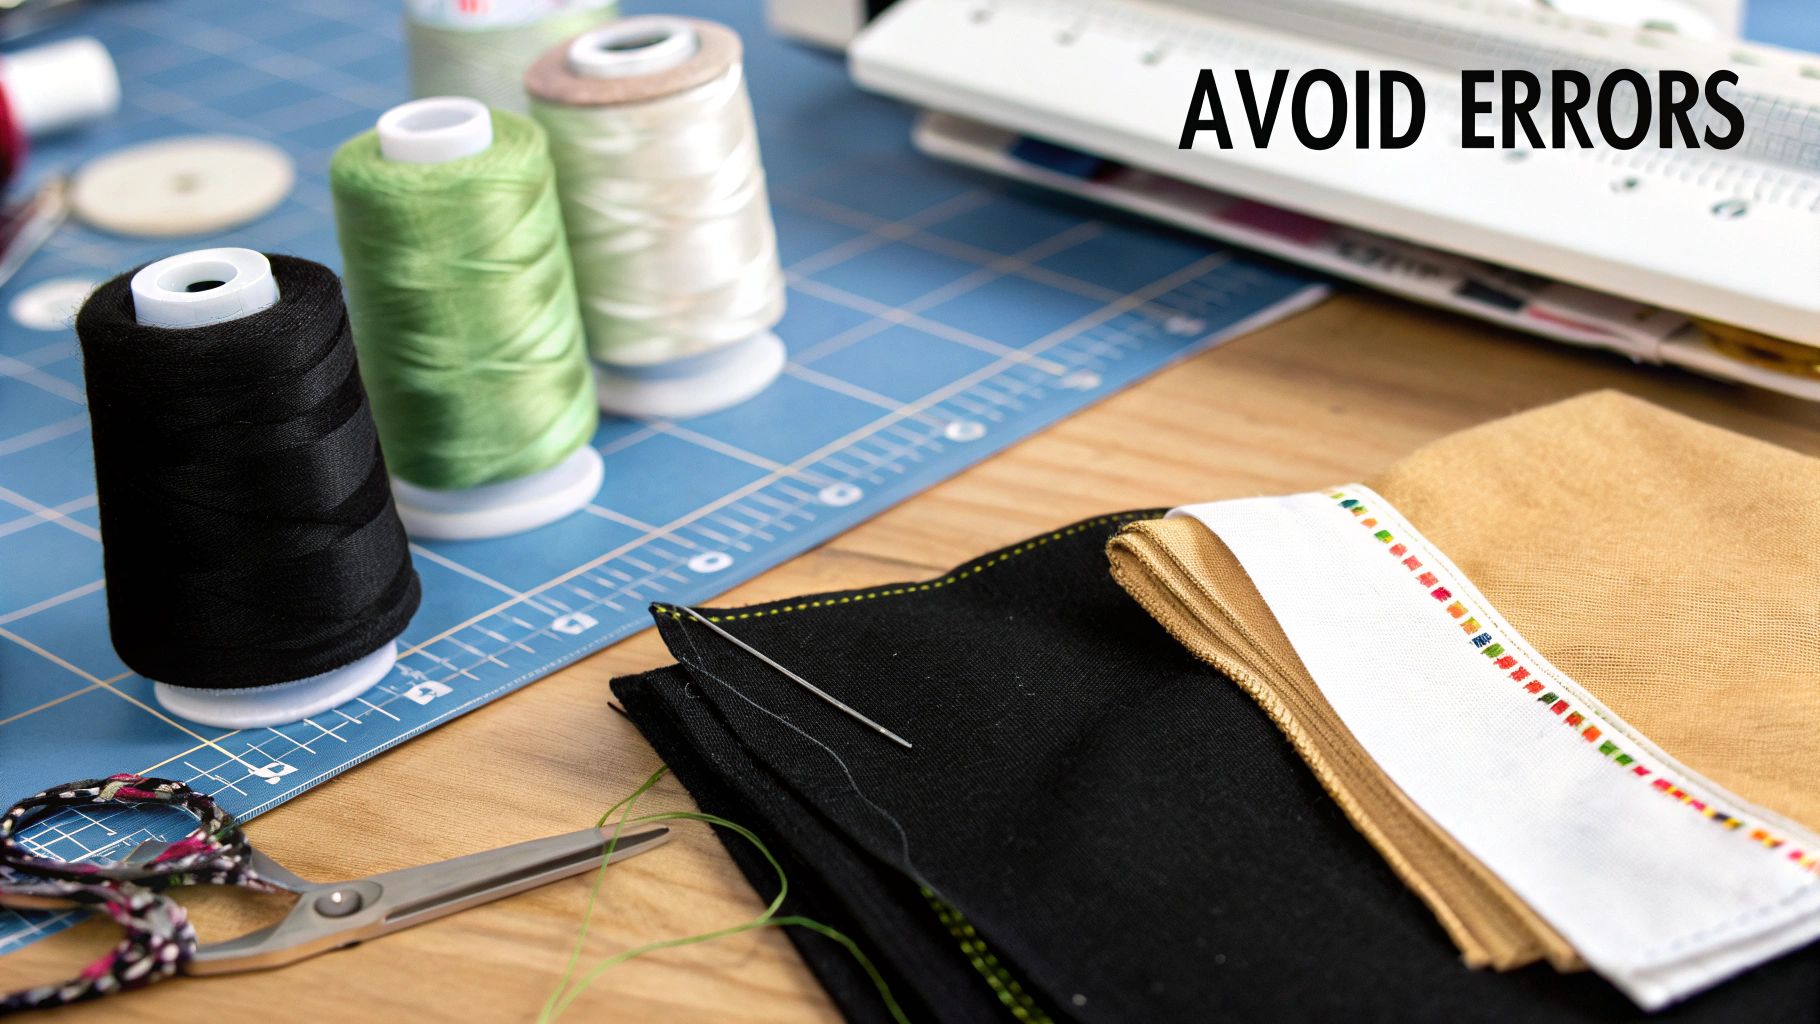
"My Thread Is a Tangled Nightmare. What Am I Doing Wrong?"
This is probably the single most frustrating thing for new stitchers, but the fix is usually pretty simple. It just takes a couple of small tweaks to your routine.
- Go Shorter: Don't try to work with a super long piece of floss. It might seem efficient, but it's a recipe for knots. A length of about 18 inches—roughly the distance from your fingertips to your elbow—is the sweet spot.
- Let it Dangle: Every few stitches, just pause and let your needle and thread hang freely from your fabric. You'll see it immediately start to spin. That's the thread untwisting itself, releasing the tension that leads to knots.
- Use a Conditioner: If you're still fighting with tangles, especially with metallic or specialty threads, try a thread conditioner. Running your floss over a bit of beeswax or a synthetic conditioner helps it glide through the fabric with less friction and static.
Ready to turn your favorite photos into timeless keepsakes? At Cross Stitched, we transform your memories into beautiful, all-in-one custom cross-stitch kits. Start your personalized project today.


