
With today's pattern-making tools, turning a favorite photo into a cross-stitch chart is surprisingly simple. You just upload a good-quality picture to a pattern generator, and it does the heavy lifting, converting your image into a grid-based pattern complete with thread color suggestions.
Choosing the Right Photo for Your Project
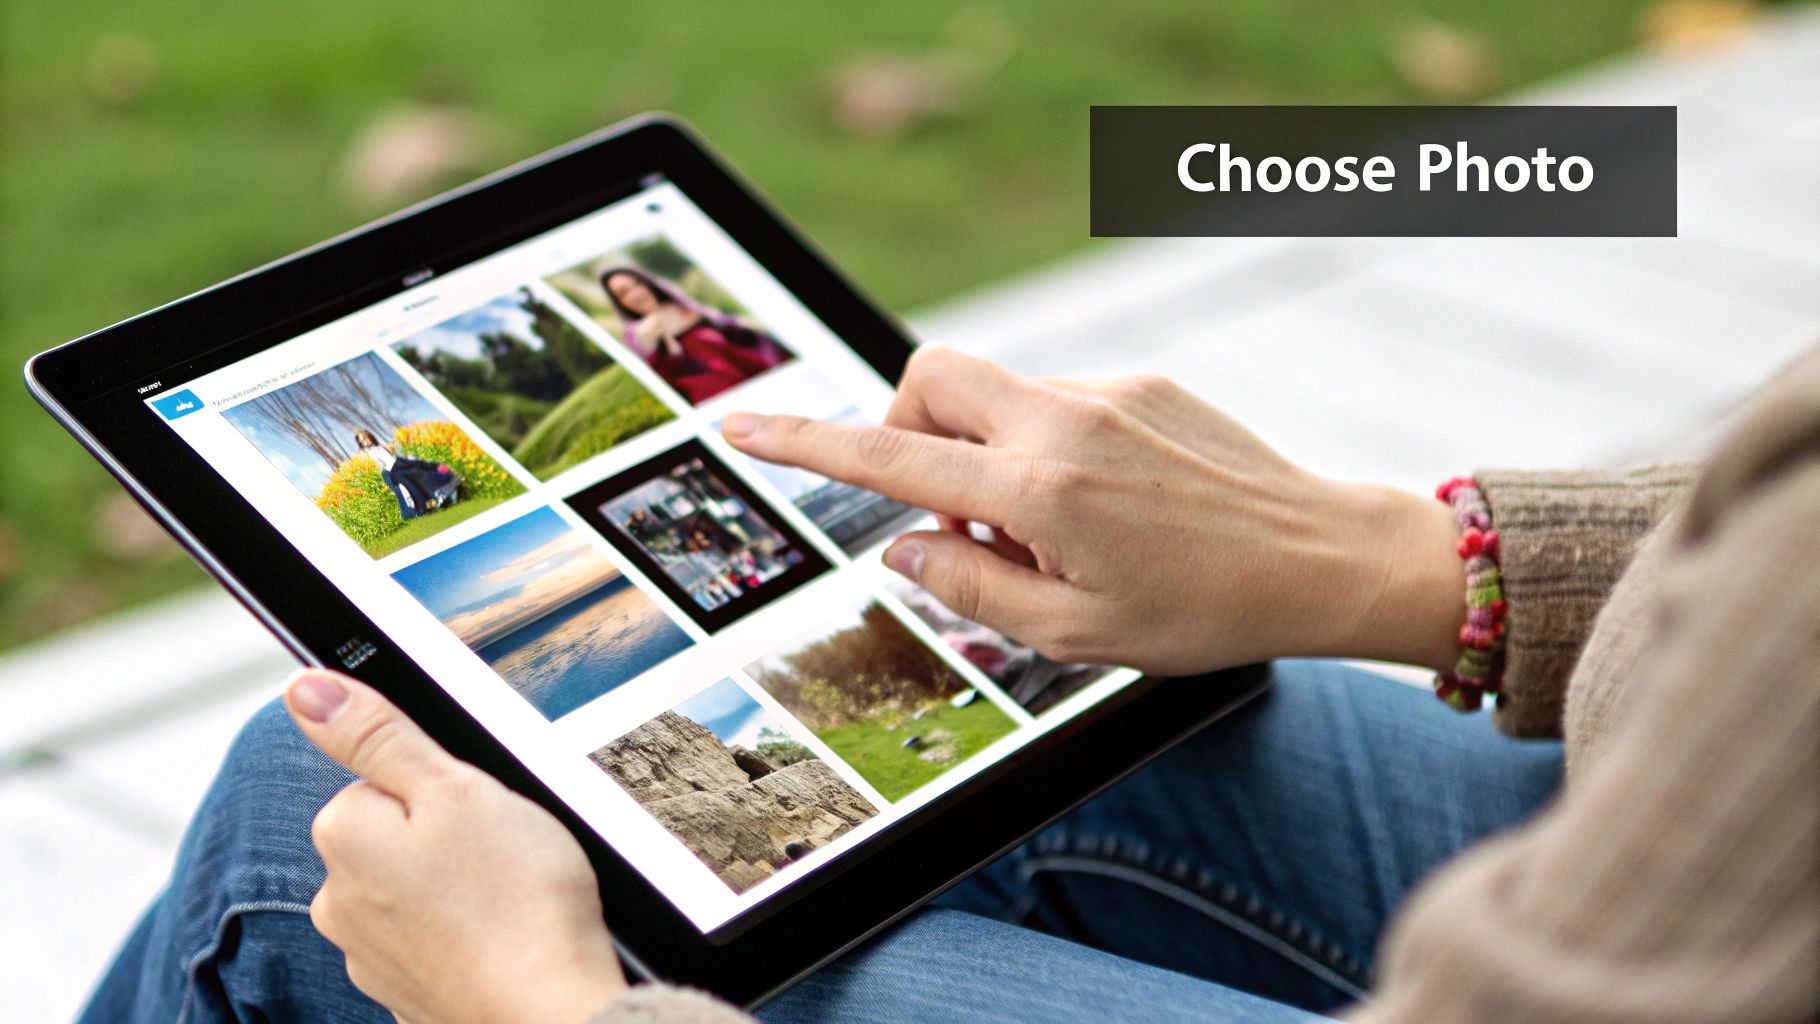
The most critical step in creating a cross-stitch pattern you'll actually enjoy stitching is picking the right photo. This choice sets the stage for everything that follows. Not every picture is a good candidate for being broken down into a grid of tiny Xs, so a little thought up front goes a long way.
Think of it this way: the best photos for cross-stitch have a clear, easy-to-see subject. A portrait where the person stands out against a simple, blurry background is a far better starting point than a chaotic group photo from a busy party.
This whole idea of making custom patterns is booming. The global market for needlecraft patterns hit around USD 34 billion in 2025 and is expected to soar to USD 64 billion by 2035. That huge jump is all about people like us using digital tools to make our crafts deeply personal. You can dig into the specifics of this trend in recent industry market analysis reports.
What to Look For in a Photo
As you're looking through your photos, keep an eye out for these key elements. They make a world of difference.
- High Contrast: You want strong differences between the light and dark parts of your image. Good contrast helps the software create a crisp, clear pattern instead of a muddled mess of similar colors. Photos taken in bright, natural light are often perfect for this.
- Simple Backgrounds: A cluttered background is your enemy. It just creates a ton of "confetti" stitches—those annoying, single-color stitches scattered everywhere. They’re a pain to stitch and distract from your main subject.
- High Resolution: The sharper your original photo, the better your final pattern will be. More detail in the picture means the software has more information to work with, resulting in a much more recognizable and nuanced cross-stitch piece.
Potential Problems to Avoid
On the flip side, some photos are almost guaranteed to give you a headache and a pattern you won't be happy with. Steer clear of low-resolution images; they just turn into blocky, pixelated charts that don't look good.
Also, be careful with pictures that have really subtle color shifts, like a pale, hazy sunset. These can trick the software into generating dozens of thread colors that are almost identical, making your project far more complicated than it needs to be.
The real secret is to simplify. You aren't trying to clone every single pixel of the photo. The goal is to capture the essence of the image in a way that’s actually fun to stitch.
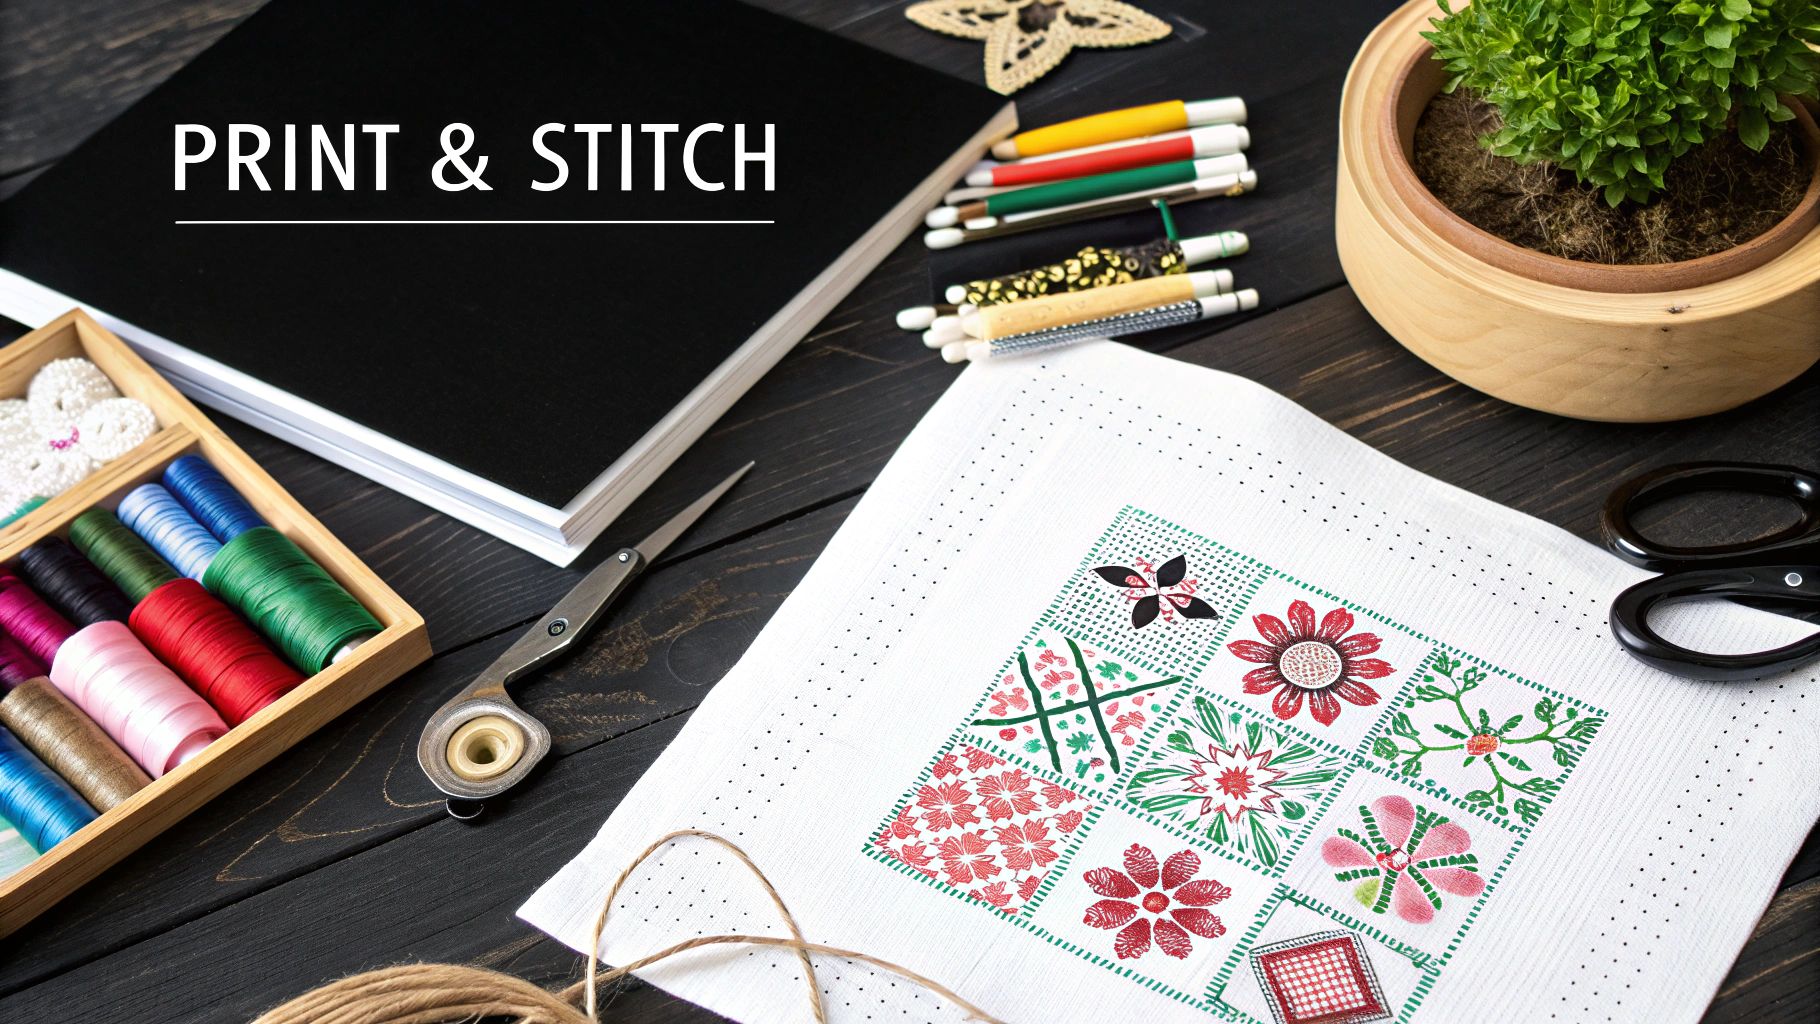
Take a look at this finished cross-stitch piece. It’s a fantastic example of how blocking colors together creates a clear, beautiful image.
See how the distinct blocks of color, like the reds and greens in the flowers, are grouped together? This defines the shapes and makes the whole design clean, readable, and enjoyable to look at. That's what you're aiming for.
Picking the Right Tool for the Job: Your Cross Stitch Pattern Generator
You’ve got the perfect photo picked out—great! Now comes the fun part: choosing the right tool to turn your picture into a cross stitch pattern. This is the bridge between your digital image and the tangible, stitchable chart you’ll work from. The options out there can feel overwhelming, ranging from simple, free online converters to seriously powerful paid software.
If you're just dipping your toes in or working on a really straightforward design, a free online tool is a fantastic way to start. They're quick, easy, and give you a good feel for the process without any financial commitment. Think of them as the perfect choice for a simple logo or a cartoonish image you want to stitch up over a weekend.
But what if you're tackling something more ambitious? For a detailed landscape, a nuanced pet portrait, or any project where you want complete artistic control, investing in paid software is almost always the right move. These programs are built from the ground up to give you the features you need to fine-tune every last detail before you even think about threading a needle.
Free vs. Paid: What's the Real Difference?
The choice between a free and a paid pattern generator really boils down to your specific project and how much you want to be in the driver's seat. A simple graphic for a kid's birthday card? A free tool will likely do the trick beautifully. A detailed family portrait you plan to spend the next six months on? That’s an heirloom piece, and it deserves the refinement and precision that only dedicated software can offer.
Many of the more sophisticated generators use complex algorithms, some of which are based on principles from AI Image Style Transfer, to intelligently translate photographic details into a clear, stitchable art form. It's this underlying tech that makes a huge difference in how well the tool interprets subtle shading and complex shapes.
This image gives you a bird's-eye view of how most of these tools work their magic.
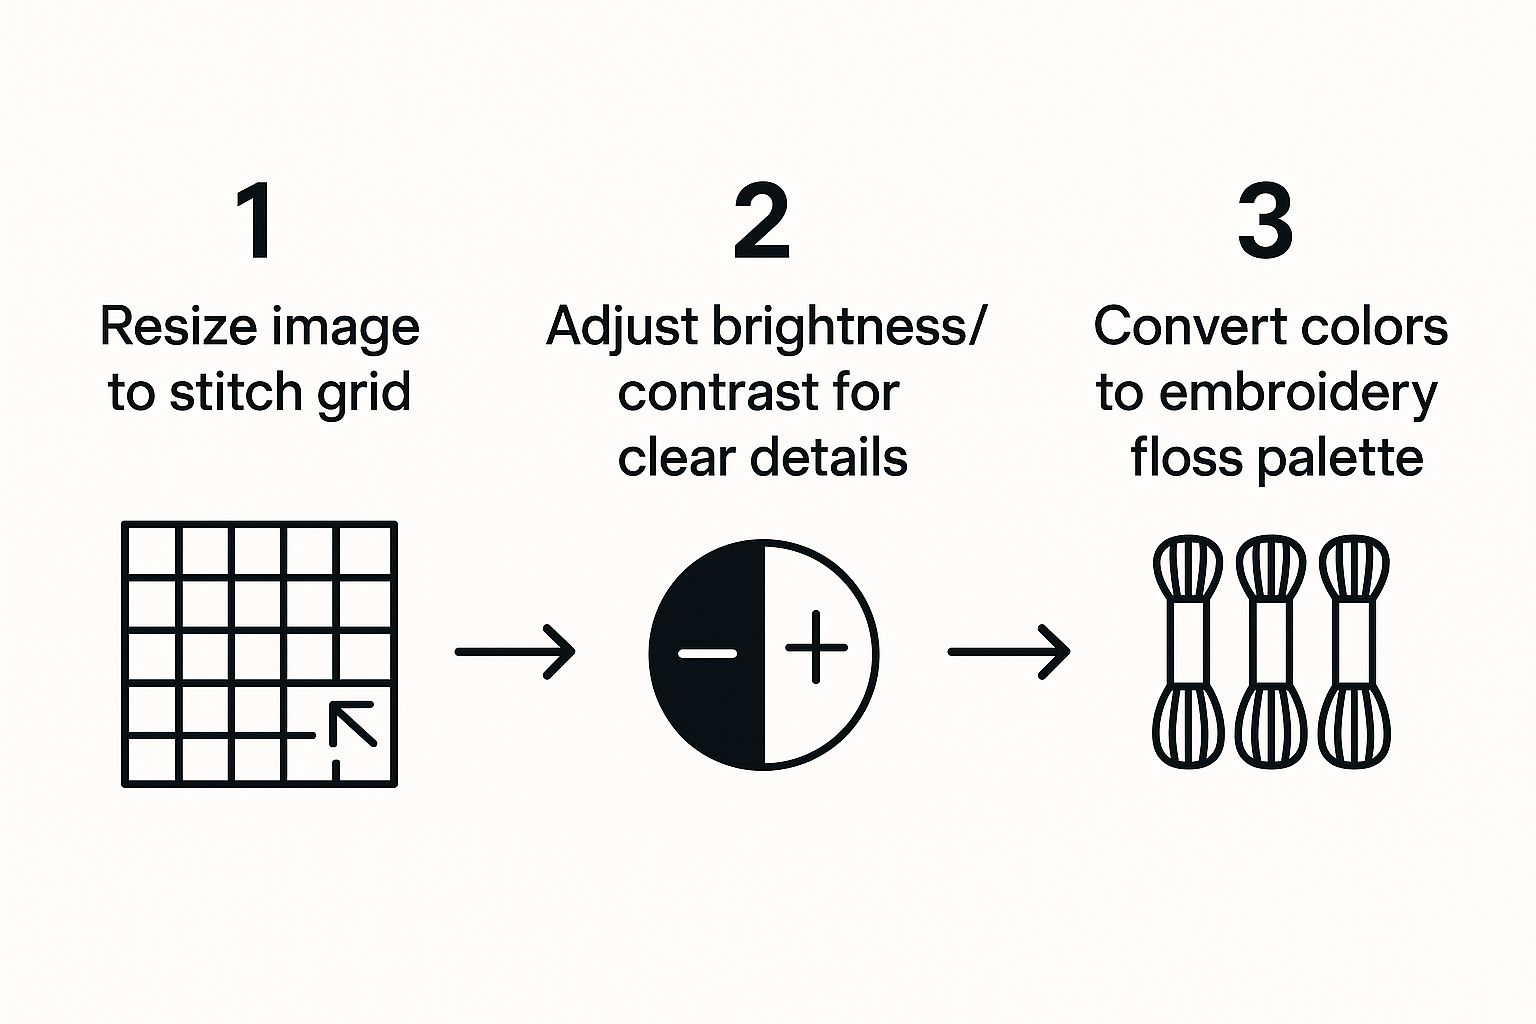
As you can see, every generator follows a similar path of resizing, color-matching, and symbol assignment. The real magic—and what separates the good from the great—is how well their programming handles each of those steps.
To make the choice clearer, here’s a quick look at what you can generally expect from each category.
Free vs Paid Pattern Generators at a Glance
| Feature | Free Online Converters | Paid Software/Apps |
|---|---|---|
| Best For | Simple images, beginners, quick tests | Complex photos, heirloom projects, serious hobbyists |
| Color Control | Basic palette size (e.g., 20, 30, 50 colors) | Full manual editing, merging, custom palettes |
| Confetti Stitches | High likelihood of many single, isolated stitches | Advanced reduction tools to clean up the pattern |
| Backstitching | Rarely offered, or very basic | Manual and/or automatic backstitch/outline tools |
| Symbol/Chart Output | Limited formats, often PDF only | Multiple formats (PDF, image), symbol customization |
| Editing Tools | Usually none; what you get is what you get | Pixel-level editing, text addition, manual clean-up |
| Cost | Free (sometimes with ads or watermarks) | One-time purchase or subscription fee |
Ultimately, free tools are great for getting a quick preview, but paid software gives you the power to truly craft a professional-quality chart.
The Must-Have Features You Should Look For
When you're comparing different generators, a few key features can make or break your entire project. Don't just settle for the first one you find; look for a tool that puts these critical controls at your fingertips.
The single most important feature is thread palette control. A quality generator will let you not only set the maximum number of colors but also specify the thread brand you use, like DMC or Anchor. Even better are tools that allow you to manually merge similar shades. For instance, if the software creates three shades of blue that are almost indistinguishable, you should be able to combine them into a single color to simplify your stitching and supply list. We dive much deeper into this in our guide on creating a clean cross stitch pattern from a picture.
The goal isn't to find a tool that does everything automatically. The best generator is one that acts as your creative partner, giving you the power to make the final artistic decisions and clean up the digital translation.
Getting Your Picture Ready for Pattern Making
Before you even think about uploading your photo to a pattern generator, you've got to do a little prep work. Honestly, spending just a few minutes on simple edits can make a massive difference in the final pattern. This is the secret sauce that stops your chart from becoming a muddy, confusing mess.
Think of it as setting your project up for success. You're aiming to turn a picture into a cross stitch pattern that's actually clean, clear, and fun to stitch.
The first thing I always do is crop the photo. Your goal here is to make the main subject the absolute hero. Let's say you have a great shot of your dog at the park, but there's a distracting park bench and some people in the background. Crop them out! This forces the software to focus only on what's important: your furry friend.
Next up, bump up the contrast. This little tweak makes the dark parts of your photo darker and the light parts lighter. It's so important for creating distinct, stitchable blocks of color in your final pattern. Any basic photo editing app on your phone or computer will have a contrast slider. Just a slight boost can work wonders, sharpening details and stopping similar shades from blending into an undefined blob.
Clean Up the Visual Clutter
Once you've got the framing and contrast sorted, it's time to simplify things a bit more. We're essentially getting rid of any visual noise that could turn into unnecessary, fiddly stitches later on.
- Zap Stray Objects: Most editing programs have a "clone" or "heal" tool. Use it. Get rid of that single stray twig in the grass or a weird reflection in a window. If you don't, that little speck can become a single, annoying, out-of-place stitch.
- Simplify the Background: If the background still feels too busy after cropping, try blurring it just a little. This really helps the subject pop and, critically, it reduces the number of colors the generator will try to cram into the background. The result is a much cleaner chart.
One last, crucial point is making sure your photo has a decent resolution. A high-quality source image gives the generator more information to work with, leading to a more accurate and detailed pattern. If your image is a bit fuzzy, it’s worth trying to increase image resolution before you get started.
Remember, you're not trying to create a flawless photograph. You're creating the perfect reference for a cross-stitch pattern. You’re basically pre-sorting all the visual information for the software.
Taking an extra ten minutes to prep your photo saves you from a world of headache later. It’s the difference between fighting a pattern full of random "confetti" stitches and getting a polished, professional-looking chart that you'll be excited to stitch and proud to hang on your wall.
Fine-Tuning Your Generated Pattern
So, the pattern generator has done its thing and spit out a digital draft. That’s a great starting point, but let's be honest—it’s never perfect right off the bat. This is where you, the artist, step in. Now the real work begins, polishing that draft into something you’ll not only love looking at but will actually enjoy stitching.
Getting the Size and Detail Just Right
The first things I always look at are the final size and the fabric count. These two are joined at the hip. If you tweak one, the other changes, and it completely alters the detail level of your final piece.
Want something that looks super detailed and almost like a photograph? You'll need to go with a larger finished size or a higher fabric count, which means more stitches per inch.
On the other hand, if you’re aiming for a more stylized, "pixel art" look, you can opt for a smaller size or a lower fabric count. Using a 14-count Aida, for instance, is a popular choice that gives you this effect and makes for a quicker project. It’s perfect for simpler images or when you just want to get to the finish line faster.
Taming the Color Palette
One of the biggest hurdles when you turn a picture into a cross stitch pattern is the explosion of thread colors the software often suggests. It's not unusual to see a complex photo generate a list of 60, 80, or even over 100 different floss colors. Trying to stitch with a palette that big is not only a drain on your wallet but can make the whole process slow and just plain frustrating.
The sweet spot for most detailed projects? I find it's usually between 25 and 40 colors. This is enough to capture the essence of the photo without driving you crazy.
Here’s my approach to whittling down that list:
- Look for color families: Scan the generated palette for shades that are practically twins. Did the software pick out five nearly identical grays for a single shadow? I’ll go in and manually merge those into just one or two that do the job.
- Hunt down the loners: Pay close attention to colors that only show up for a handful of stitches. If there's a single, random brown stitch floating in a sea of green grass, I'll almost always change it to match the surrounding green. It’s a small change that instantly cleans up the chart.
The best refinements aren't about making sweeping changes. It's about a series of small, smart decisions that cut down the complexity and make the stitching experience so much better. This way, your focus stays on bringing the subject to life, not on endless color changes.
Cleaning Up Digital "Confetti"
Once I’ve got the color count under control, it's time to deal with what stitchers call "confetti." These are those annoying, isolated single stitches of one color sprinkled throughout a larger area. They’re a classic byproduct of automated pattern generators and can turn stitching into a real chore.
Most dedicated pattern-making software has a tool for this. It’ll scan the pattern and change those lonely stitches to match their neighbors, creating smoother color blocks. If your program doesn’t have an automatic fix, you’ll have to roll up your sleeves and do it by hand. Just zoom in on a section of your chart, find those orphan squares, and change their color to match a more dominant one nearby. Trust me, it makes a world of difference.
This cleanup process leads to much smoother color transitions and gets you into a nice stitching rhythm. You can knock out larger blocks of a single color without having to constantly stop, re-thread your needle for a single stitch, and then stop again.
Your fabric choice also plays a huge role here. Many stitchers, myself included, often use affordable fabrics like Aida cloth, especially in 14- or 20-count, for these photo conversions. While fancy, high-count linens look beautiful, they can be more expensive and a bit tricky to work with for this type of project. The fabric count simply tells you how many stitches you can fit in an inch—a 14-count Aida gives you 14 stitches per inch, which is a fantastic balance between seeing the detail and not straining your eyes. If you want to dive deeper, you can find great discussions and video tutorials where experienced stitchers explore the best materials for these projects.
From Pixels to Stitches: The Final Step
Alright, you’ve done the digital heavy lifting and your pattern is perfected. Now for the best part—actually bringing it to life with needle and thread. This is where your on-screen creation becomes a real, tangible piece of art. It's all about translating that digital grid into beautiful stitches on fabric.
Before you dive in, take a good look at the pattern chart. At first glance, it might just seem like a confusing jumble of symbols, but it's really your treasure map. Every pattern includes a symbol legend or key, which is your decoder. This legend links each symbol on the grid to a specific thread color. For example, a solid black square might represent DMC 310, while a tiny triangle could stand for DMC 743.
Reading the Chart and Gathering Your Gear
Getting comfortable with this legend is your first real task. It's the crucial link between the symbols on your chart and the colorful threads you'll be stitching with. I always recommend going through the legend first and making a list of every thread code number you'll need. This becomes your shopping list.
Speaking of which, let's talk supplies. Here’s a rundown of the essentials you'll need to gather:
- Fabric: Grab the right type and count of Aida, Evenweave, or Linen that your pattern generator recommended.
- Embroidery Floss: Every single color listed in your legend. I've learned the hard way to always buy a little extra of the colors that seem to be used the most.
- Needles: For cross-stitch, you can't beat tapestry needles. A size 24 or 26 is typically perfect for 14-count Aida fabric.
- Hoop or Frame: A 6-8 inch hoop is a great all-rounder. It keeps the fabric taut, which is the key to neat, even stitches.
- Scissors: You'll want a small, sharp pair dedicated to snipping your threads cleanly right next to the fabric.
My Go-To Tip: Organize your floss before you start a single stitch. Winding each color onto labeled bobbins saves so much time and frustration. No one likes a tangled mess of thread when they're in the zone.
To Print or Not to Print?
You’ve got a couple of options for how you'll follow the pattern while you stitch. The classic approach is to print it out. A lot of stitchers I know, myself included, enjoy having a physical copy. There’s something so satisfying about highlighting rows or crossing off sections as you finish them.
On the flip side, you can keep it all digital. Using a tablet with a pattern-keeper app has become incredibly popular. These apps are fantastic—you can zoom in on tricky areas, tap to highlight all instances of a single symbol, and track your progress digitally. This modern method really took off during the COVID-19 pandemic, when people were looking for calming hobbies and decided to turn picture into cross stitch pattern files at home. With craft kits sometimes hard to find, digital patterns became the go-to. You can read more about this trend in the needlecraft market.
Ultimately, whether you choose paper or a screen is completely up to you. There's no right or wrong way, so feel free to experiment. Once you have your supplies and your pattern is ready to go, you're all set to begin the mindful, relaxing journey of stitching your memory into existence.
Common Questions About Making Cross Stitch Patterns
As you start learning how to turn a picture into a cross stitch pattern, you're bound to hit a few snags. It's just part of the process! Even those of us who have been doing this for years find ourselves puzzled when a favorite photo doesn’t quite translate into the perfect chart.
Think of this as your personal troubleshooting guide. I've gathered some of the most common questions I hear, along with the practical advice I always give to help you get a project you'll be proud to stitch.
What Is the Best Image Resolution for a Pattern?
Honestly, you should always start with the highest resolution photo you can get your hands on. If you have the option, aim for an image that is at least 300 DPI (dots per inch). High-resolution photos are just packed with more visual data, which gives the pattern maker a lot more to work with. All that detail translates directly into a more nuanced and accurate chart.
When you feed the software a blurry or low-resolution picture, it’s forced to guess what’s happening in those fuzzy spots. This usually results in a pattern that looks blocky and pixelated, losing all the beautiful details you loved in the original, especially in faces or complex backgrounds.
The rule of thumb is simple: a clearer photo will always produce a clearer pattern. You can't add detail that wasn't there to begin with, so starting with a sharp, high-quality image is the most important first step.
How Can I Reduce the Number of Colors?
Most pattern generators will let you set a maximum number of colors. I usually recommend starting with a limit of 25-40 colors and then looking at the preview. That range is often the sweet spot—enough for good detail without making your shopping list for floss a mile long.
If the preview still looks a bit too busy for your taste, you can start merging similar shades by hand. For example, if the program gives you five slightly different shades of dark blue for one small shadow, you can probably edit the pattern to use just two or three. It's a small change that can make the actual stitching much less complicated without really affecting the final look.
Can Any Picture Be a Cross Stitch Pattern?
While you can technically upload any image, not every picture is destined to become a great cross stitch pattern. From my experience, the images that work best have a few things in common:
- A clear, well-defined main subject.
- Good contrast between the light and dark parts of the image.
- A background that isn't too busy or cluttered.
Portraits, pet photos, and simple landscapes almost always turn out beautifully. On the other hand, photos with tons of tiny, competing details or flat, boring light can be a real headache. They often produce a muddy-looking chart that’s just not very fun to stitch.
What Are Confetti Stitches and How Do I Fix Them?
"Confetti" is what we stitchers call those random, single stitches of one color scattered all over the place, kind of like sprinkles. They’re a classic side effect of automatic pattern generation and can be a real pain to stitch—you’re constantly starting and stopping your thread for just one tiny stitch.
Many of the paid software options have a built-in tool to help clean these up. If your program doesn’t offer that, you can always fix them manually. Just go into the chart and change those lonely stitches to match a nearby, more dominant color. It makes for a much cleaner design and a far more enjoyable stitching session.
Ready to transform your favorite memories into a work of art? At Cross Stitched, we make it easy. Use our simple photo-to-pattern tool to create a personalized, all-in-one kit with everything you need to start stitching today. Create your custom kit and let's get started.


