
When you're working on a cross-stitch piece, the individual "X" stitches create a beautiful, pixelated image. But what if you want to add sharp lines, define shapes, or spell out text? That’s where backstitching comes in. It’s the equivalent of inking a drawing, transforming your work from a collection of colored blocks into a crisp, detailed picture.
Backstitch: Your Secret Weapon For Stunning Cross-Stitch
Think of a project before backstitching as a soft-focus photo—it's lovely, but the edges can be a bit fuzzy. Backstitching is the technique that brings everything into sharp focus. It turns those indistinct shapes into recognizable objects, adds character to faces, and makes lettering pop.
The difference it makes can be astounding. A piece that looks a bit flat and unfinished can suddenly spring to life with just a few carefully placed lines. This straightforward stitch is what creates:
- Crisp Outlines: It acts as a border, separating colors and preventing them from visually blending together.
- Fine Details: It’s perfect for adding tiny elements like an animal's whiskers, the delicate veins on a leaf, or the rigging on a ship—details that would be impossible with full cross stitches.
- Clear Text: If your pattern includes any words, backstitching is absolutely essential to make them clean and easy to read.
This isn't some new-fangled technique, either. Backstitching has been a fundamental part of embroidery for centuries, with roots tracing back to at least the 16th century in English Jacobean crewel work. Its long history shows just how foundational it is to needlework. Today, it remains one of the most vital cross stitch stitches for adding that final, defining touch.
Backstitching isn't just an optional flourish at the end; it's the step that elevates your project from a nice hobby piece to a polished work of art. The magic really is in the details.
Getting Set Up for Flawless Backstitching
Before you dive into outlining your work, taking a few minutes to gather the right gear can save you a world of headaches. We’re not just talking about any old thread and fabric; backstitching demands a bit more precision than your standard cross stitches, so your tools should reflect that.
Your Needle and Thread Matter
Let’s start with your needle. While the tapestry needle you've been using for your cross stitches will get the job done, I’ve found that switching to a smaller size—like a size 26 or 28—works wonders. A thinner needle slips through the fabric holes much more easily, preventing you from accidentally snagging or distorting the stitches you've already made. The result is a much cleaner, neater finish.
The number of thread strands you use will completely change the look of your outline.
- One strand: Creates a fine, delicate line. This is perfect for subtle details, like facial features or soft textures.
- Two strands: Gives you a much bolder, more defined line that really makes your design pop off the fabric.
If you want to go deeper into thread choices, our guide on selecting the perfect embroidery floss for cross stitch has you covered.
My Go-To Tip: Never underestimate the power of good lighting and maybe a little magnification. A bright, well-lit area is crucial for avoiding eye strain and placing your stitches perfectly. For those really detailed patterns, a simple clip-on magnifier has been a lifesaver for me, making sure I hit the right hole every single time.
Nailing this simple setup from the start lets you relax and focus purely on your stitching, knowing your tools are on your side.
Mastering The Backstitch Motion Step By Step
Alright, let's get into the fun part—bringing those crisp, defining lines to life. The basic motion of backstitching is beautifully simple, but a few key techniques are the secret to getting your lines straight, your corners sharp, and your curves perfectly smooth.
I'm going to walk you through the exact method I use for flawless results every time.
First things first, you need to secure your thread. The goal here is a clean, neat reverse side, so we’re going to skip the knots entirely. Instead, just run the tail of your thread under three or four existing cross stitches on the back of your fabric. This anchors it securely without creating any lumps or bumps.
The fundamental rhythm of backstitching is often described as "two steps forward, one step back." It’s a wonderfully intuitive motion that creates a continuous, unbroken line on the front of your project. Once you get this down, you'll have mastered the core of backstitching.
This little setup guide shows the three essentials I always have ready before I start.
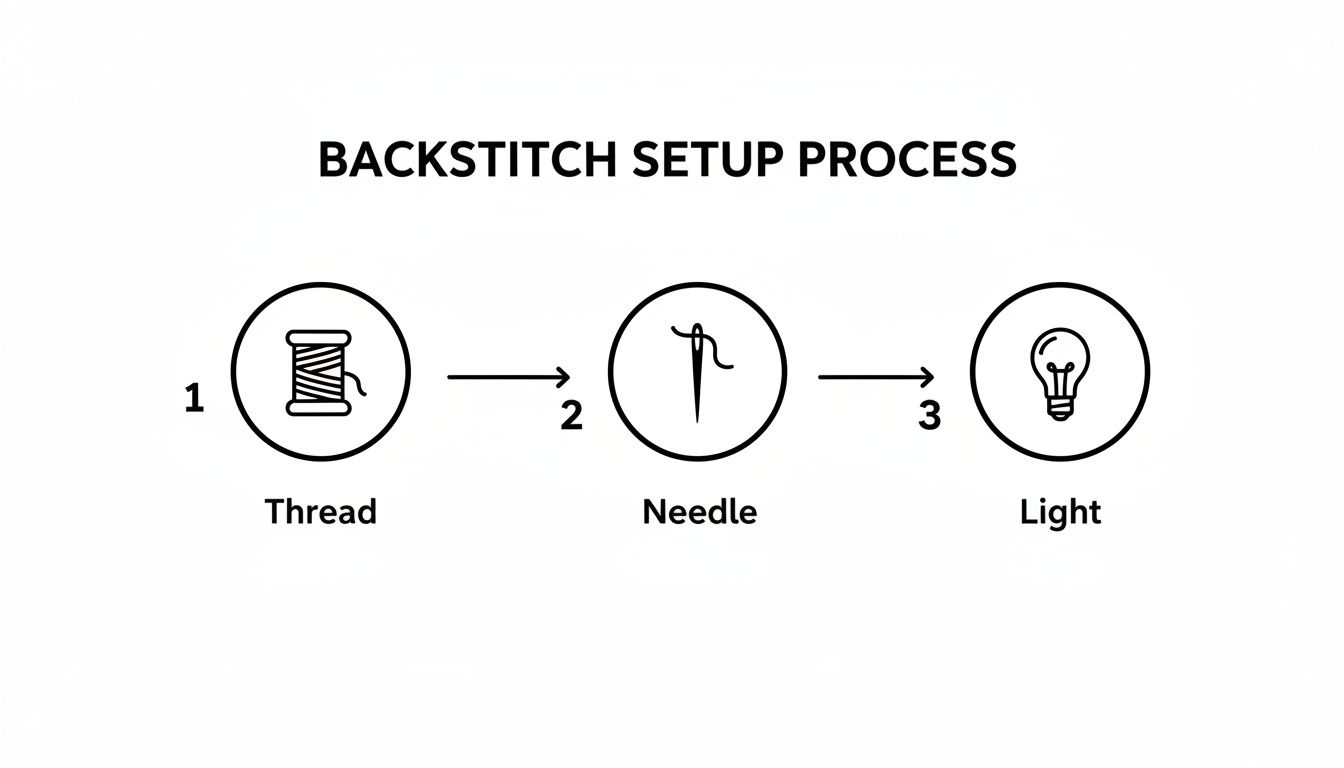
Having your thread, needle, and good lighting ready to go makes the entire process so much smoother and more enjoyable.
Creating Your First Line
To kick things off, bring your needle up from the back of the fabric at what will be the end of your first stitch segment. Let's call this Hole B.
Now, push the needle down into the hole where the line actually starts (Hole A). And just like that, you’ve created your first backstitch!
For the next one, bring the needle up one stitch length ahead of your last entry point (Hole C), and then go back down into the same hole where your first stitch ended (Hole B). You are literally stitching "back" on yourself to complete the line. Keep this motion going—up at D, down at C; up at E, down at D—for as long as the pattern's line continues.
The real secret to a professional-looking backstitch is consistency. Try to keep your stitch lengths uniform, whether they span one square of Aida cloth or two. It’s a small detail, but it makes a huge difference in the final piece.
Handling Corners And Curves
So what happens when you reach a corner or a curve? These can seem tricky, but the approach is straightforward and ensures your outlines remain sharp and fluid, not jagged or clunky.
- For Sharp Corners: Complete your final stitch right into the corner point. To start the new line, bring your needle up one stitch length away in the new direction, then go back down into that very same corner hole. This creates a really crisp pivot point.
- For Gentle Curves: The key to smooth, beautiful curves is using shorter stitches. Instead of trying to span two fabric squares across a curve, make several smaller stitches that each cover only one square. This technique breaks the curve into tiny straight segments that your eye will perceive as a clean, rounded line.
By mastering this simple back-and-forth motion and learning to adjust your stitch length for corners and curves, you’ll be able to tackle any outline your pattern throws at you. It’s a repeatable skill that quickly builds confidence and delivers stunningly clean results.
Pro Tips For Avoiding Common Backstitching Mistakes
Knowing how to make a backstitch is one thing, but making those lines look clean, sharp, and intentional is where the real skill comes in. Let's walk through some common pitfalls and how you can sidestep them to get that polished, professional look every time.
One of the first things that trips up new stitchers is keeping the stitch length consistent. When stitches are all different sizes, the lines can end up looking a bit shaky and uneven. The fix is pretty straightforward: decide on a stitch length and stick with it. For most patterns, making each backstitch span a single fabric square is the easiest way to guarantee uniformity, especially when you're outlining curves.
Maintaining Even Thread Tension
Next up is tension. This is a big one. If you pull your backstitch thread too tight, you'll see the fabric pucker and it can even squish the beautiful cross stitches you just made. On the flip side, if your tension is too loose, the stitches will look sloppy and might even snag.
You're aiming for that "Goldilocks" tension—not too tight, not too loose, but just right. The thread should lie smoothly on top of the fabric without causing any pulling or bunching. It’s all about feel, and with a little practice, you'll get it down without even thinking.
This becomes absolutely critical on bigger projects. Can you imagine the precision required for the largest cross-stitch ever made? It measured a whopping 9.2 meters by 4.05 meters and took 29 people over a year to finish! The incredible detail in a piece that massive is only possible because of perfectly executed backstitching defining every shape.
When To Carry Threads Across The Back
Figuring out when to carry your thread across the back of your work versus when to cut it and restart can feel like a puzzle. Carrying the thread is faster, but doing it in the wrong place can cause issues.
Here’s my rule of thumb:
- Go ahead and carry: If the next stitch is only two or three squares away, it’s usually safe to just carry the thread across the back.
- End and restart: For any gaps larger than that, or if you're using a dark thread over a light-colored fabric area, it's much better to secure your thread, snip it, and start fresh. This prevents "shadowing," where you can see the dark thread through the front of your project.
These little details really add up. If you're looking for more ways to level up your work, take a look at our complete guide of tips on cross-stitching. Mastering these small techniques is what will truly make your projects shine.
Creative Backstitching Variations And Techniques
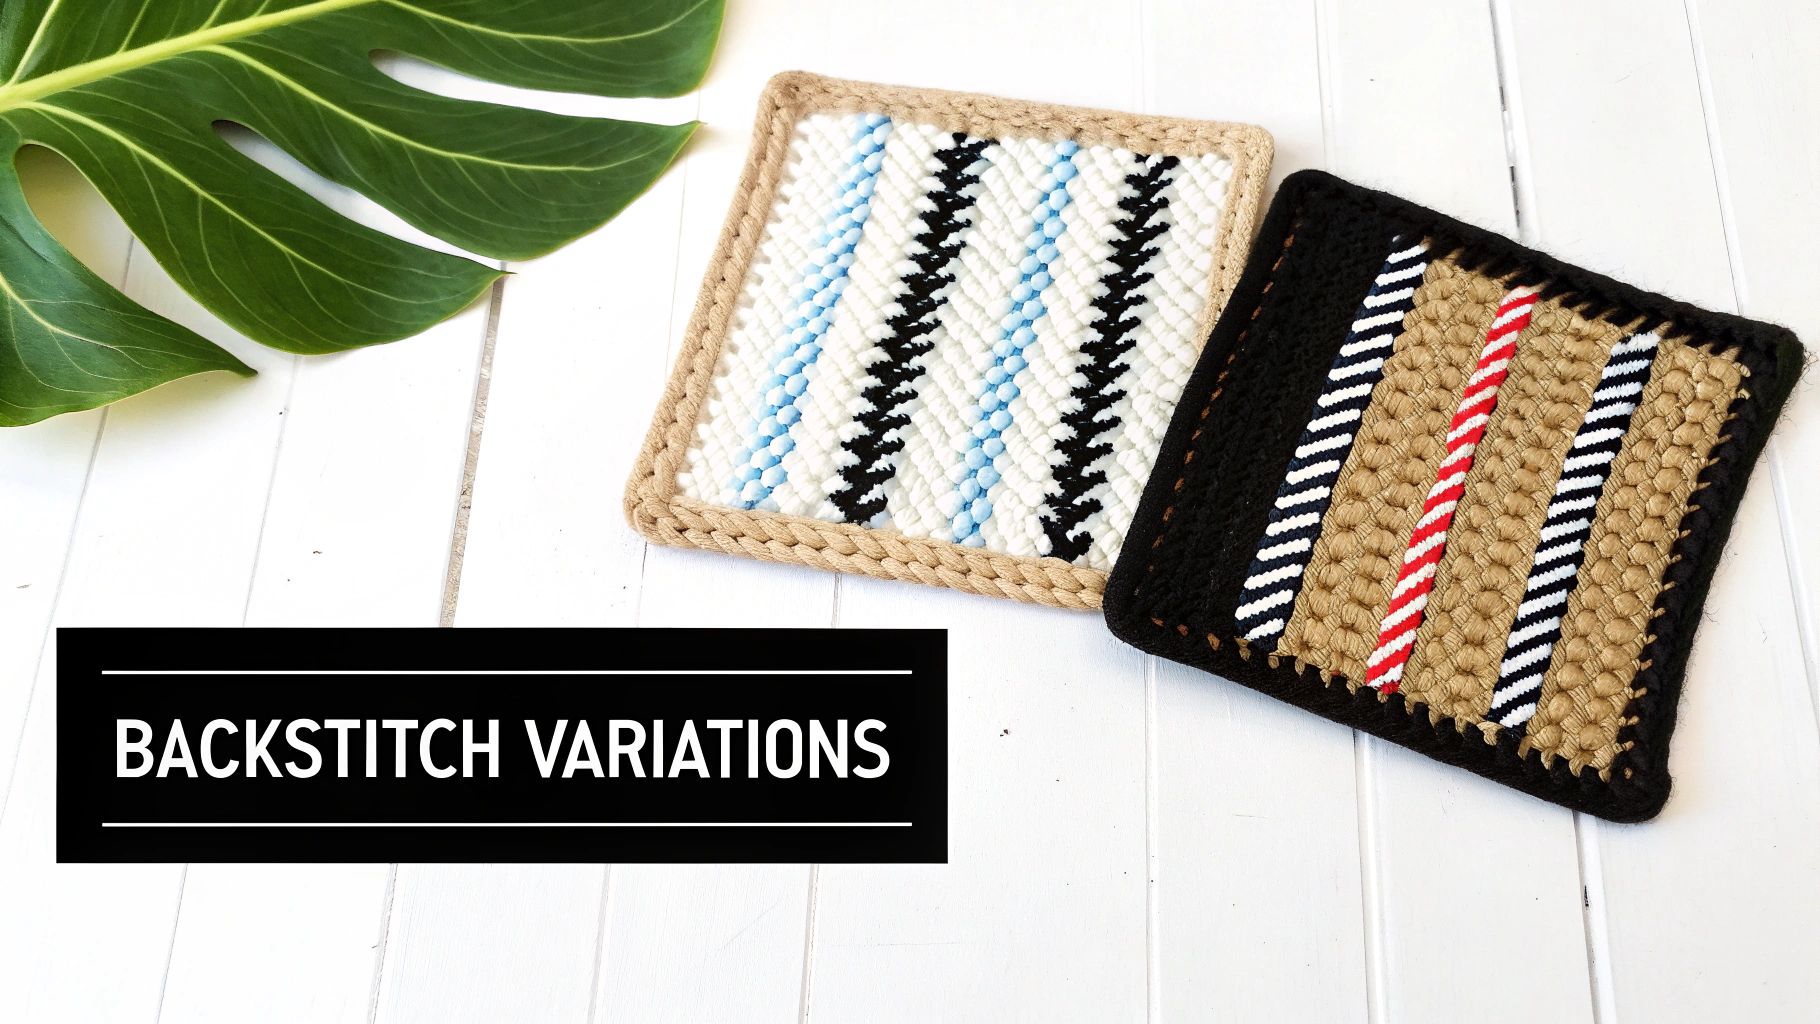
Once you've got the basic motion down, you can stop thinking of backstitch as just a rule to follow and start seeing it as an artistic tool. A simple outline can look completely different just by tweaking a few things. This is where you graduate from simply following a pattern to making creative choices that bring your own style to a project.
Playing around with different techniques is the best way to find the perfect look for your piece. It gives you control over the weight, texture, and overall impact of your outlines.
Thread Count: The Weight Of Your Line
One of the simplest yet most effective changes you can make is adjusting the number of floss strands you use. This one decision directly controls how bold or delicate your lines will be.
- Single Strand: Using one strand is perfect for fine, delicate details. Think subtle accents, tiny facial features, or a whisper-thin outline that defines without overpowering the cross stitches themselves.
- Double Strand: This is the go-to for a reason. Two strands create a clear, solid outline that gives your work great definition and really makes the design pop.
While older patterns often called for a single strand for that classic, fine look, many modern designers now suggest two strands for a more prominent line. You can dive deeper into how thread choices affect a design by seeing how professional stitchers approach outlining details.
Don't feel like you have to stick to one or the other throughout the whole piece. I often use two strands for the main outlines and switch to a single strand for smaller, internal details. This creates a wonderful sense of depth and focus.
Adjusting Your Stitch Length
Another powerful technique is playing with your stitch length. While stitching over one square at a time is a safe and consistent bet, sometimes spanning multiple squares is the smarter move.
For long, straight lines—like a sampler border or a flower stem—making a single backstitch over two or even three Aida squares creates a much smoother, cleaner line. It gets rid of the tiny "bumps" that can happen at each hole, resulting in a sleeker finish.
In my experience, making these longer stitches—sometimes spanning 3-4 squares—is the secret to perfectly tidy lines on long runs. Just remember to shorten them back down to one square when you hit a curve, otherwise, your line will look jagged and angular instead of smooth.
Your Backstitching Questions Answered
Even the clearest instructions can leave you with a few lingering questions once you have a needle in your hand. Let's tackle some of the most common hurdles stitchers run into with backstitching so you can solve problems on the fly and stitch with confidence.
How Do I Make My Backstitched Curves Look Smooth?
The secret to a beautifully fluid curve isn't one long, sweeping stitch—it's actually the opposite. The trick is to use shorter stitches.
Instead of trying to force a single long stitch to bend, break that curve down into tiny, individual stitches. Think of it like connecting the dots, with each stitch covering just one fabric square at a time. Your eye will naturally blend these small segments into a graceful, continuous line, completely eliminating that jagged, pixelated look. It takes a little extra patience, but the polished result is always worth it.
What Is The Best Way To Start And End My Thread?
One of the golden rules for a neat and tidy project is to avoid knots. They create bumps on the back that can show through on the front, and they aren't always secure. Fortunately, a clean finish is easy to achieve.
- To start: If you're using two strands, the loop start is your best friend. Otherwise, you can just slide the tail of your thread under a few completed cross stitches on the back to anchor it securely before you begin.
- To end: Simply weave your needle under three or four existing stitches on the back of your work. This locks the thread firmly in place, allowing you to snip the tail close to the fabric without any fear of it unraveling.
Should I Backstitch As I Go Or Wait Until The End?
This is a classic debate, but most seasoned stitchers—myself included—will tell you to save all backstitching for the very end. Once you’ve completed all the cross stitches, then you can go back and add the outlines. This approach prevents you from accidentally piercing or snagging those delicate backstitch lines while you’re still working on the main part of the design.
Finishing your backstitching last also ensures the outlines sit neatly on top of your cross stitches. This gives the entire piece that clean, defined, and professional look we all strive for.
Ready to turn your favorite memories into a work of art? With Cross Stitched, you can create a custom cross-stitch kit from any photo. Start your personalized project today at https://cross-stitched.com


